Accédez directement au bon sujet : Règles d'automatisation – Lift instantané, lift faible et son du vario – Son personnalisé – Widget XCTrack Intent Launcher – Ajouter un nouvel événement déclencheur personnalisé – Lancer une application – GoPro – Configuration de Zello – Configuration de Telegram – Rapport d'atterrissage en toute sécurité – Export de trace
Le AIR³ XCT Addon améliore les fonctionnalités de XCTrack.
L'Air³ XCT Addon est disponible sur le Play Store. Il peut également être téléchargé depuis notre serveur.
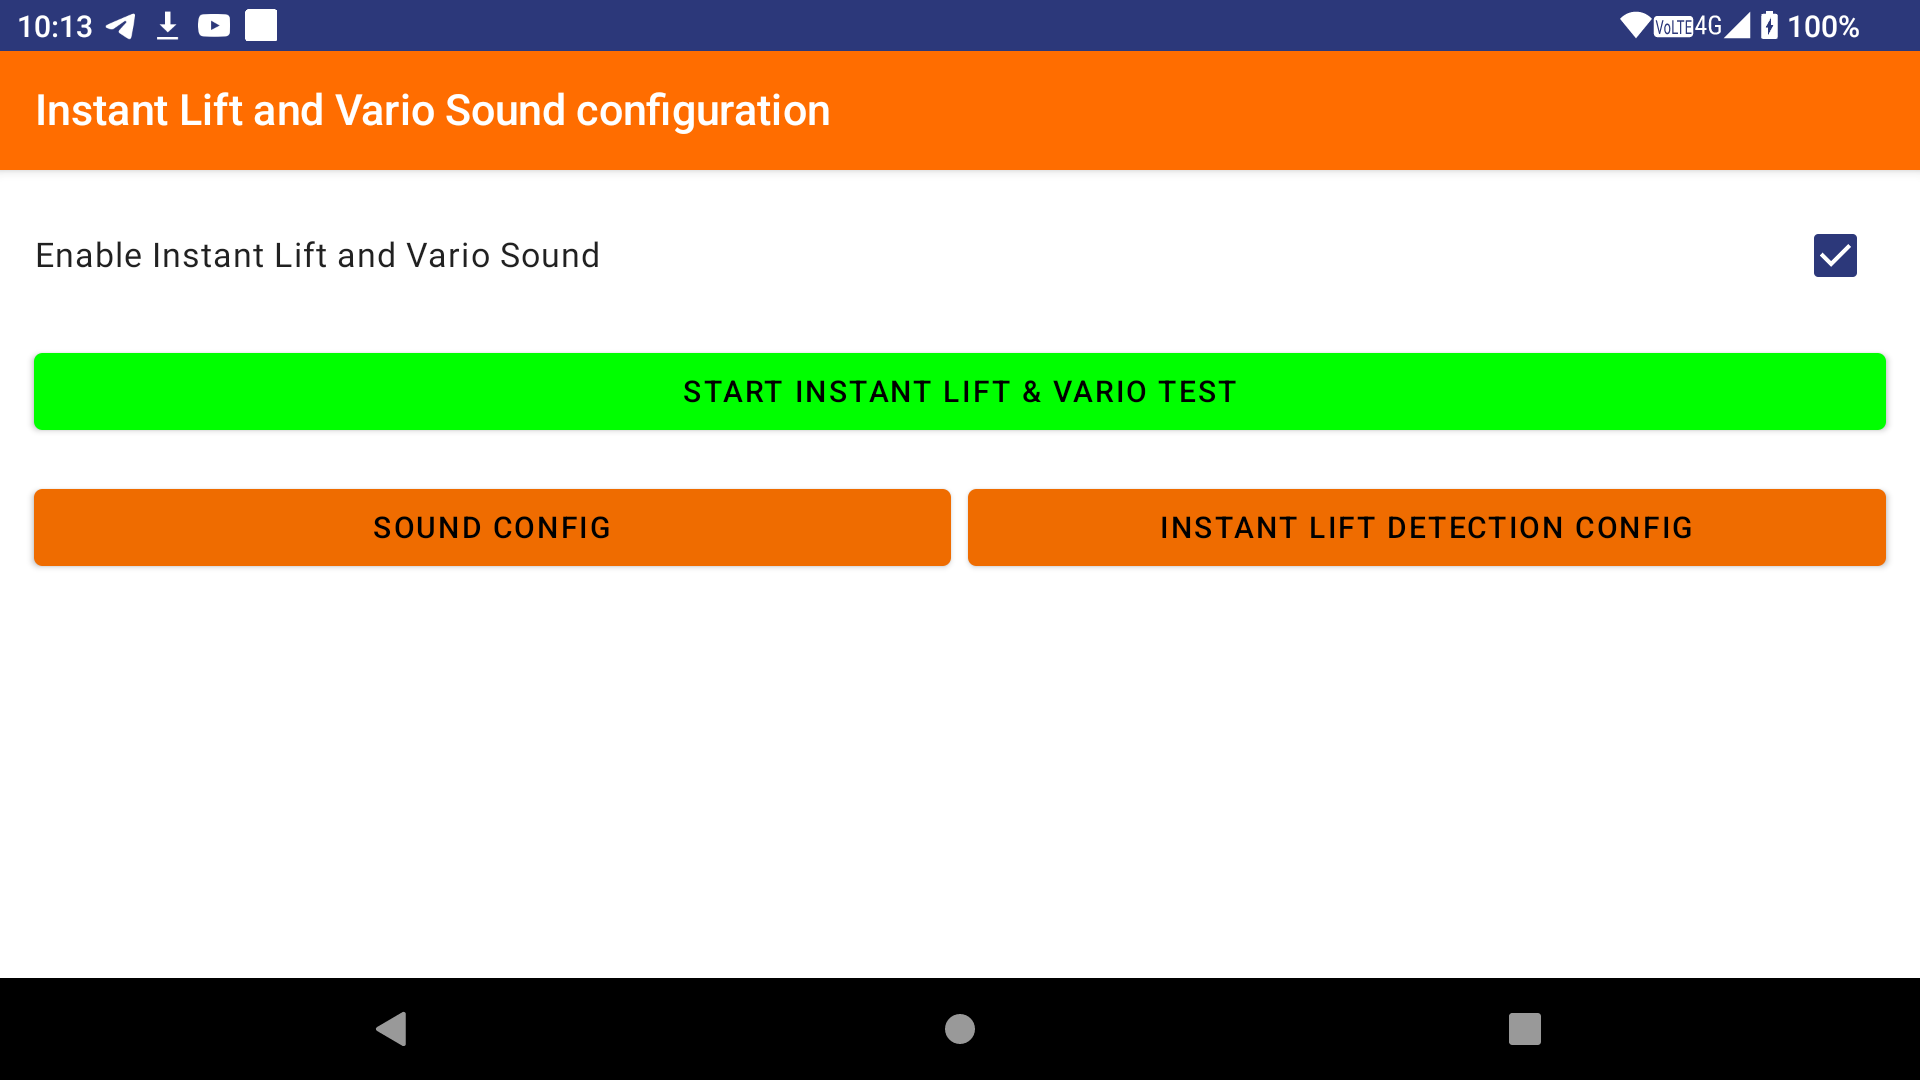
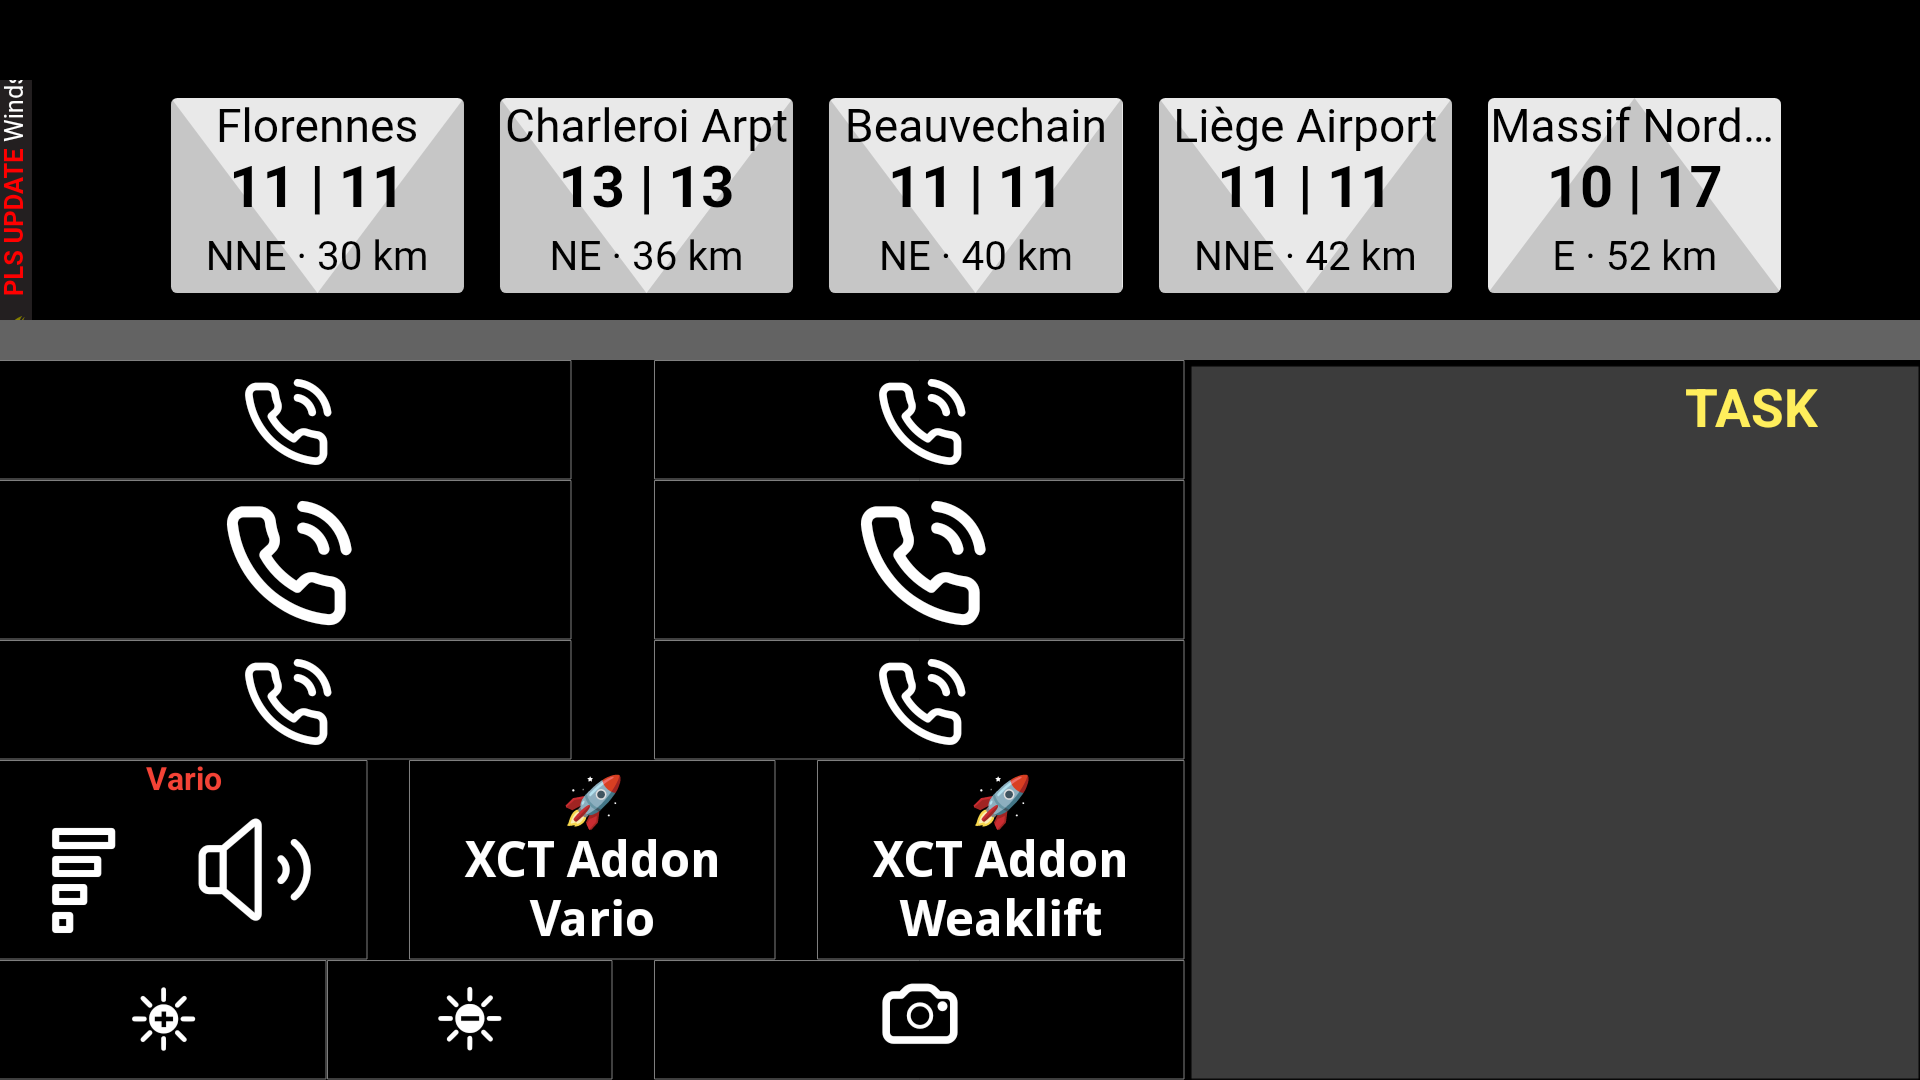
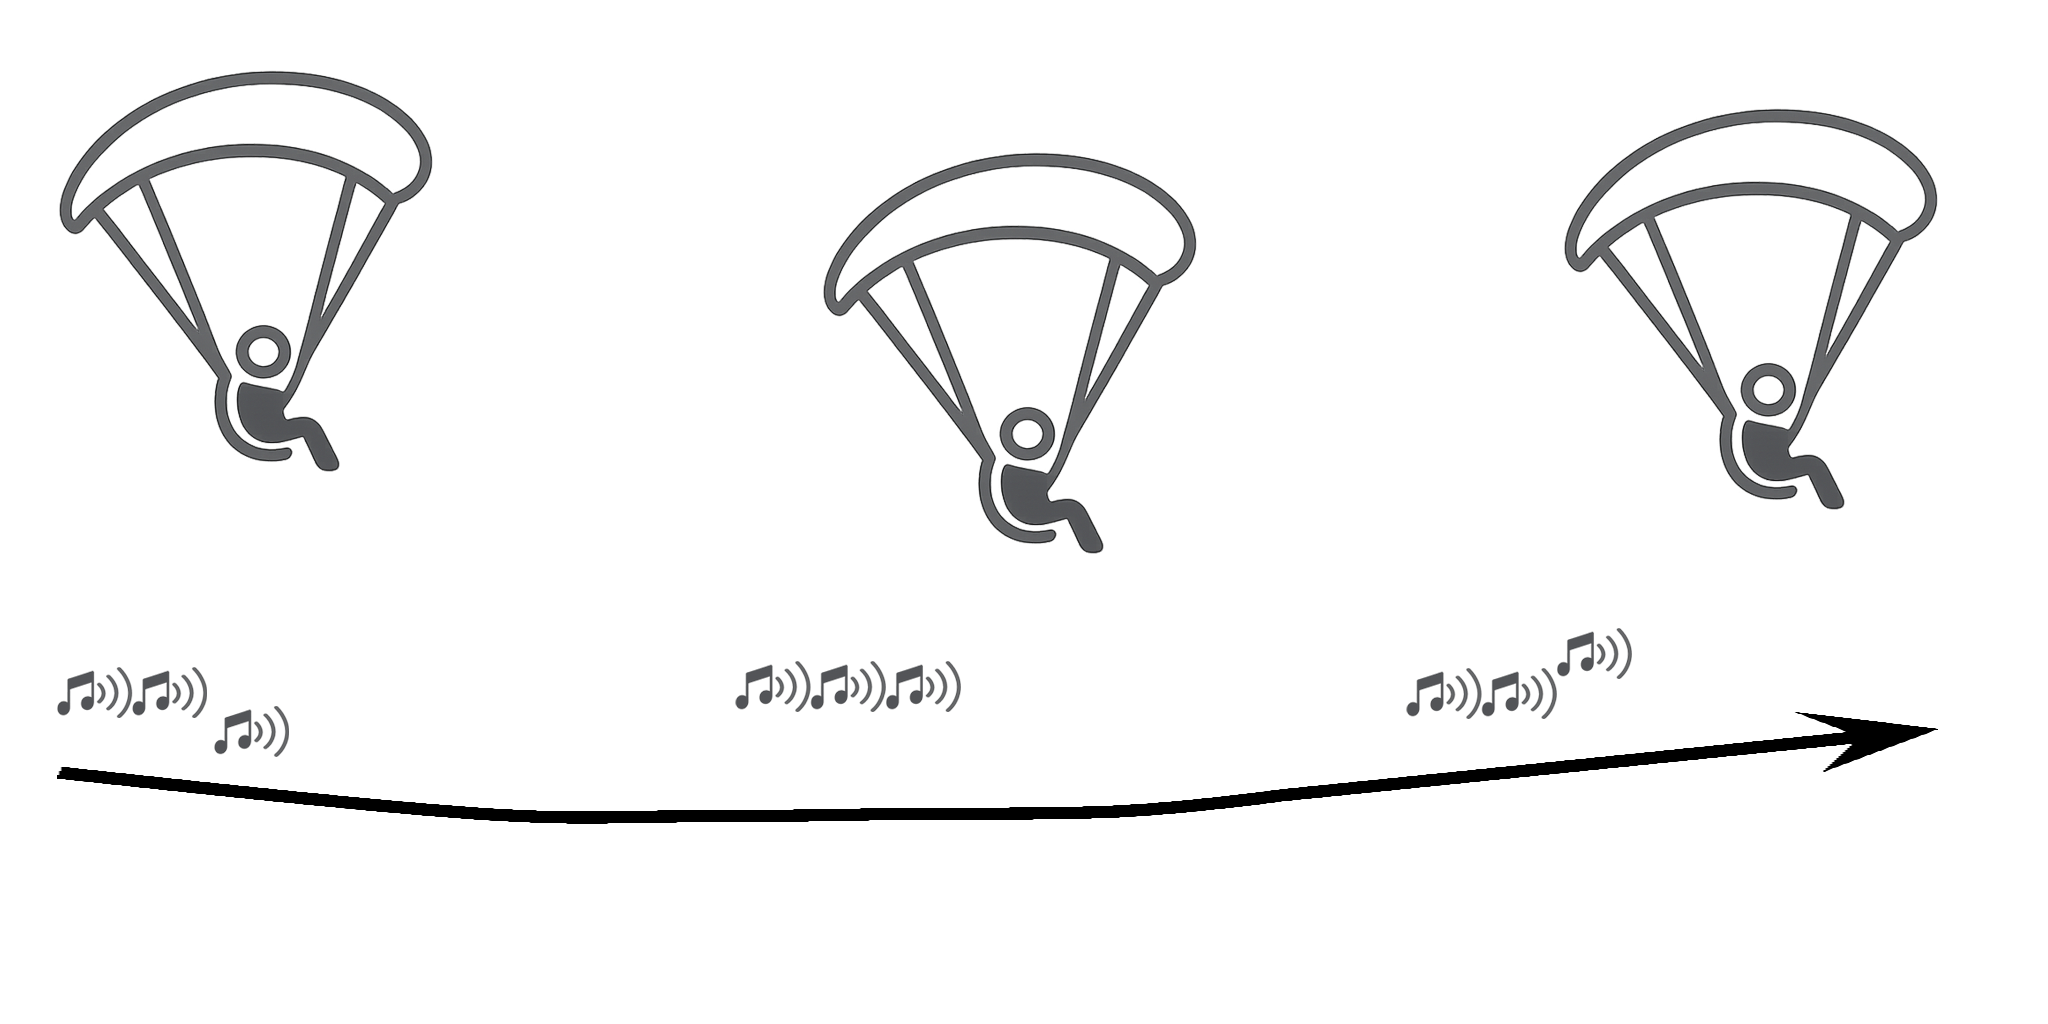
L'une des principales fonctionnalités de l' AIR³ XCT Addon est la détection instantanée de lift, qui repose sur des accéléromètres, ainsi que son traitement spécial des lifts faibles. Le son du vario est produit en combinant les données du capteur de pression et de l'accéléromètre. Cela permet aux pilotes d'identifier immédiatement le début de la ascendance, de reconnaître plus facilement les zones de faible ascendance et de bénéficier d'un son vario clair lorsque les vitesses verticales sont plus élevées.
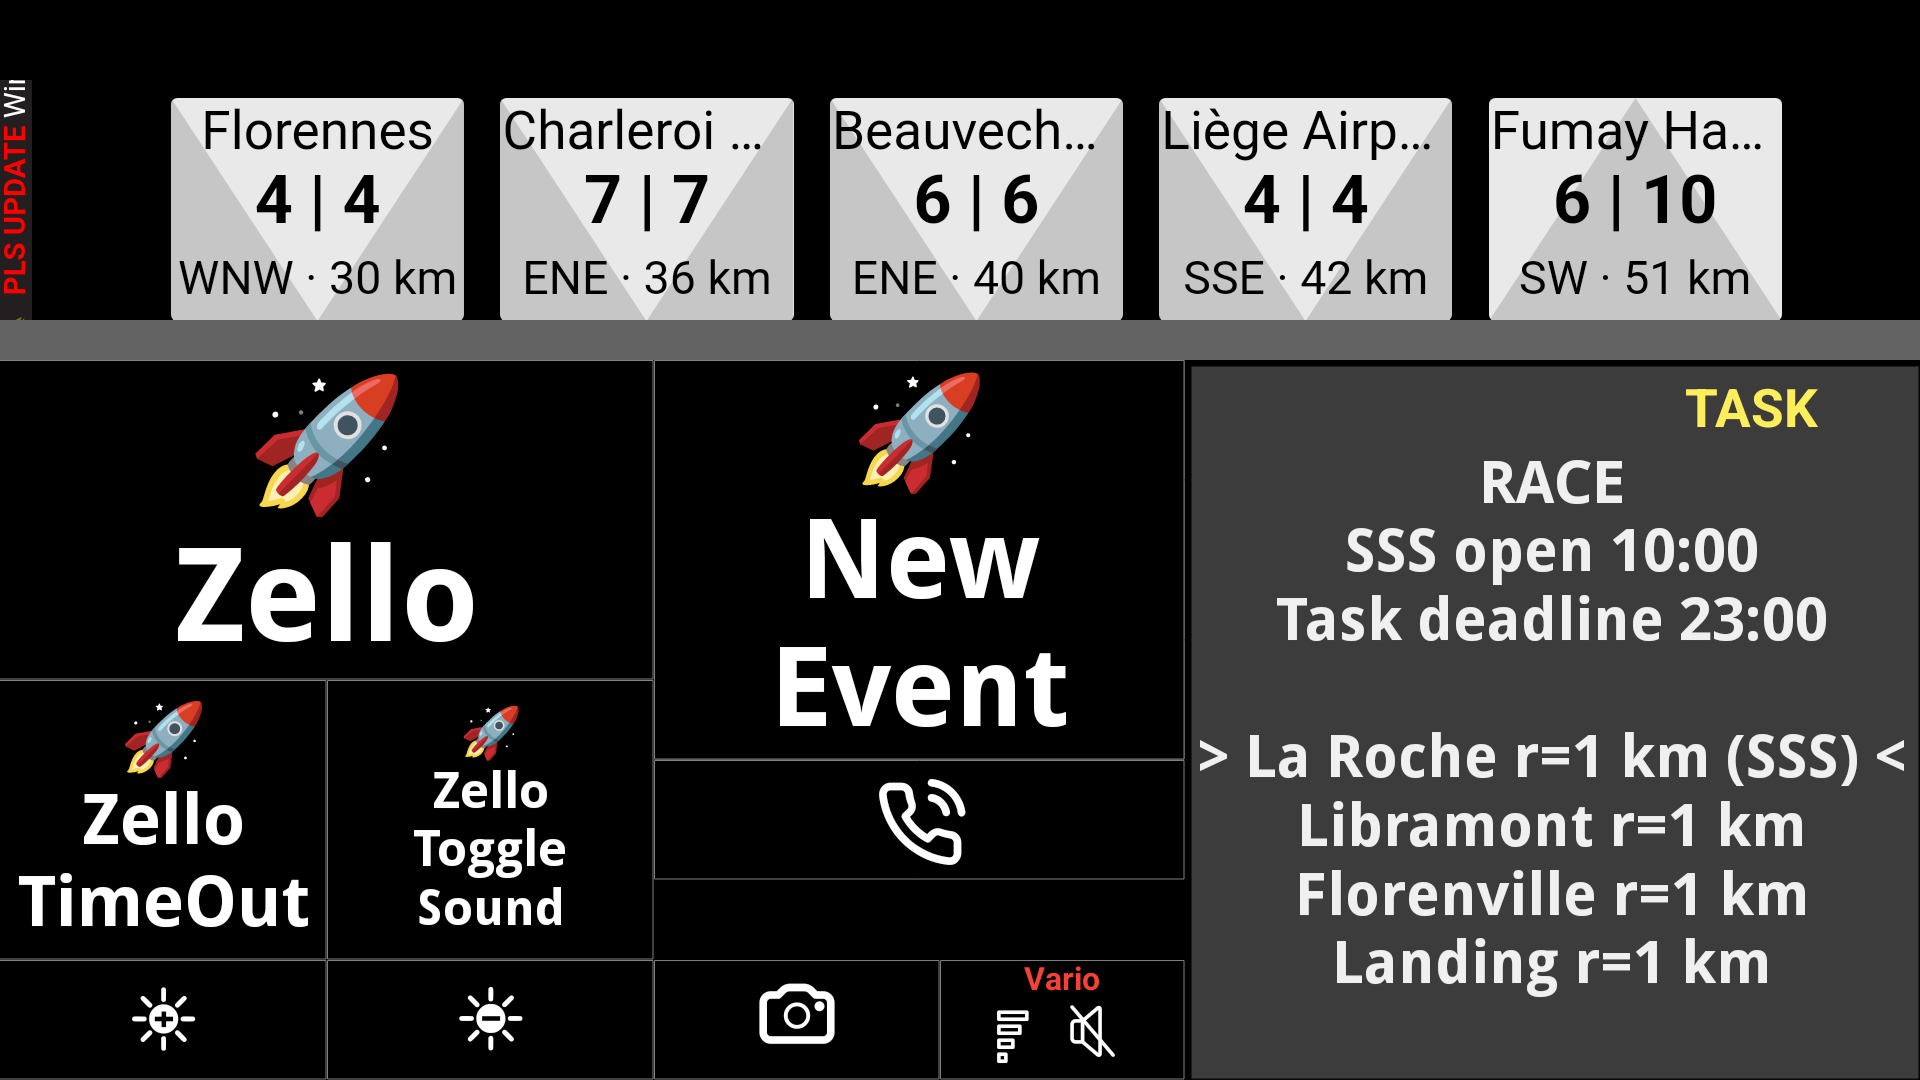
Les événements générés par XCTrack sont capturés par le AIR³ XCT Addon, qui applique ensuite la tâche définie, en fonction des règles d'automatisation.
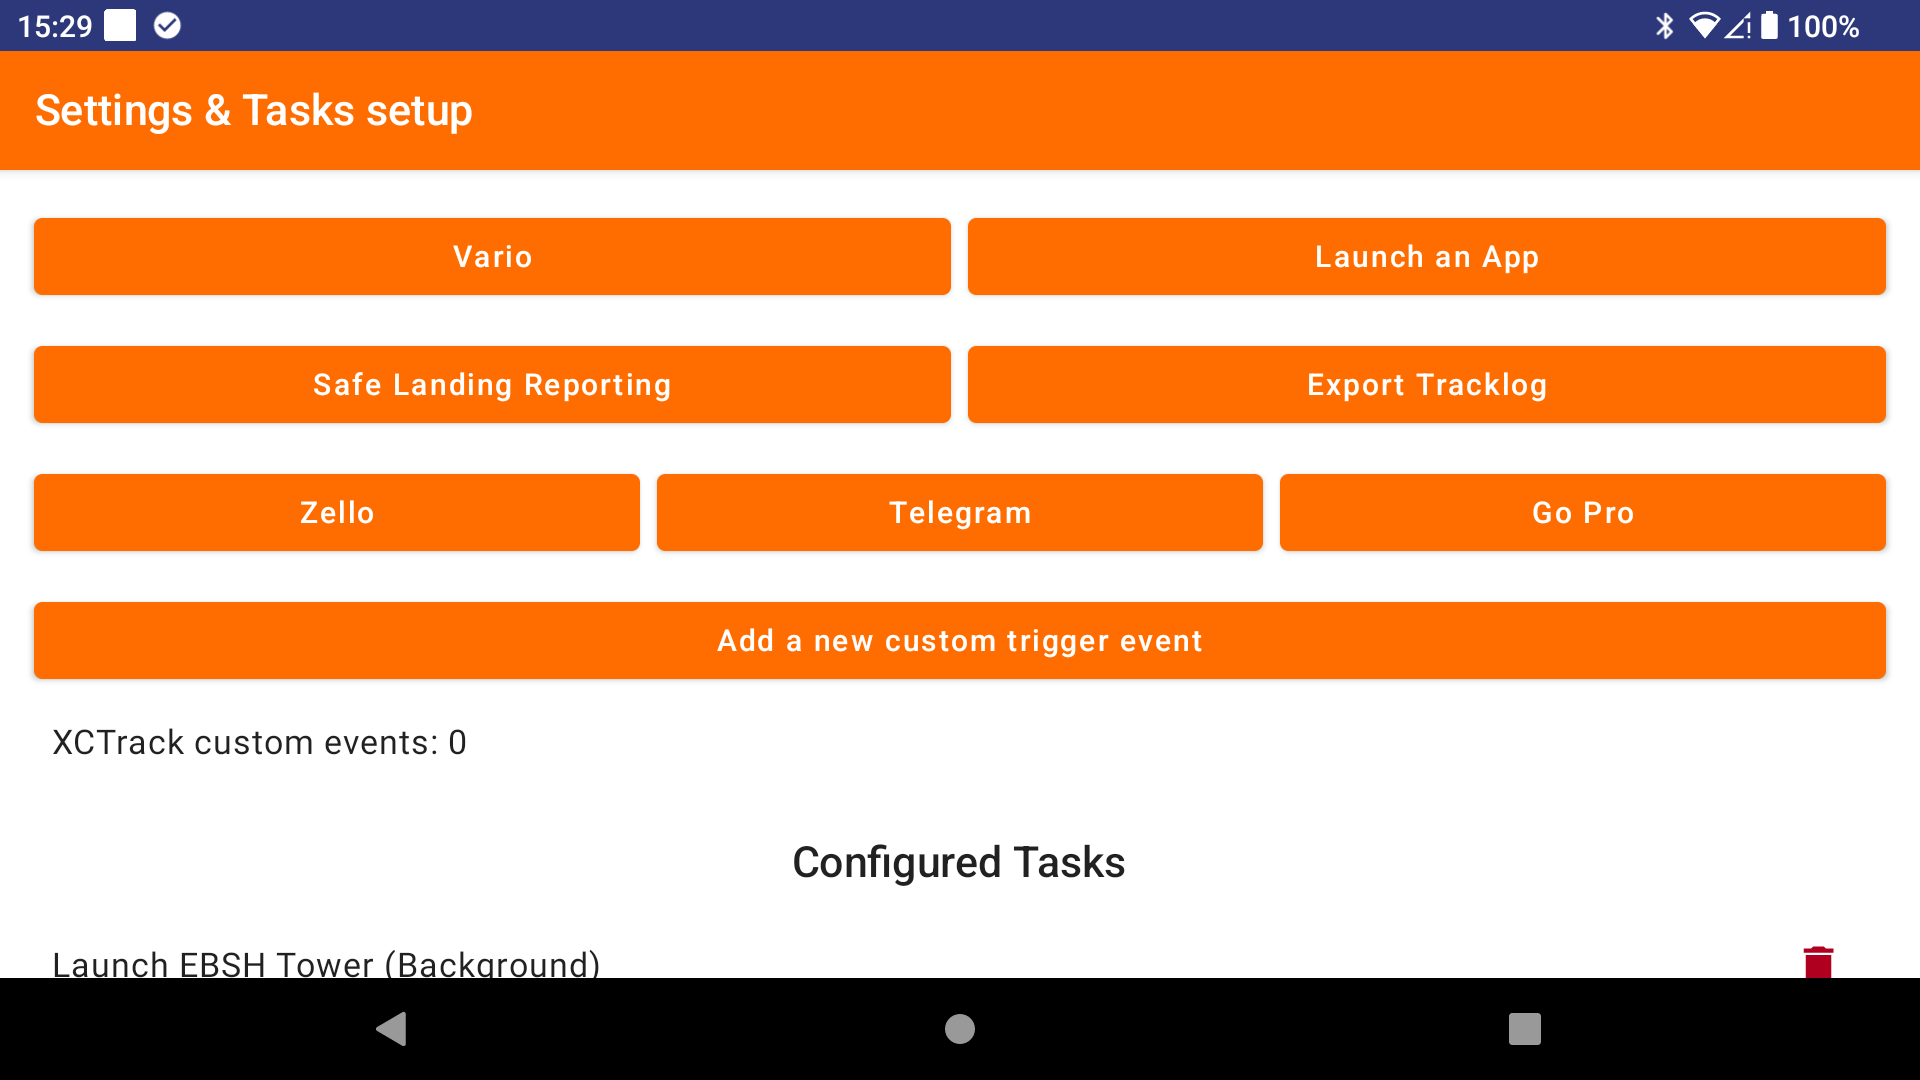
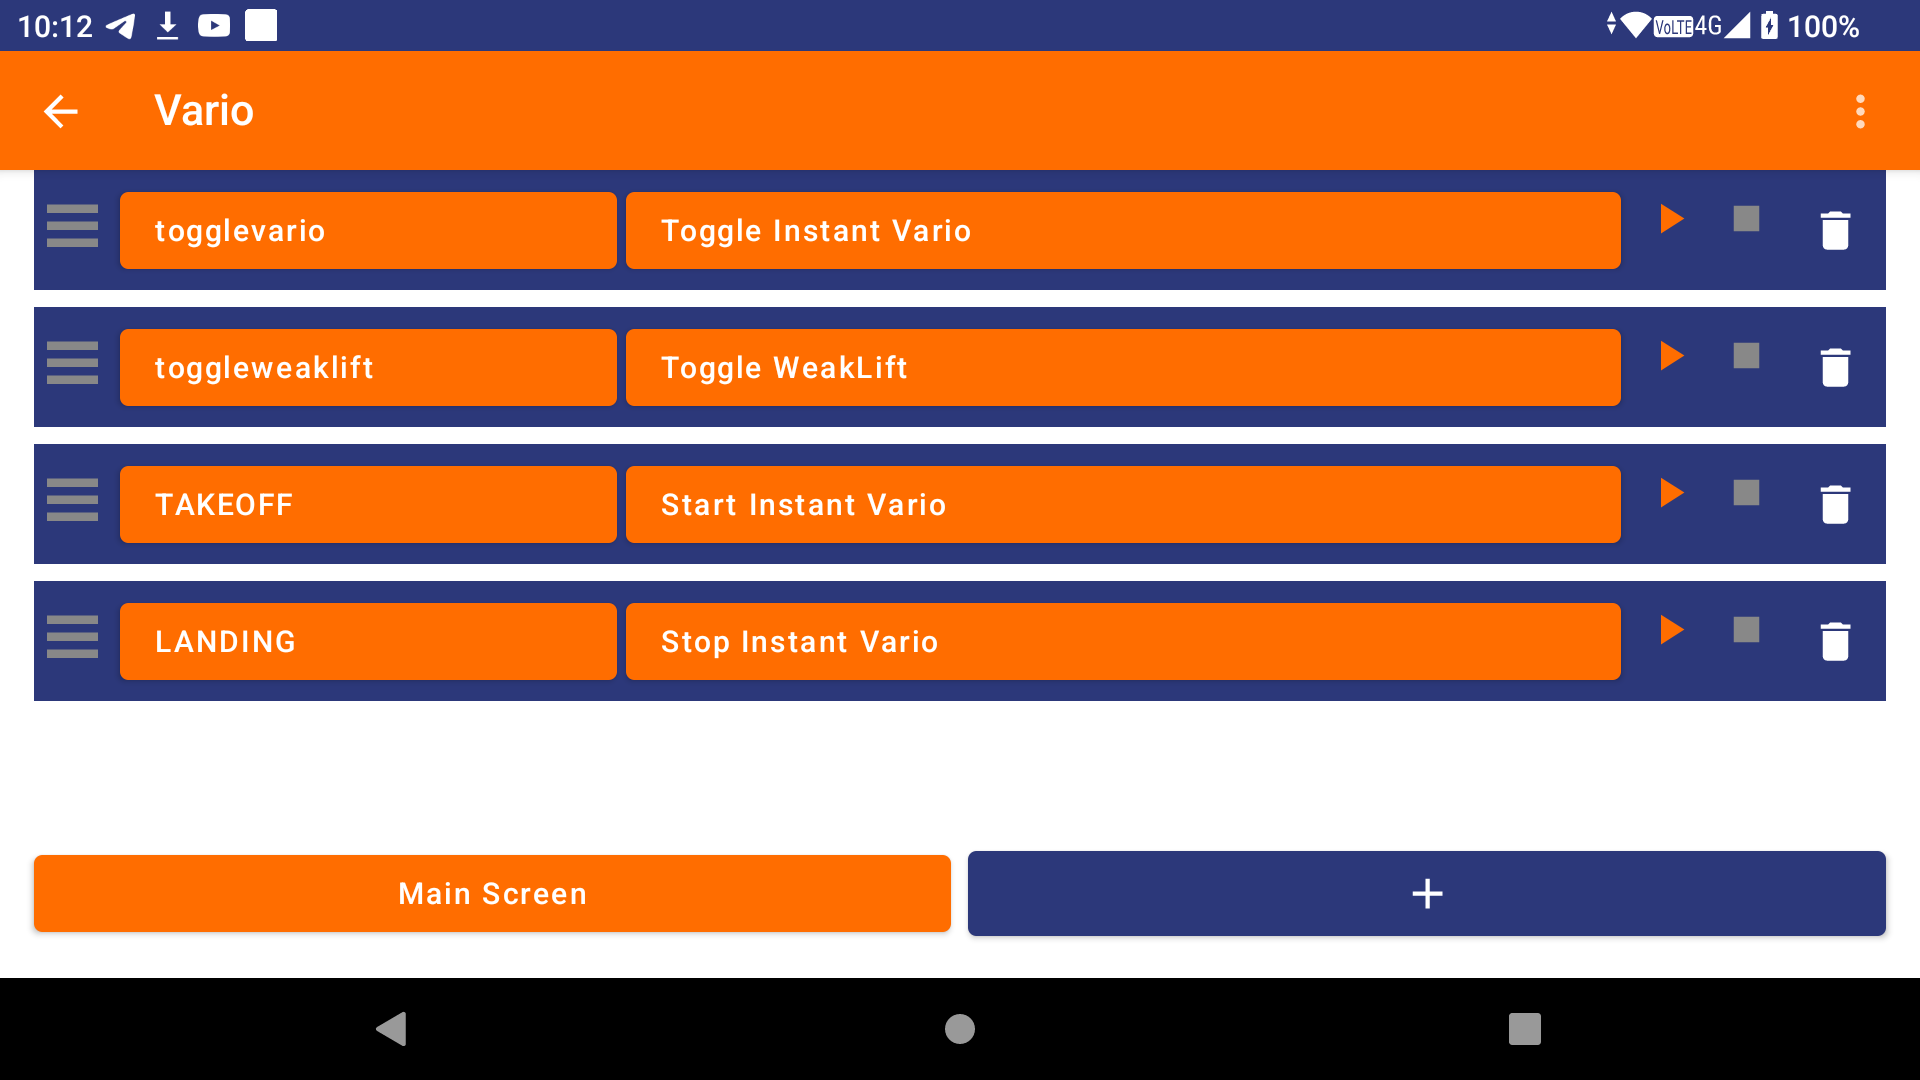
Chaque règle d'automatisation comprend un événement déclencheur et la tâche définie par l'utilisateur.
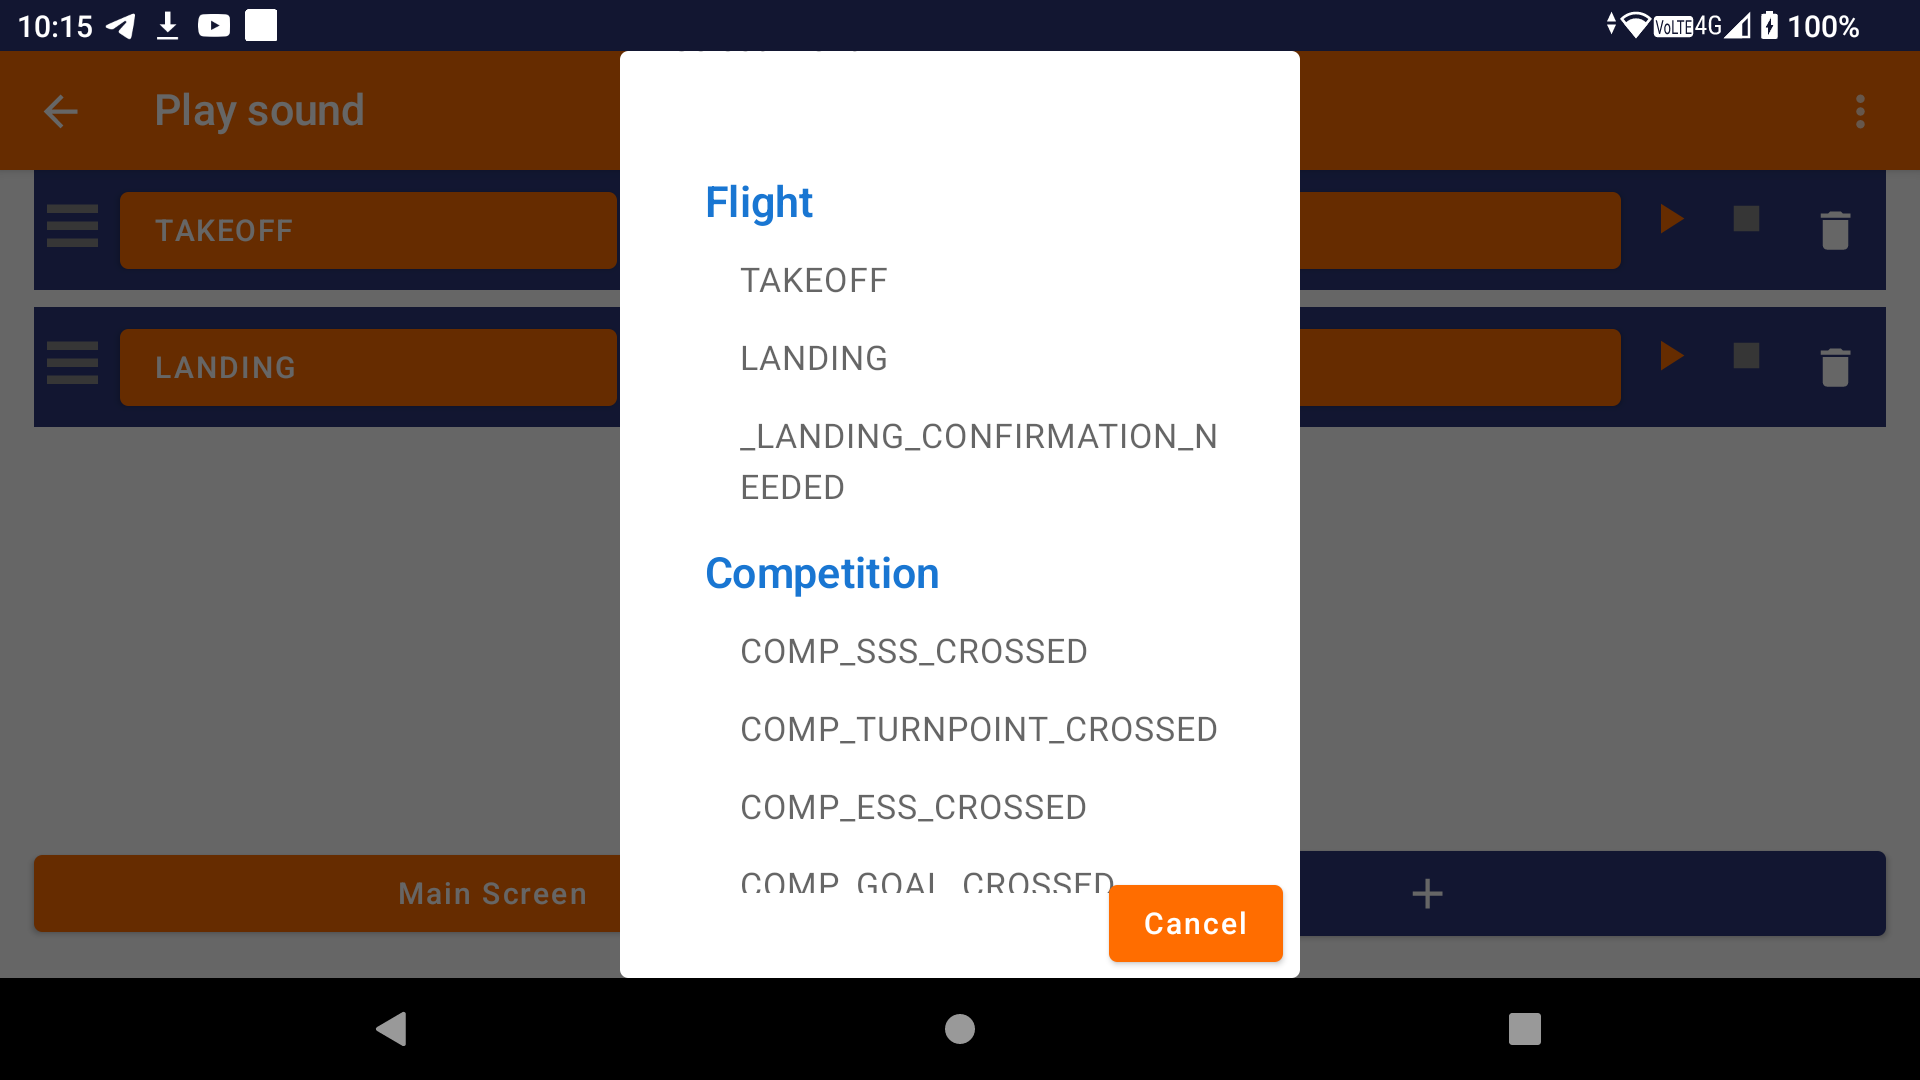
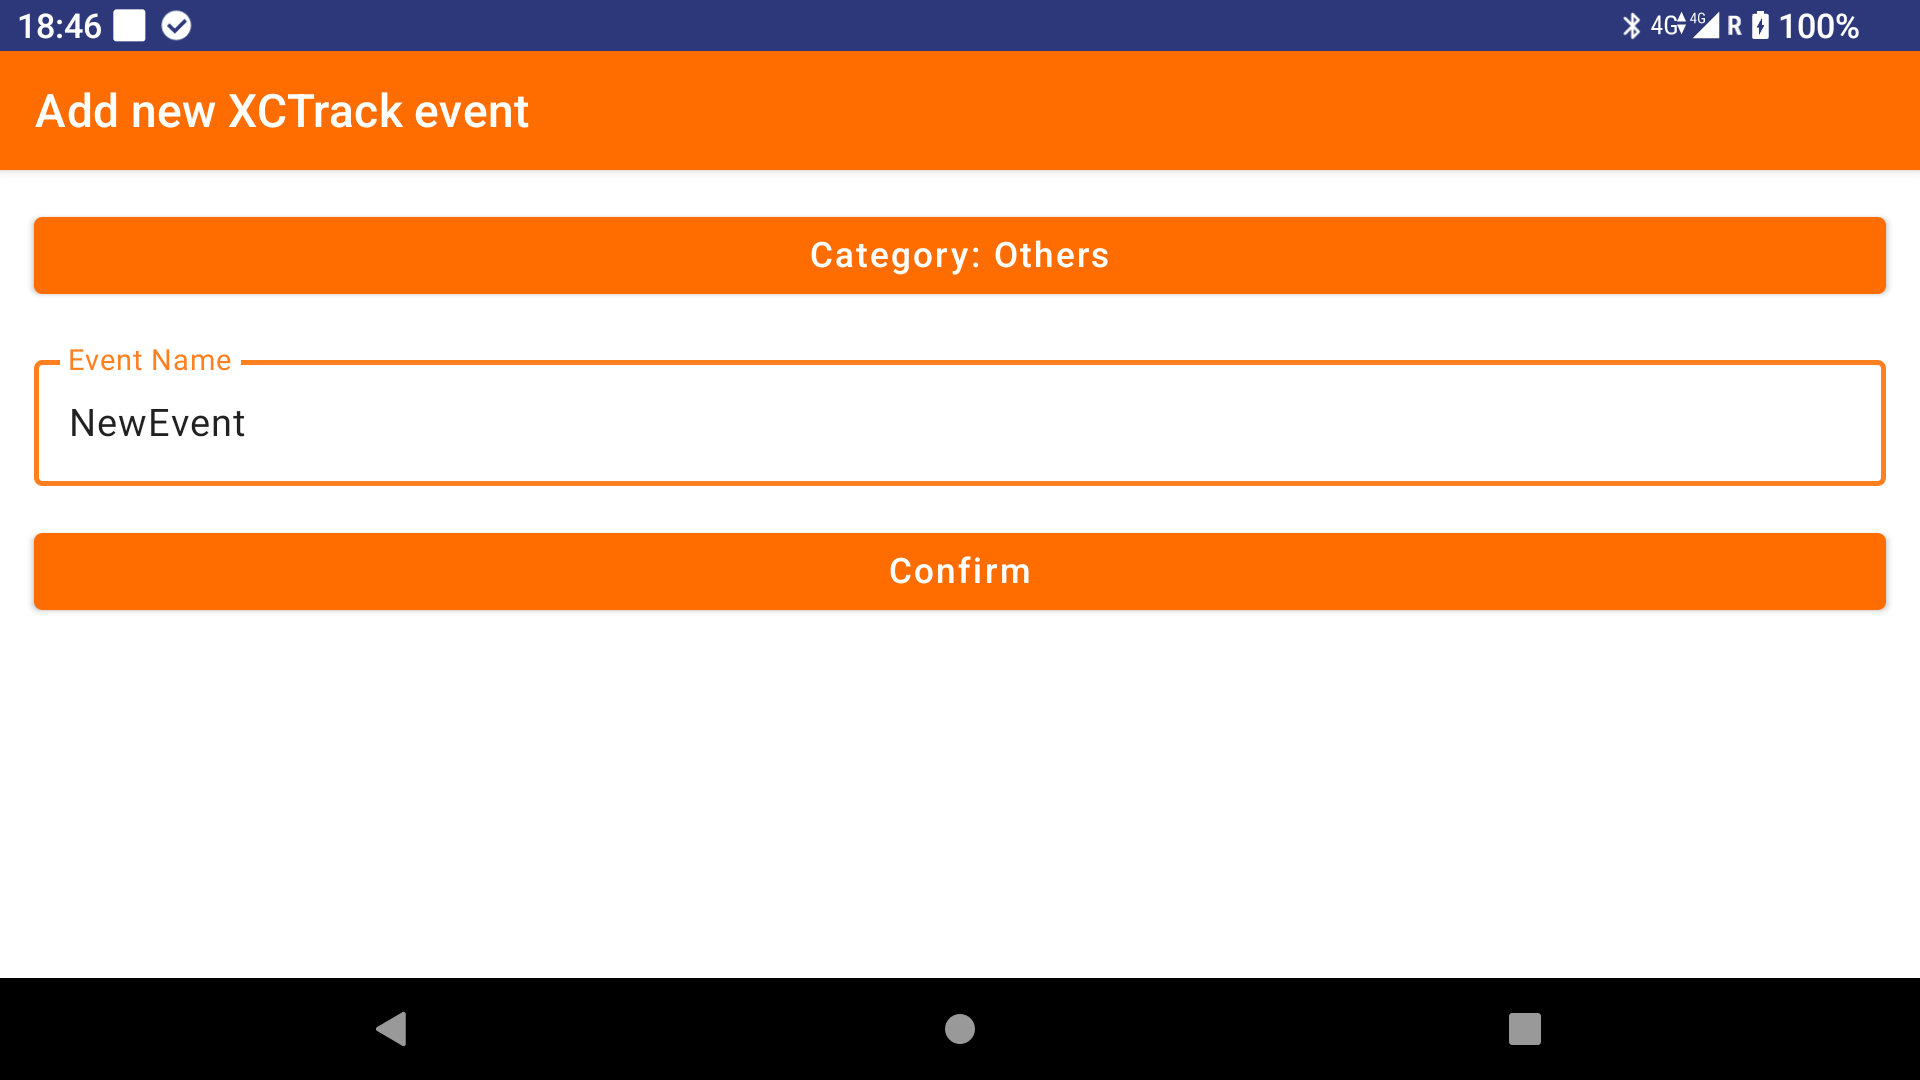
Il existe différents types d'événements : Décollage, atterrissage, franchissement d'un turnpoint, franchissement du début ou de la fin d'une section de vitesse pendant la compétition, clic sur un bouton spécifique (commande Bluetooth à distance ou bouton de l'appareil), clic sur un widget spécifique, avertissements liés à la proximité d'une zone d'espace aérien, etc.
Les types de tâches suivants peuvent être définis :
– Démarrer ou arrêter le son du vario instantané
– Jouer un son spécifique
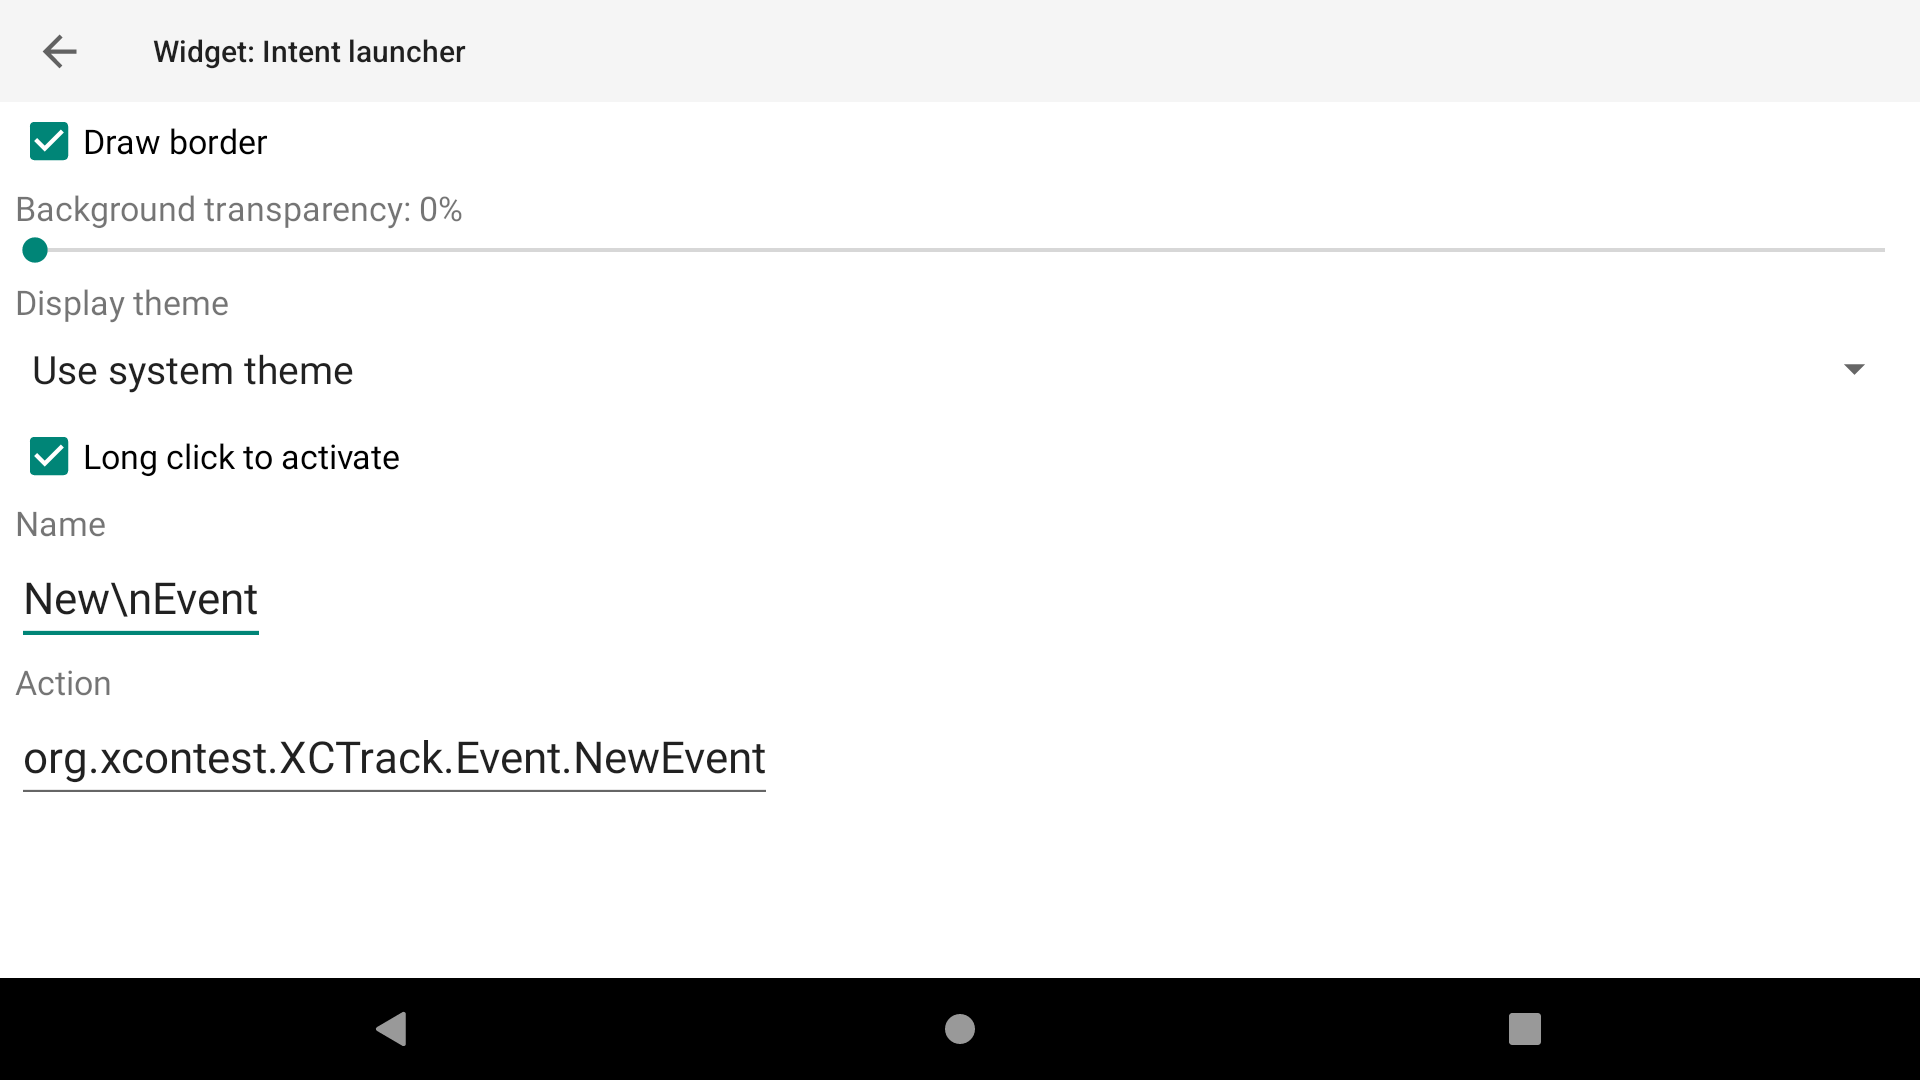
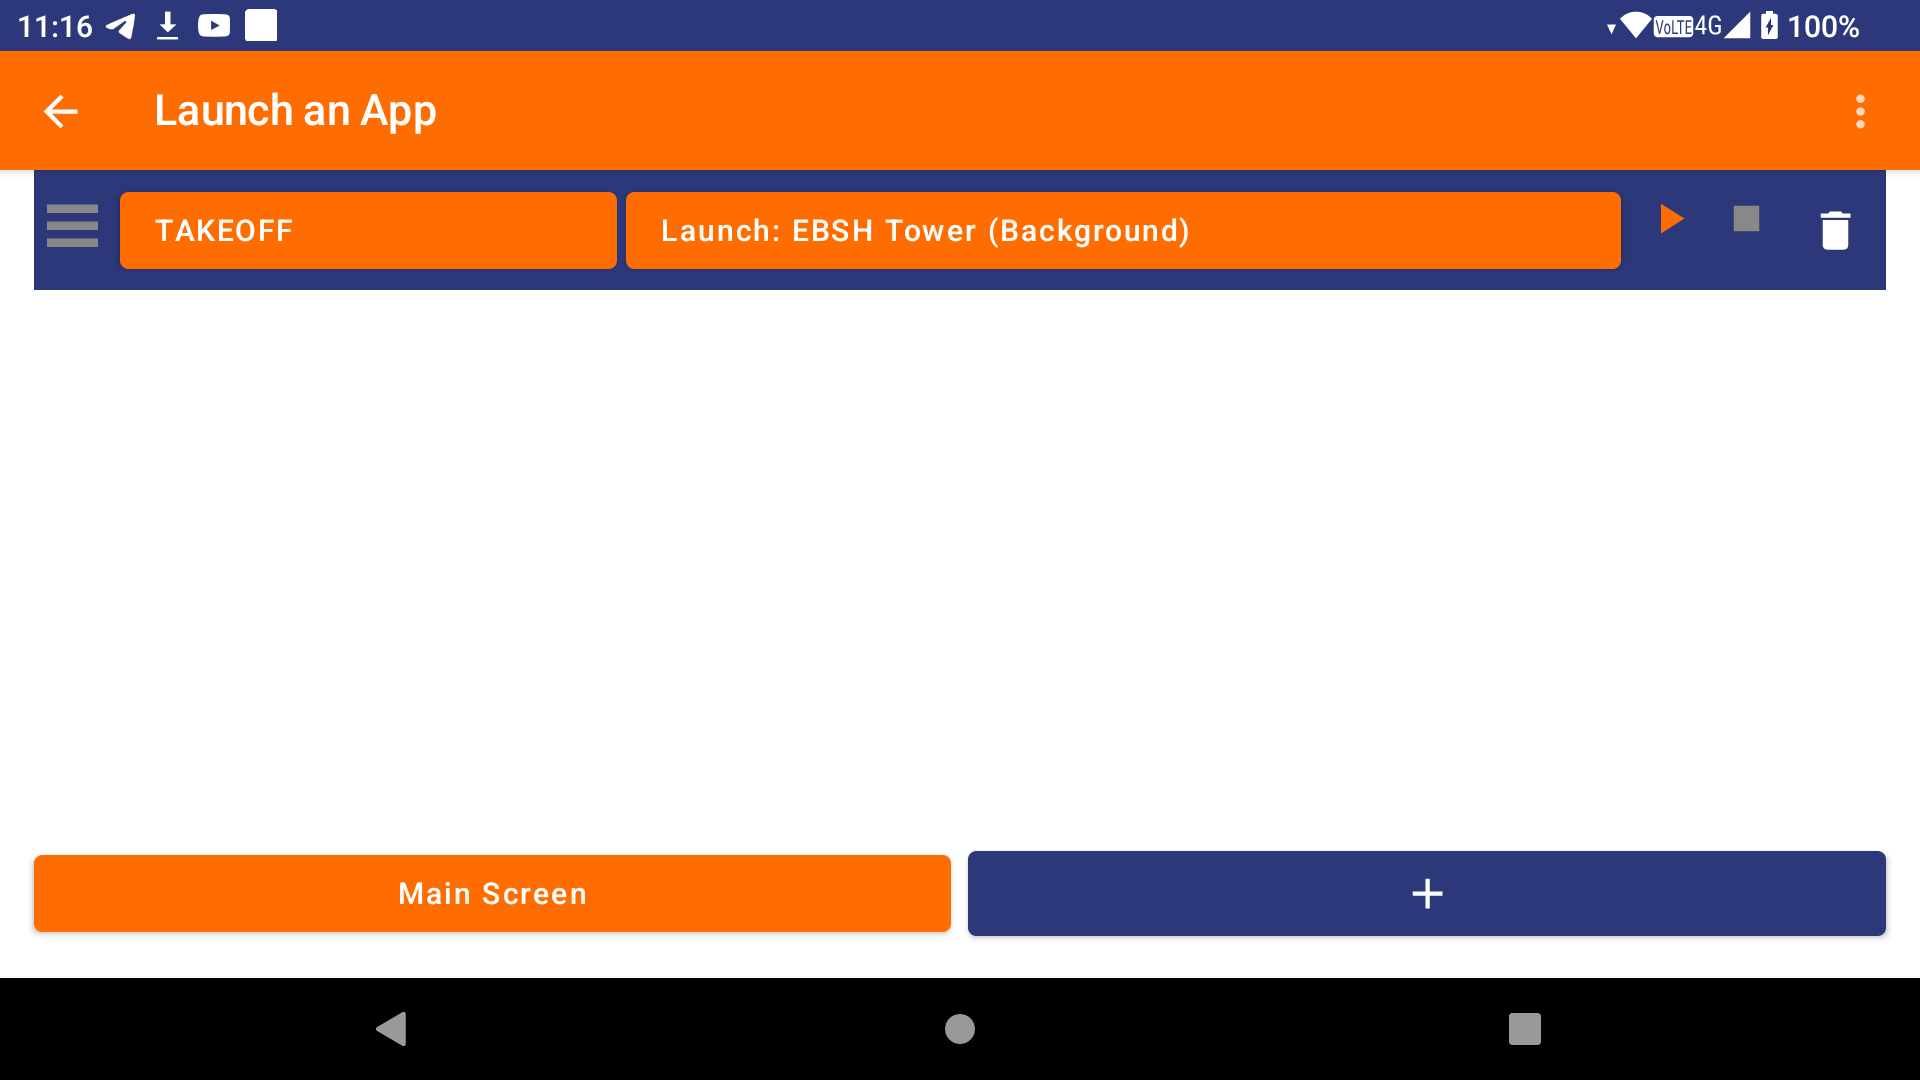
– Lancer une application spécifique au premier plan ou en arrière-plan
– Commander votre GoPro
– Zello PTT
– Envoyer un message Telegram et/ou ma position à un groupe
– Rapport d'atterrissage en toute sécurité par message Telegram et/ou SMS
– Exporter la trace vers un serveur spécifique
Considérations techniques : utilisez AIR³ Upgrader pour vous assurer que vous disposez des dernières versions de XCTrack (version 0.9.12.3.11 ou supérieure) et AIR³ Manager. Sinon, le module complémentaire AIR³ XCT ne fonctionnera pas comme prévu. Bien que AIR³ Manager ne soit pas nécessaire au fonctionnement du module complémentaire AIR³ XCT, il vous permet de configurer un lancement automatique au démarrage, de sorte que la configuration fonctionnera automatiquement à chaque fois sans que vous ayez à vous soucier de la démarrer manuellement.
Si vous avez lu ces instructions et que vous rencontrez des difficultés pour faire fonctionner correctement le AIR³ XCT Addon, consultez cette FAQ.