fbpx
July 2, 2025

AIR³ XCT Addon manual

The AIR³ XCT add-on enhances the functionality of XCTrack.

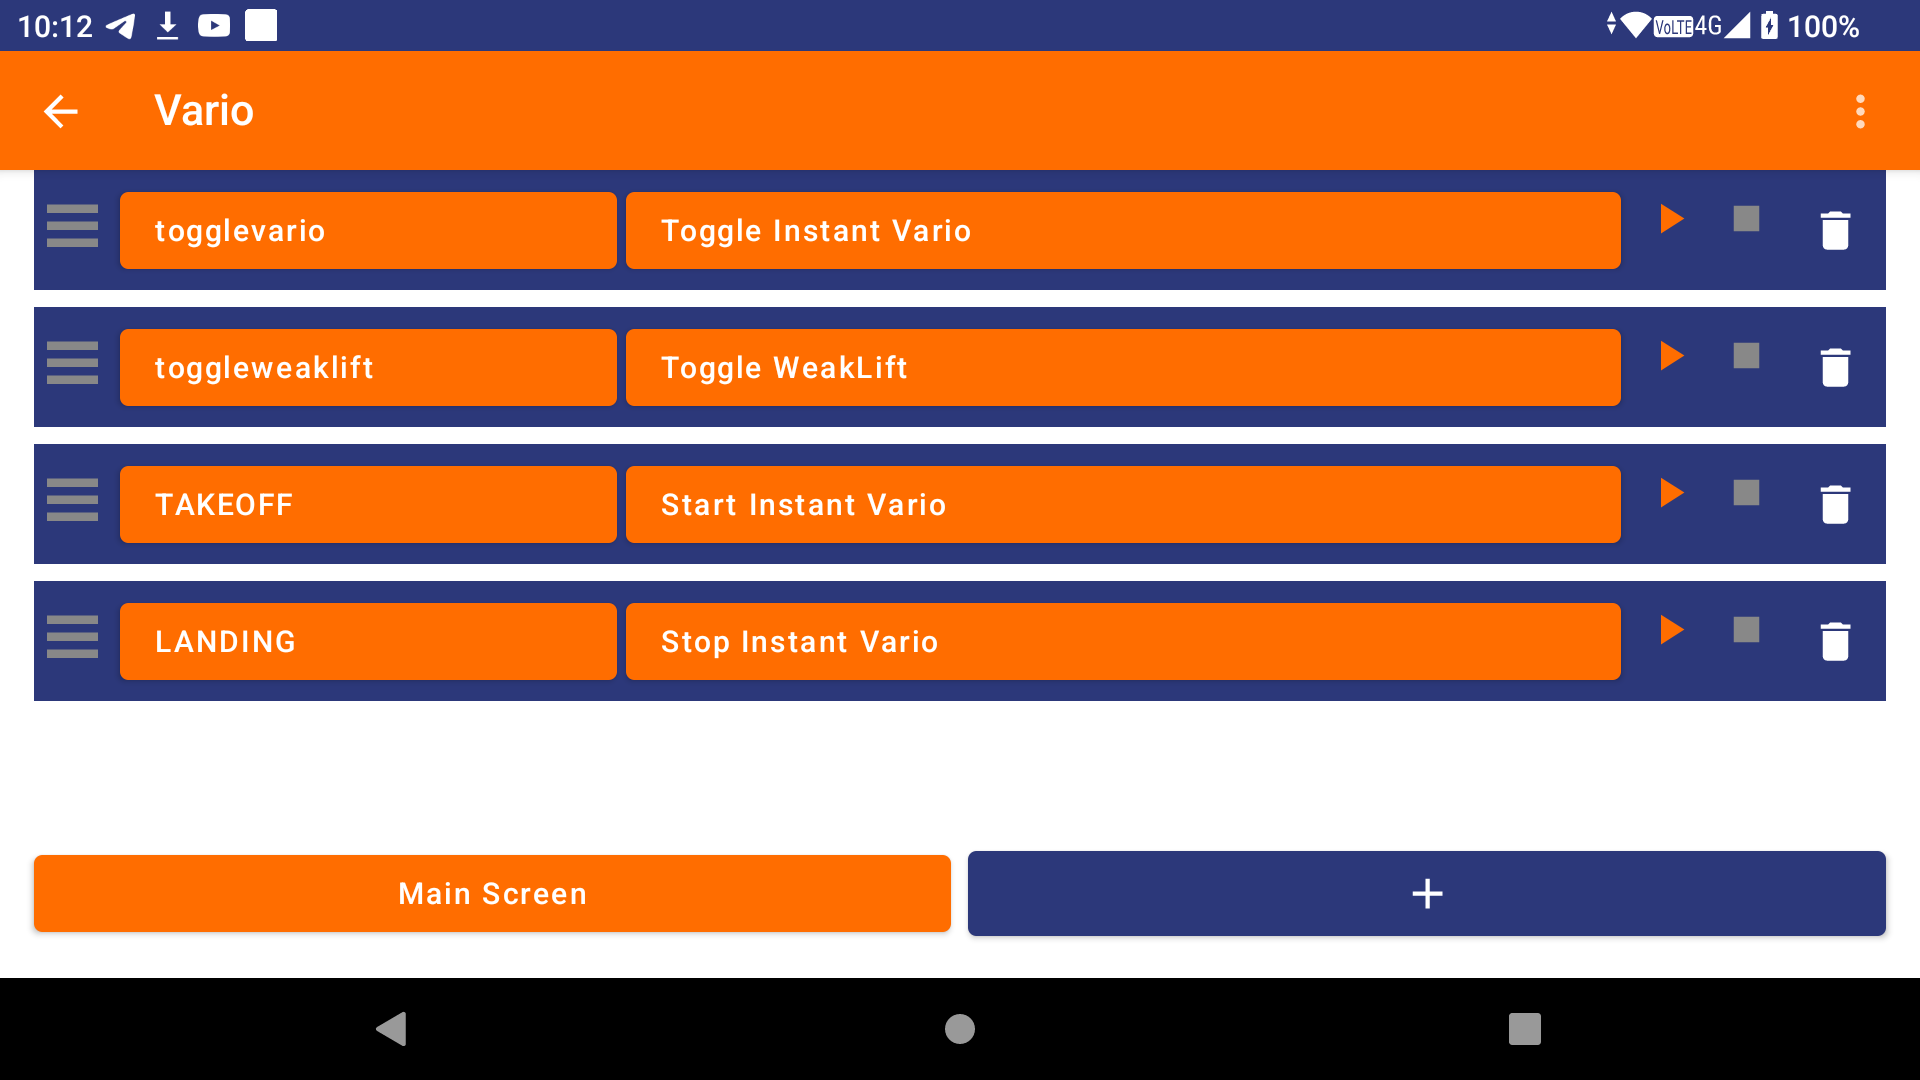
Events generated by XCTrack are caught by the AIR³ XCT add-on, which then applies the defined task, based on combination rows.
Each combination row includes a trigger event and the task defined by the user.

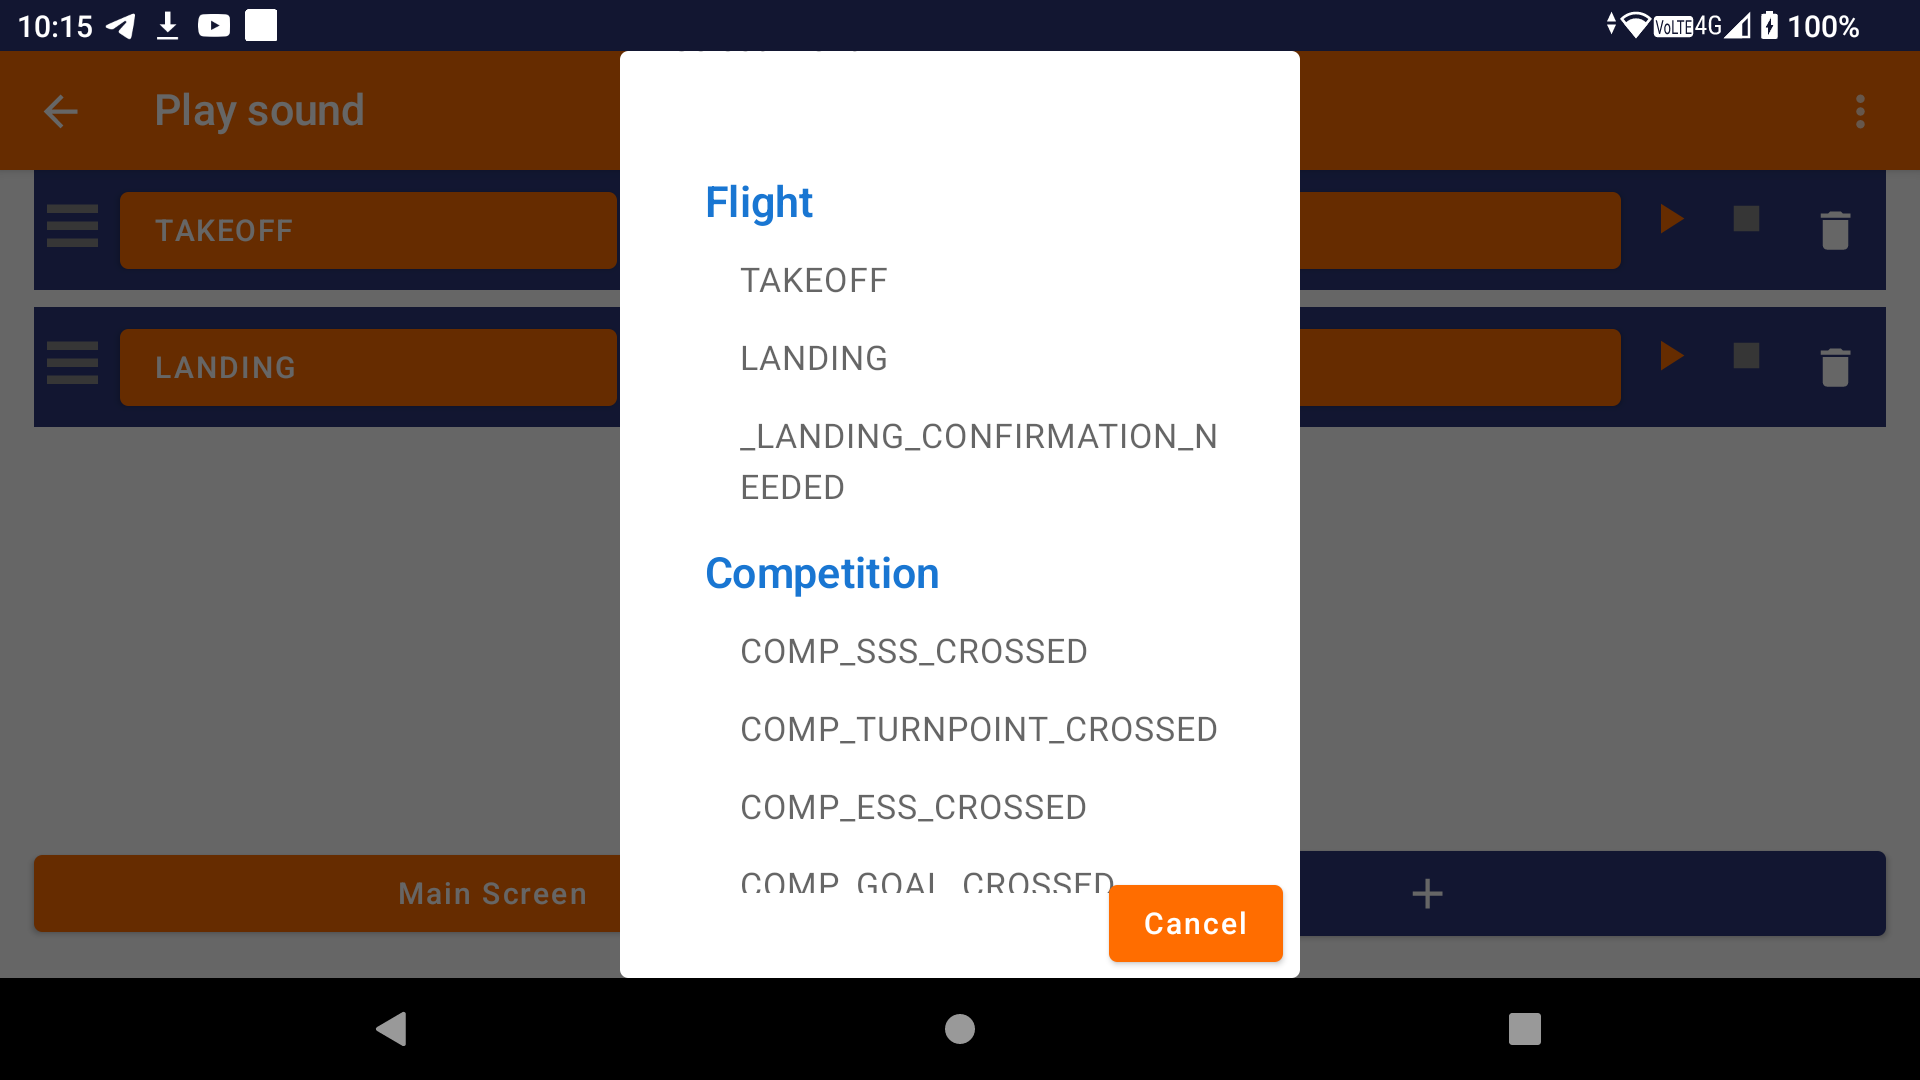
There are different types of event: Take-off, landing, crossing a turnpoint, crossing the start or the end of speed section during competition, clicking on a specific button (remote Bluetooth command or device button), clicking on a specific widget, warnings related to proximity of an airspace zone, etc.

The following types of task can be defined: Zello PTT, play a specific sound, send a Telegram message to a group, send my Telegram position to a group, launch a specific app in the foreground or background.

Technical considerations: Use the AIR³ Upgrader to ensure you are using the latest versions of XCTrack and AIR³ Manager. Otherwise, the AIR³ XCT add-on will not work.

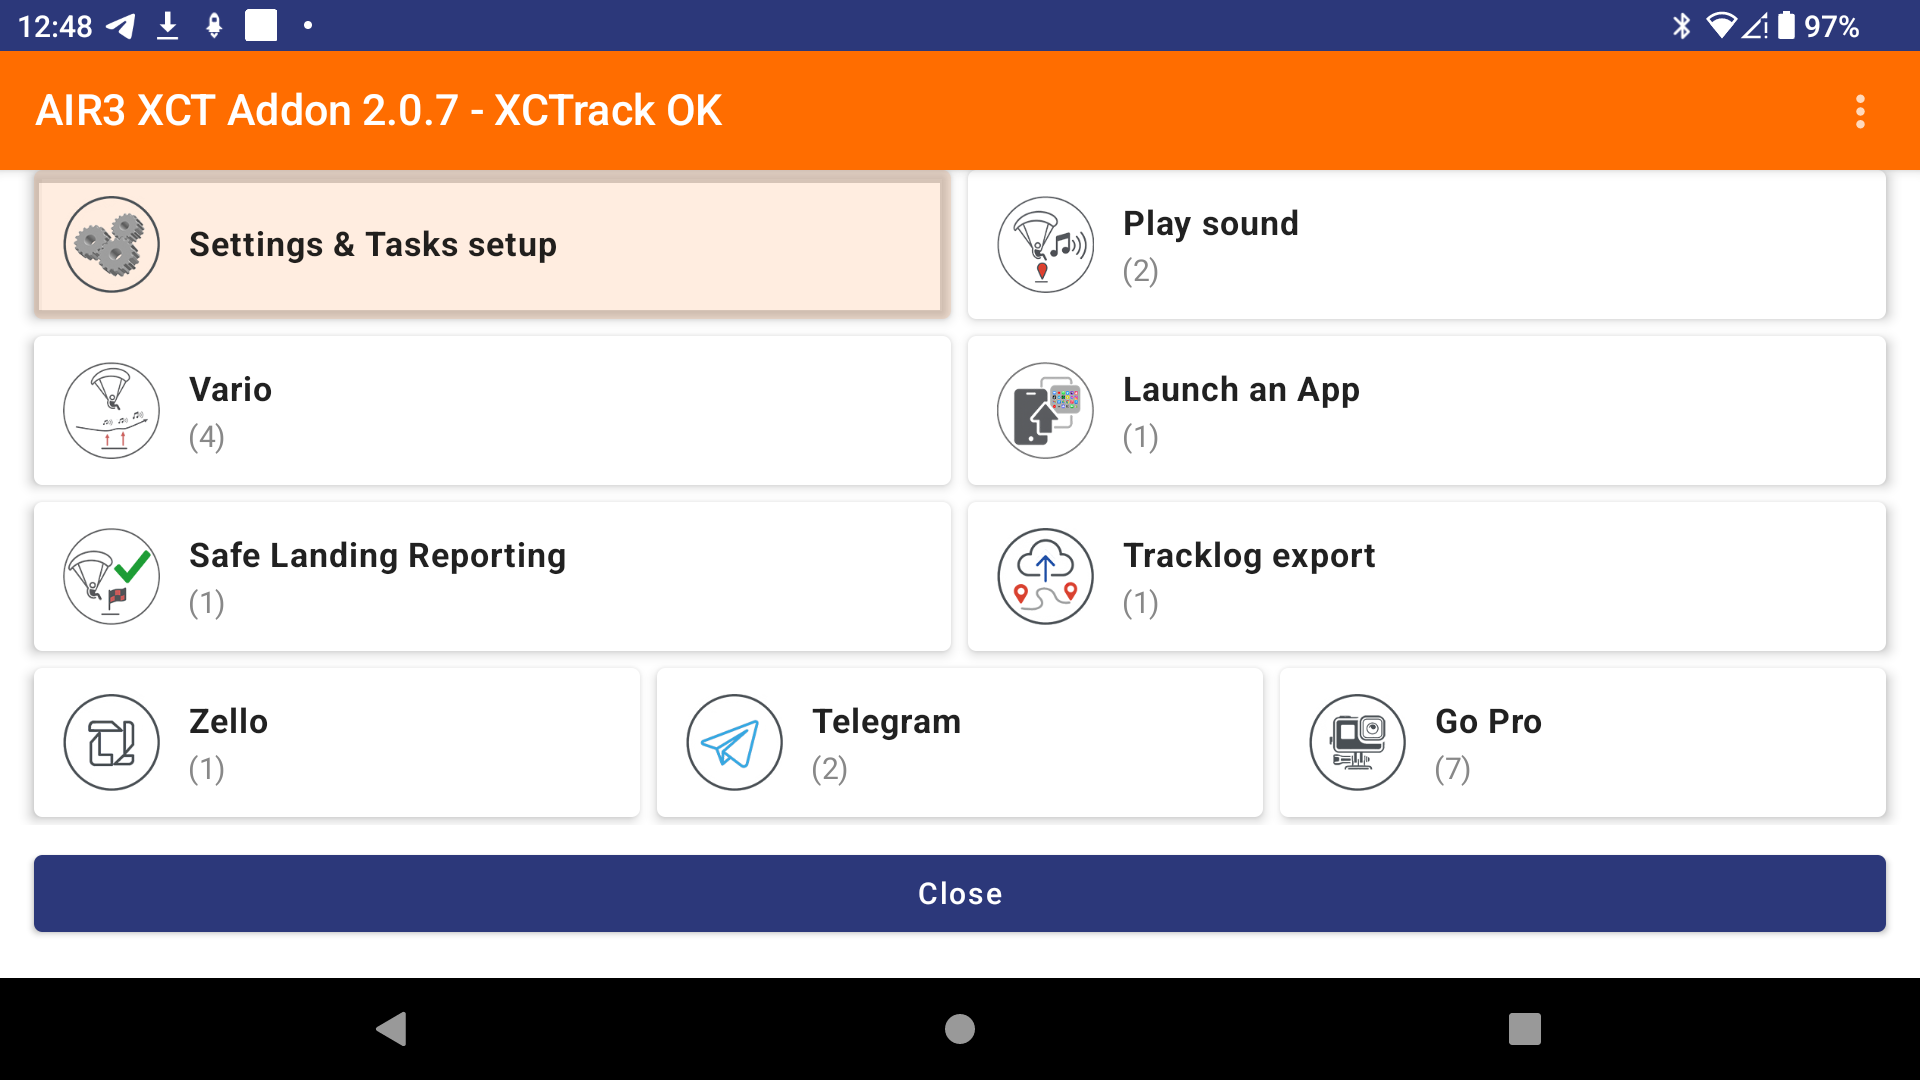
In the main screen, you combine a trigger event with a task. This is what we will call a combination row.

With an AIR³, you can add as many combination rows as you want. This app can be used with any other Android device but it will then limited to one combination row. For example, with a regular phone, you can use a BT remote button to communicate through Zello with XCTrack running in the foreground (see below more details how to use Zello).

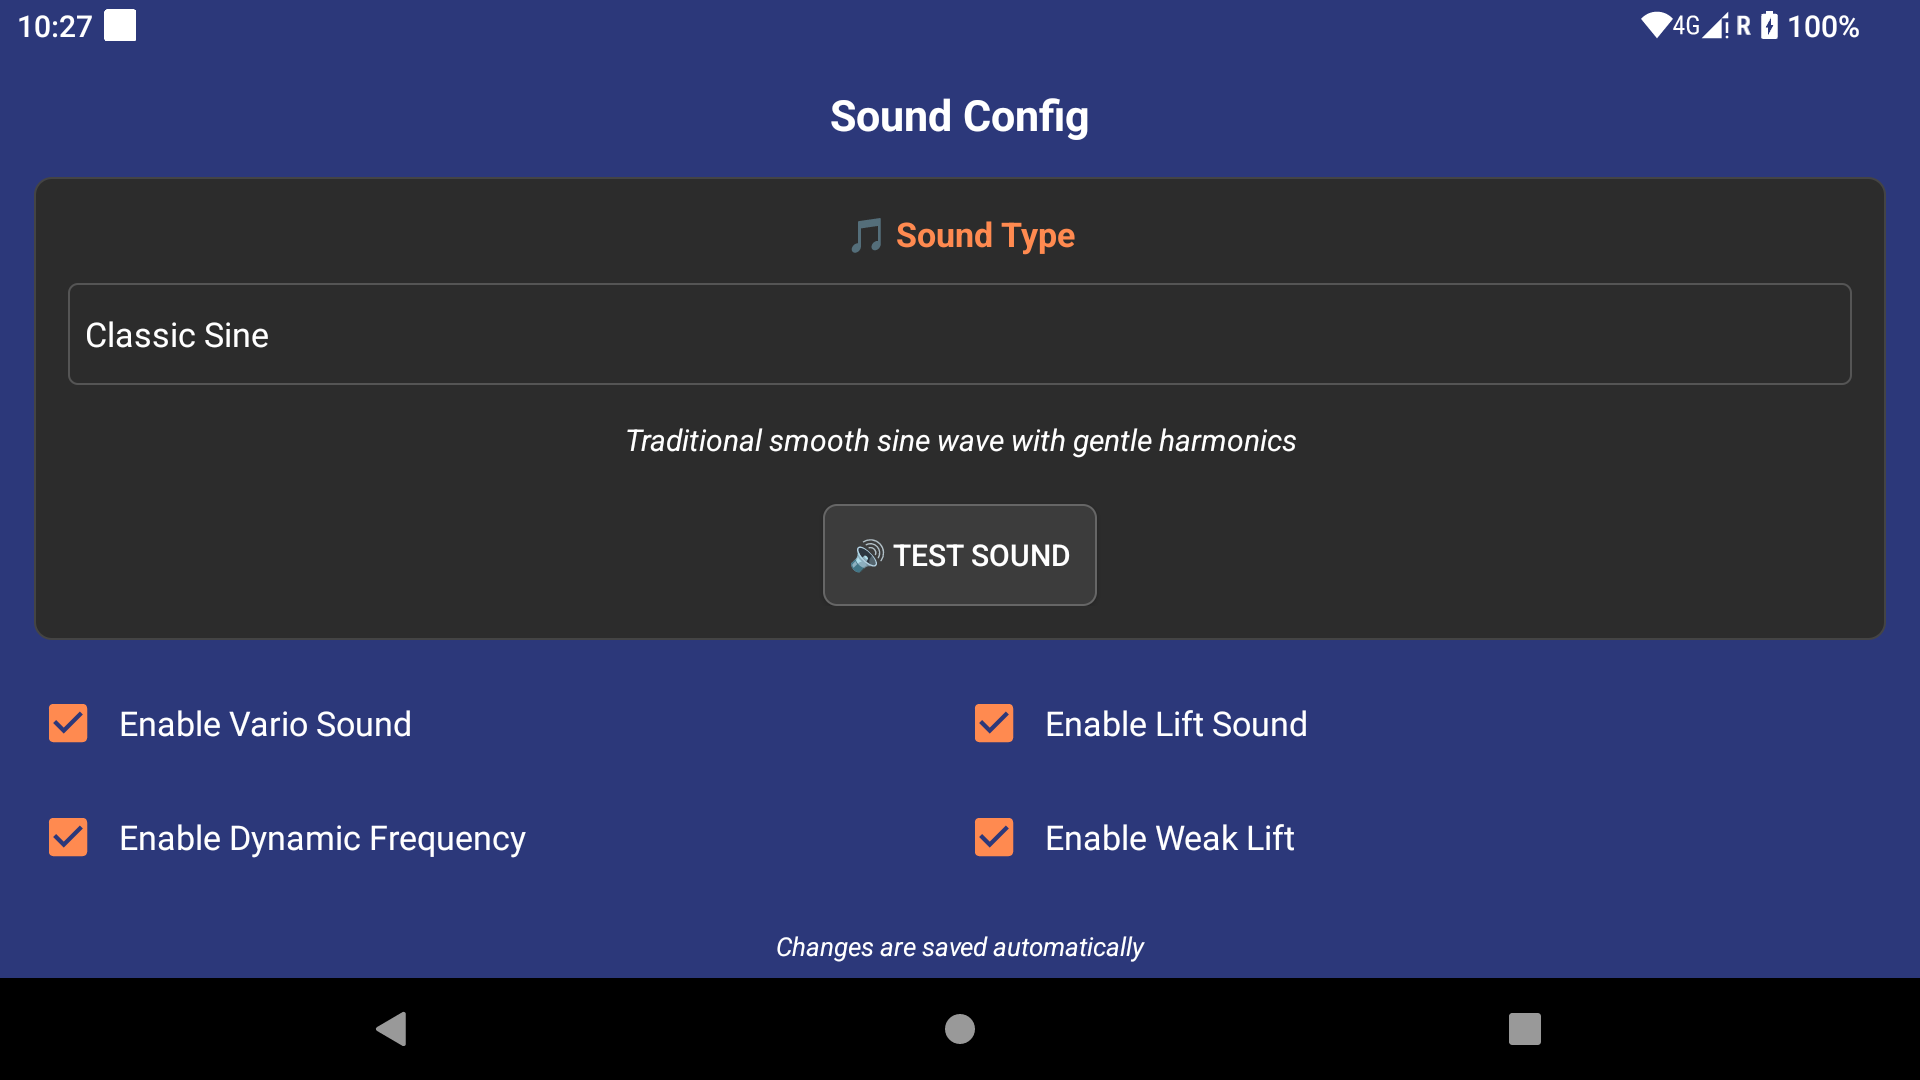
By default, without any specific configuration, you can combine an existing XCTrack event with a sound.

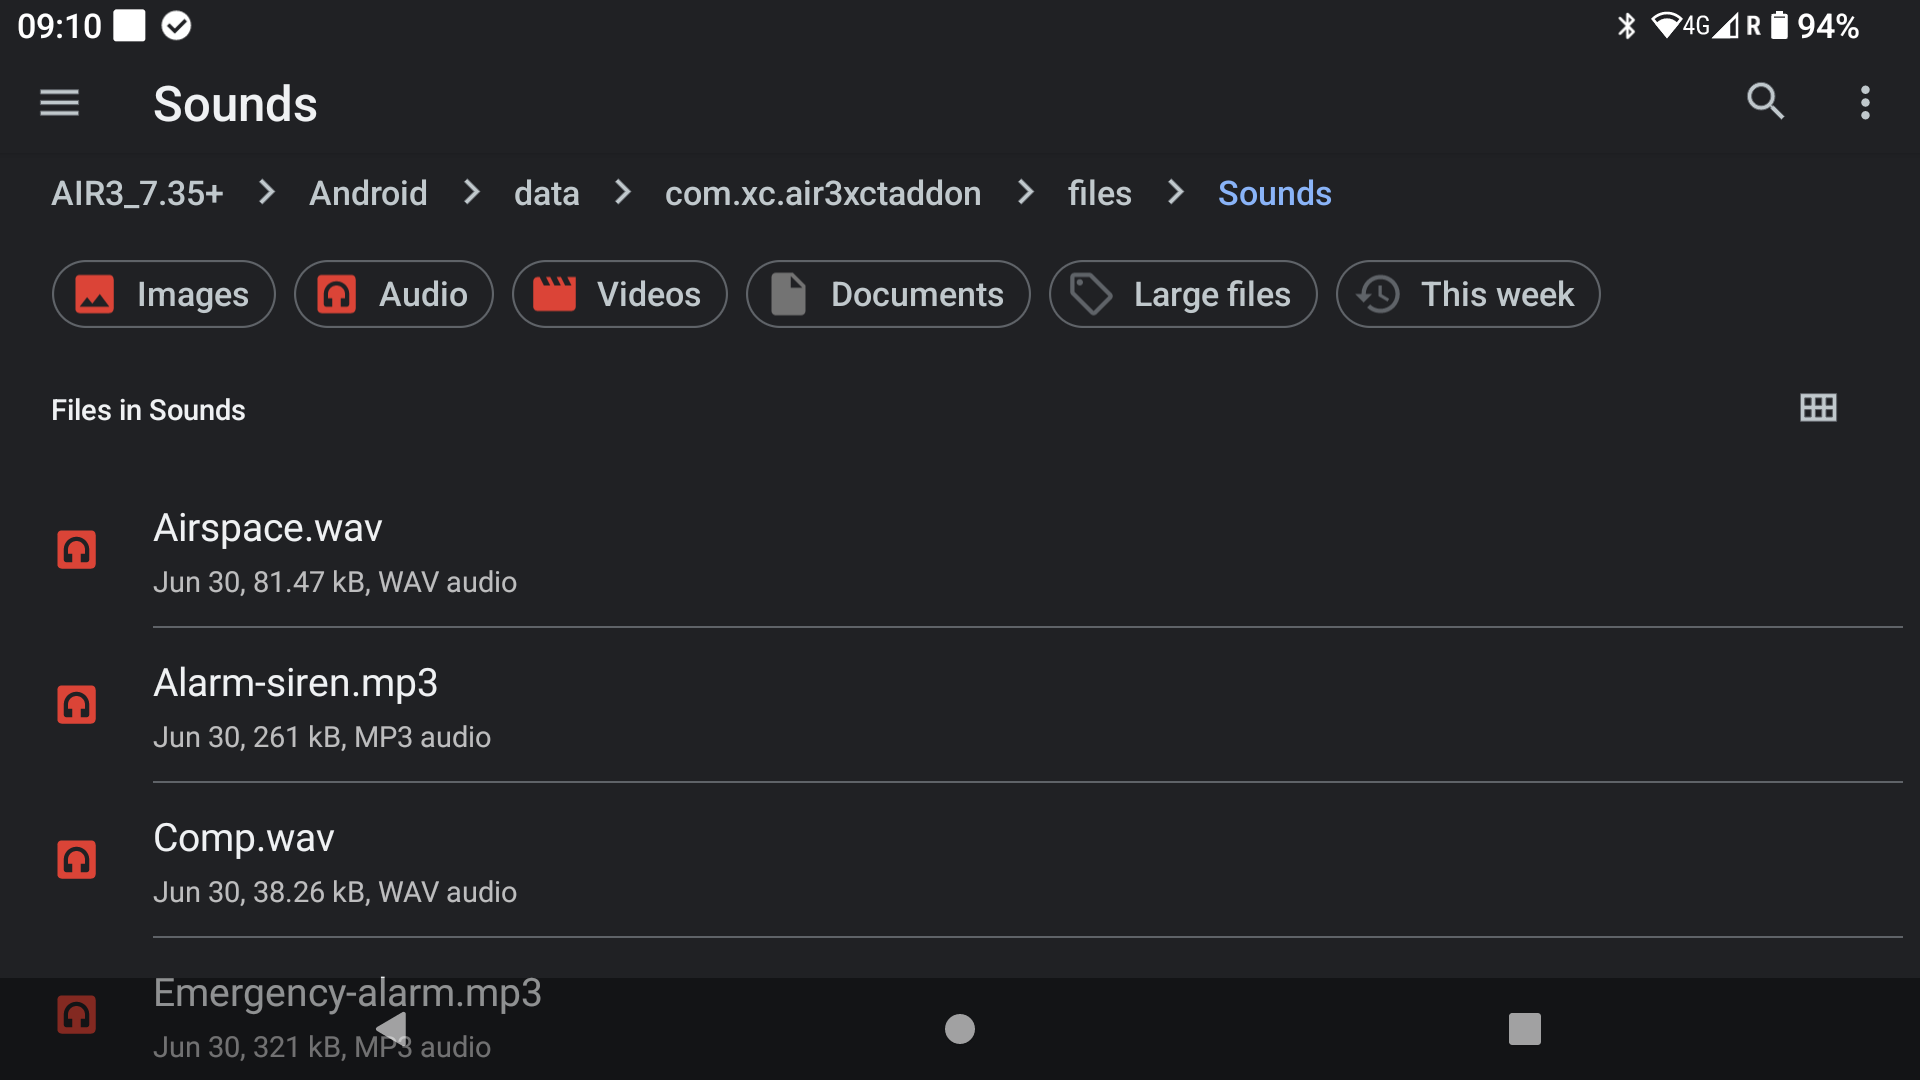
You can use either the existing sound files or your own. If you want to use your own sound, add the file to the AIR³ XCT Addon sounds folder.
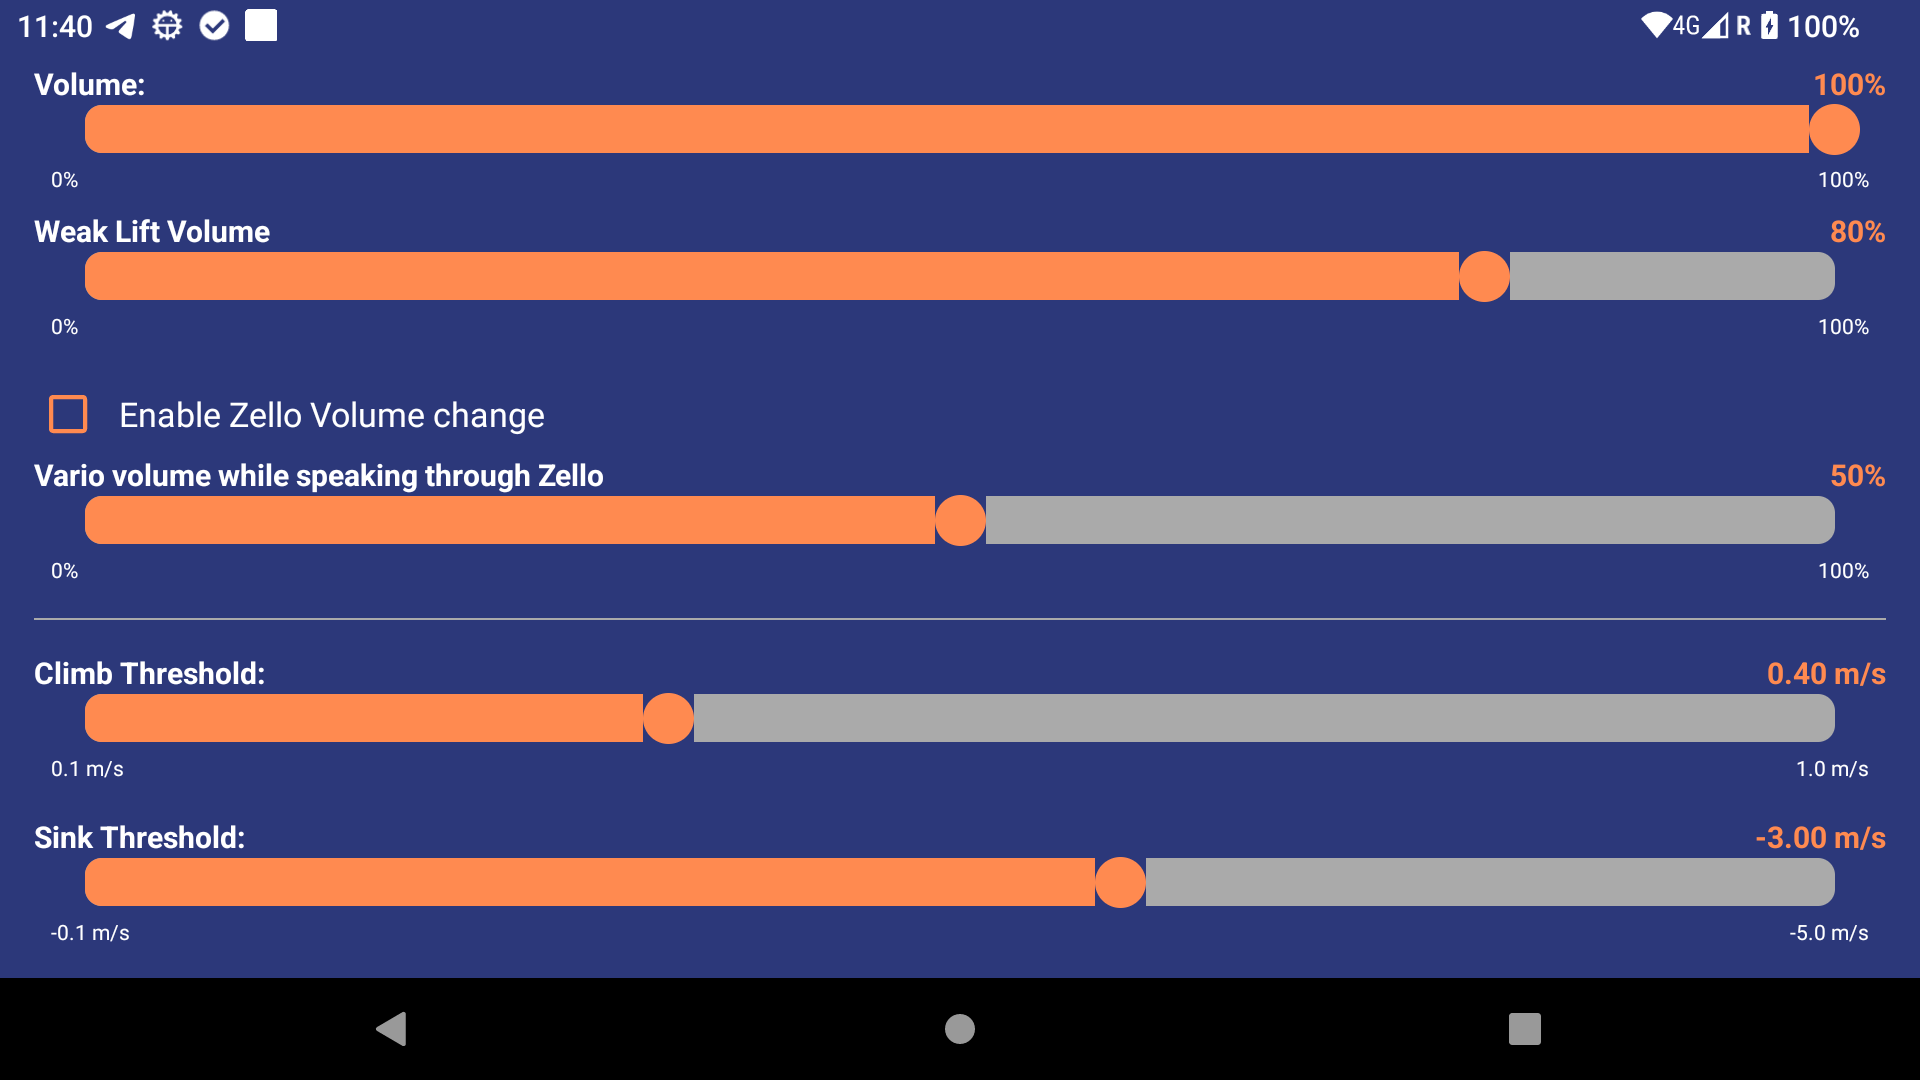
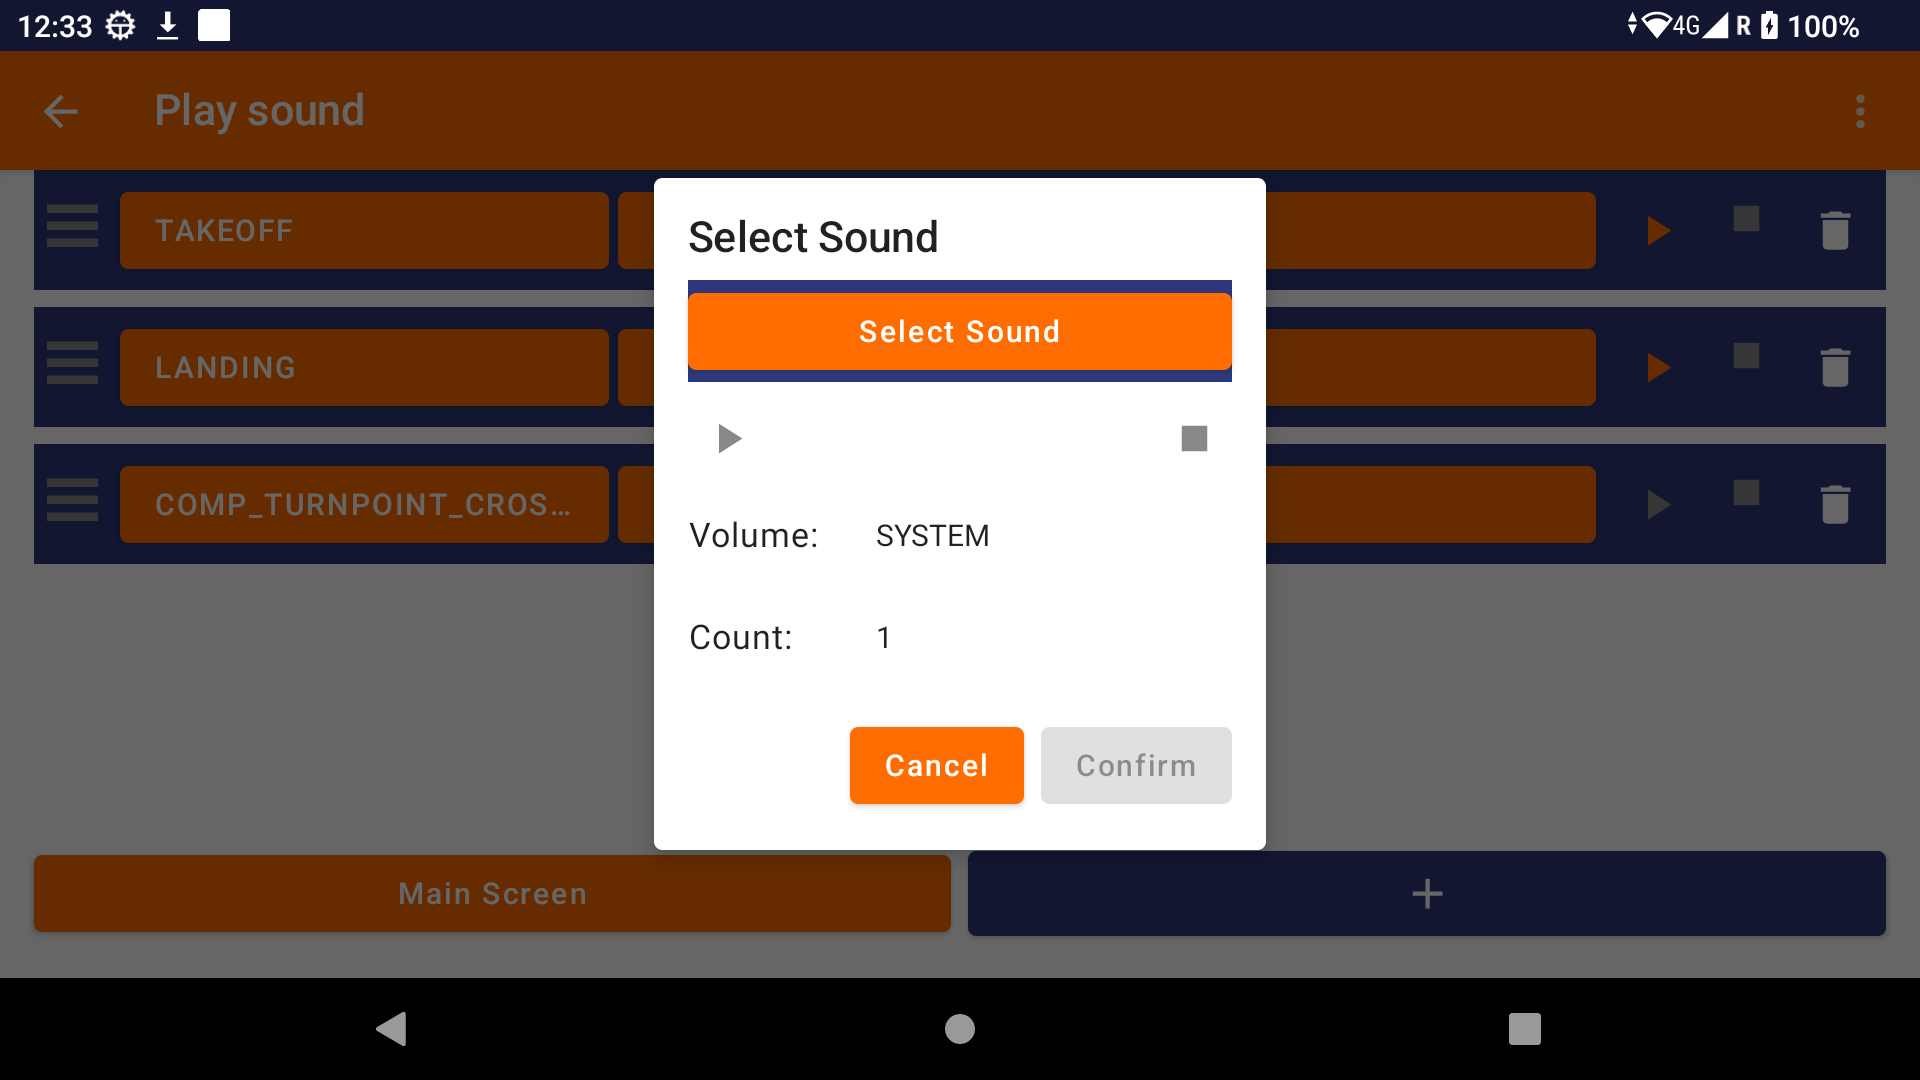
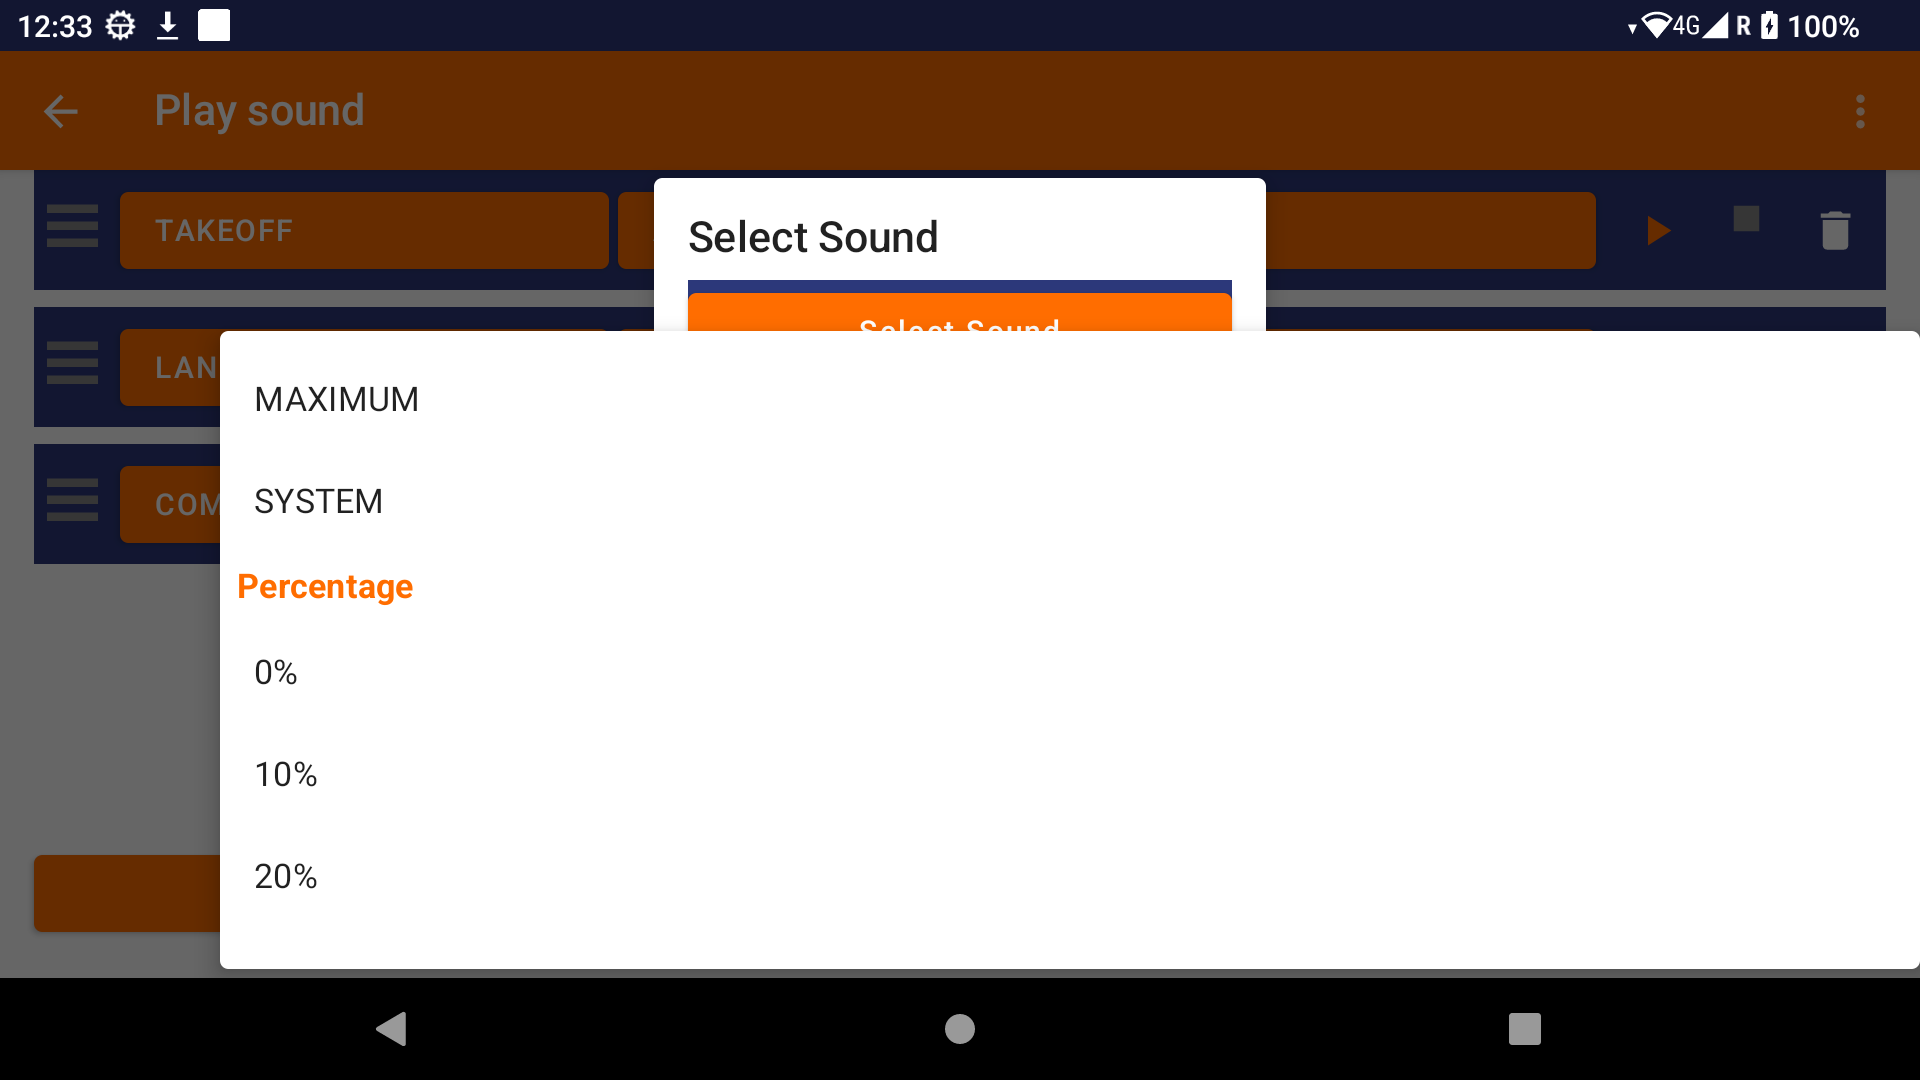
Once selected, you can adjust the volume and specify how many times the sound should play.

Click on the triangle to play the sound.


XCTrack already contains a lot of predefined events.
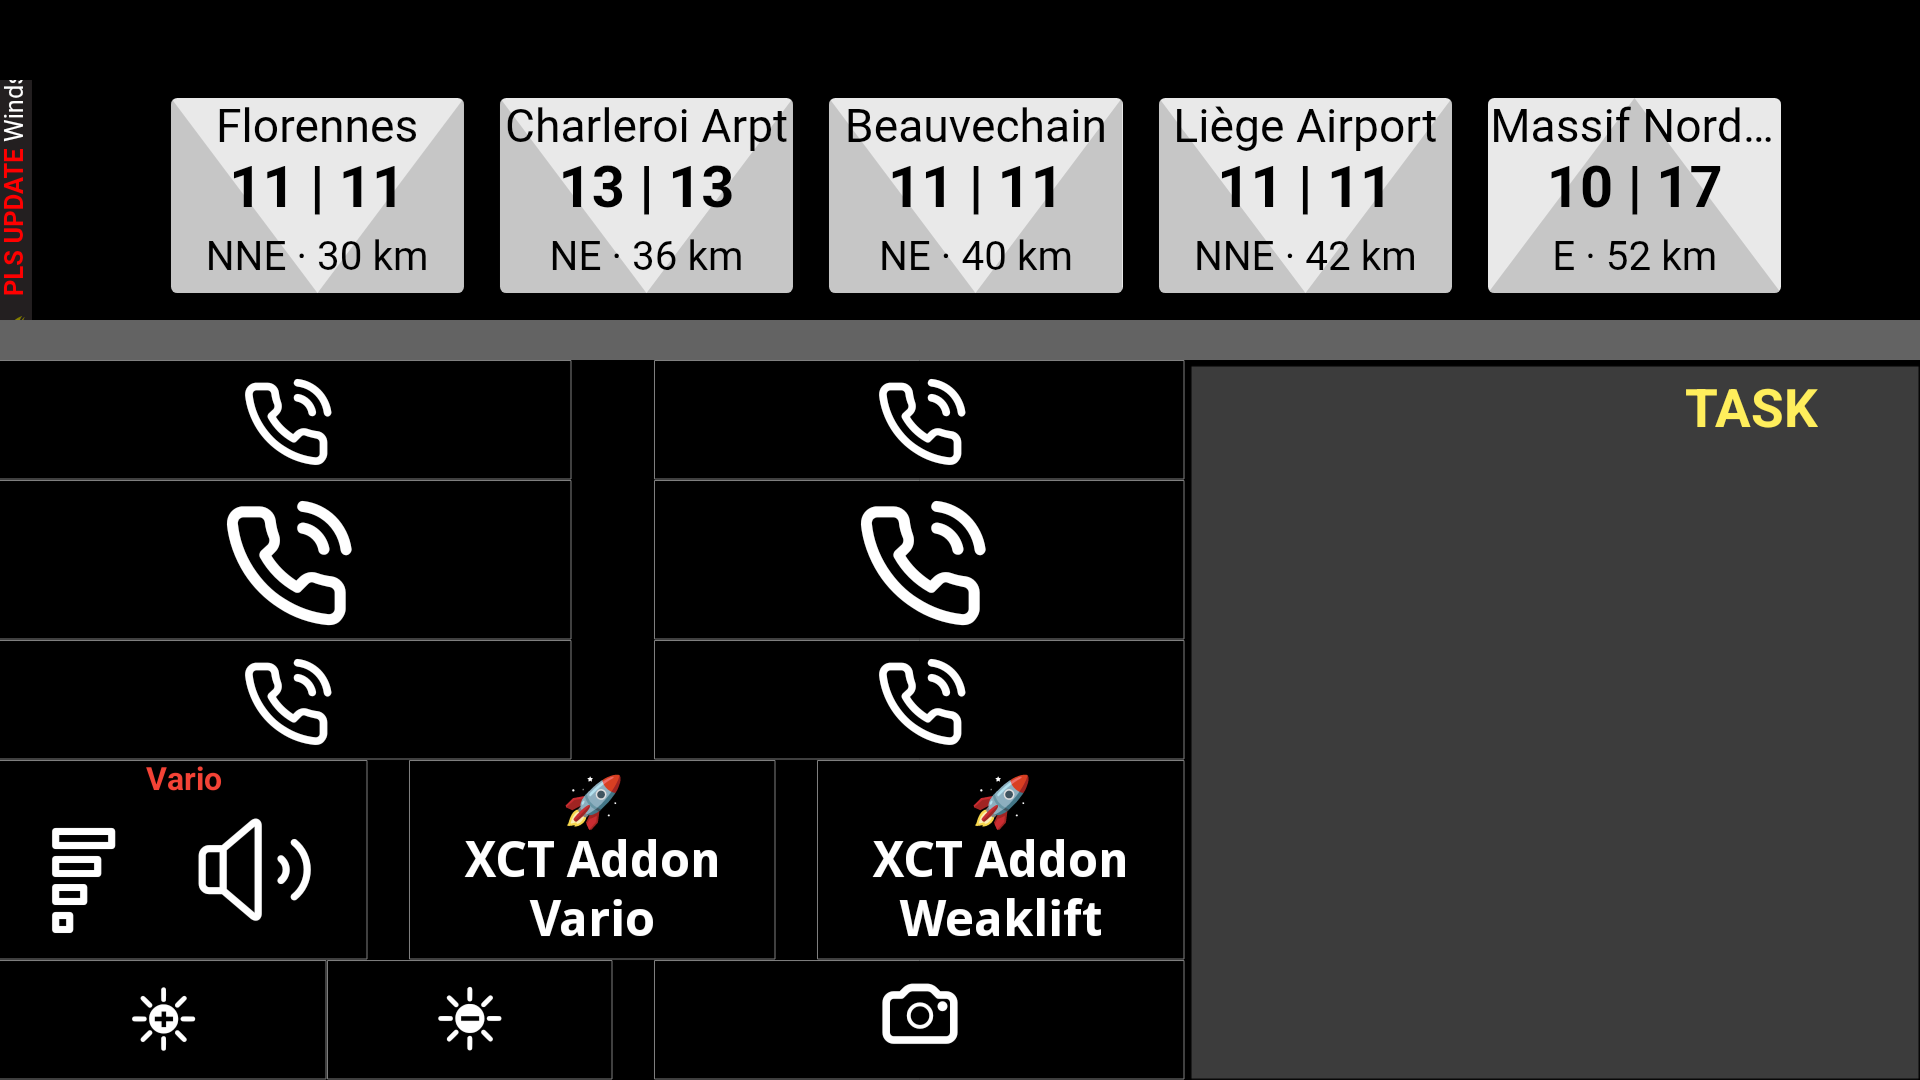
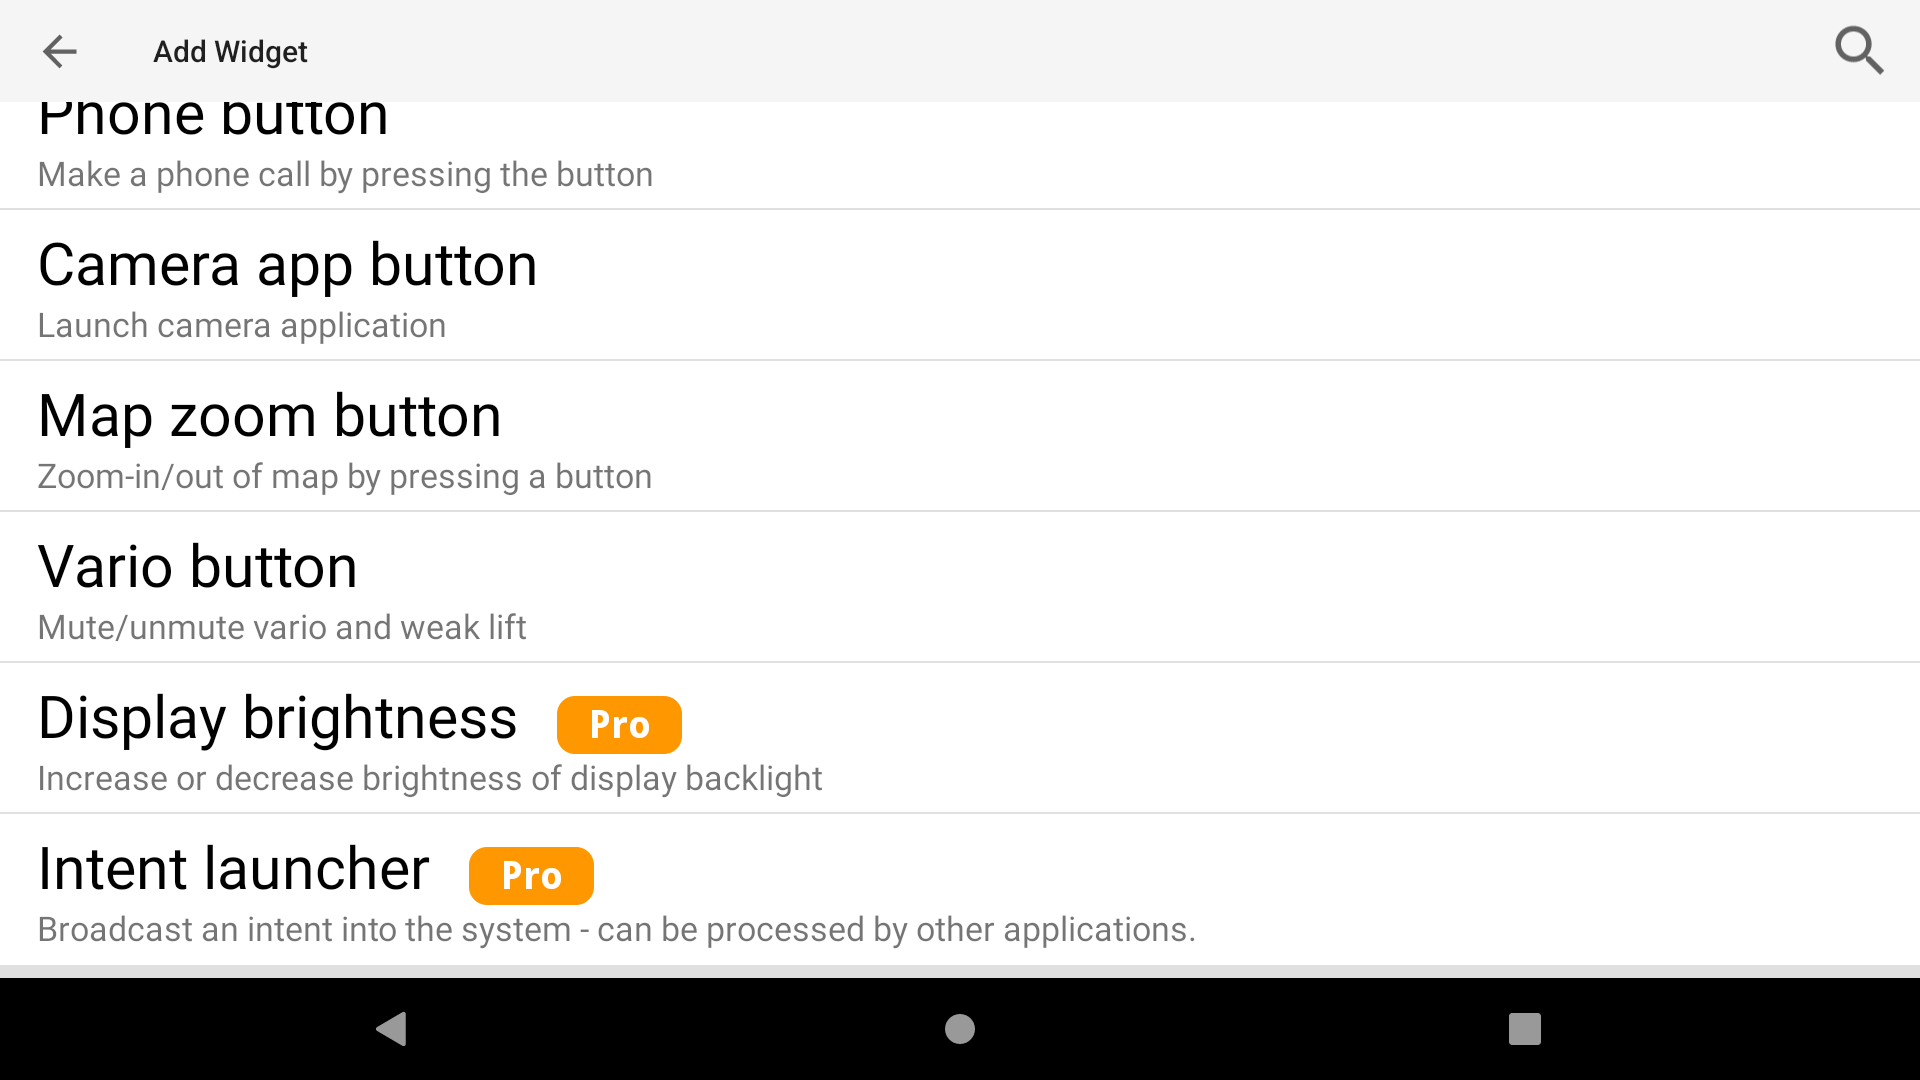
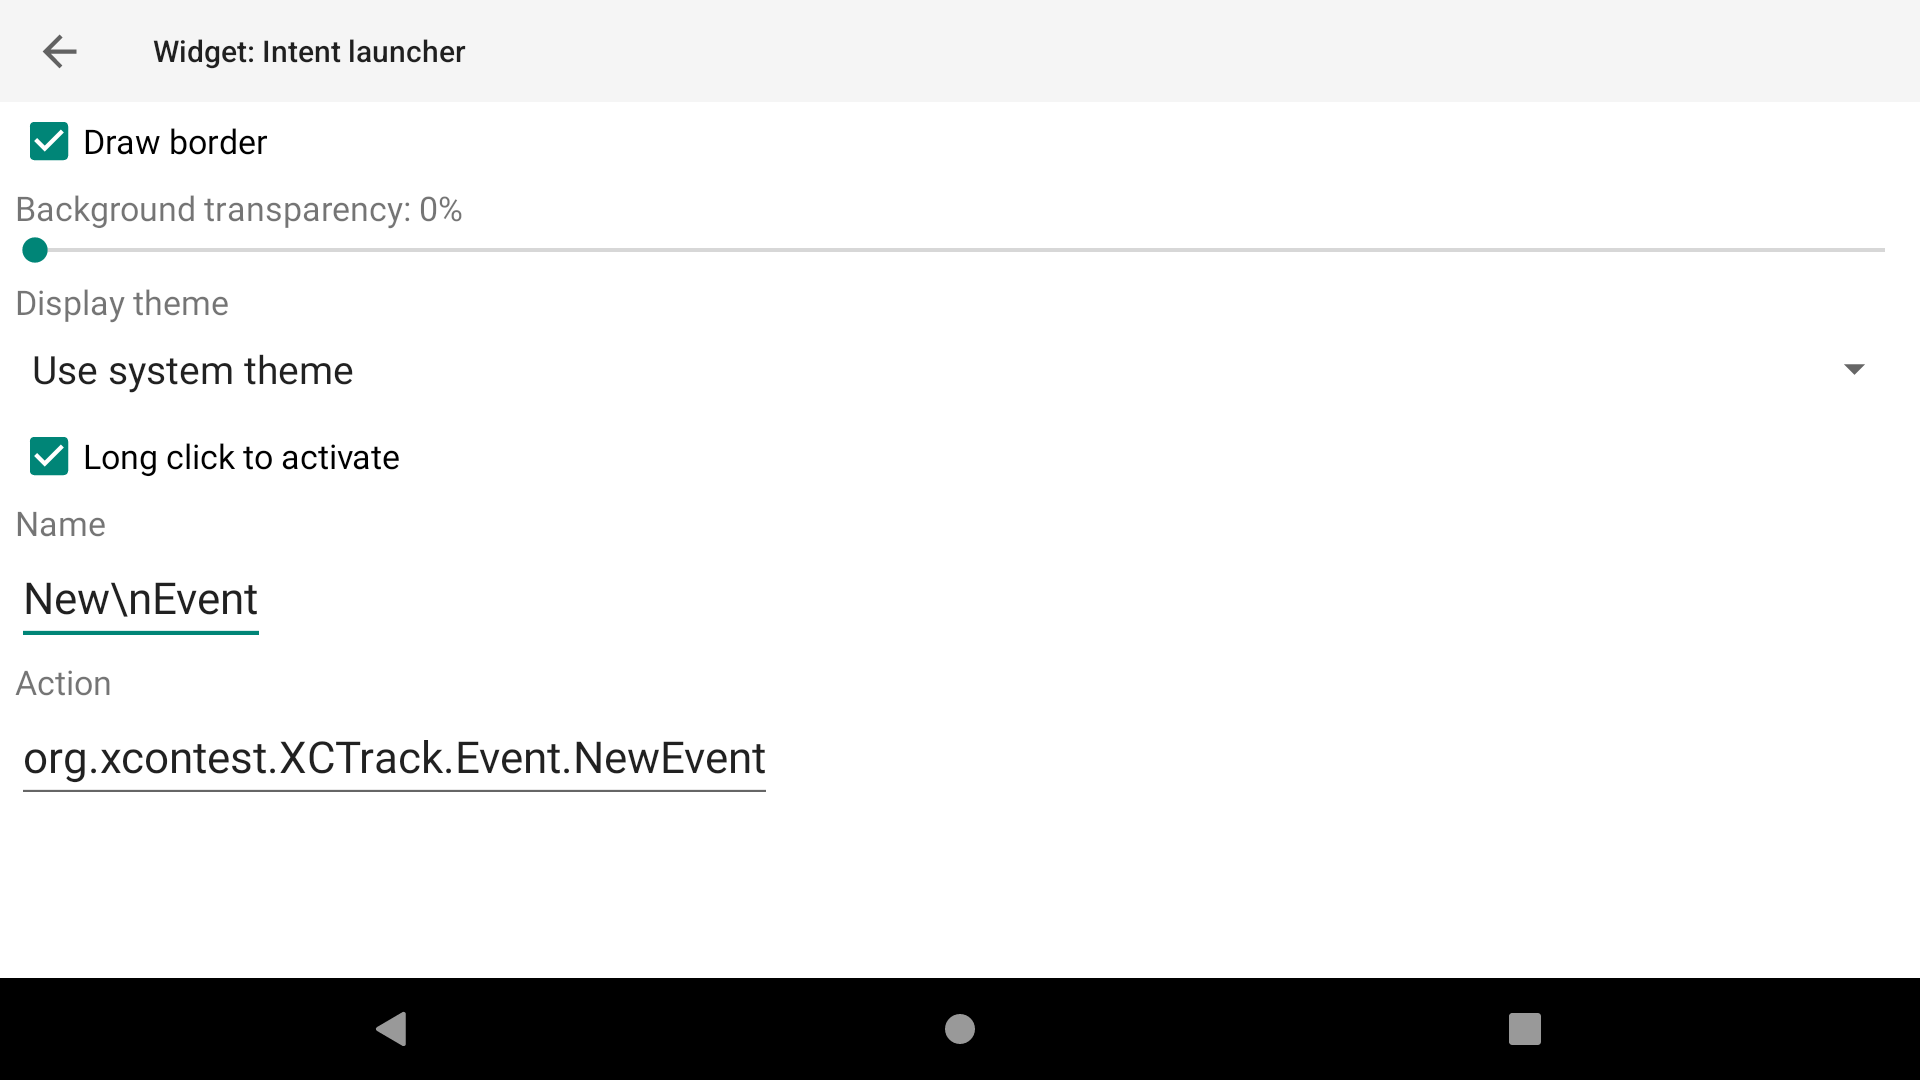
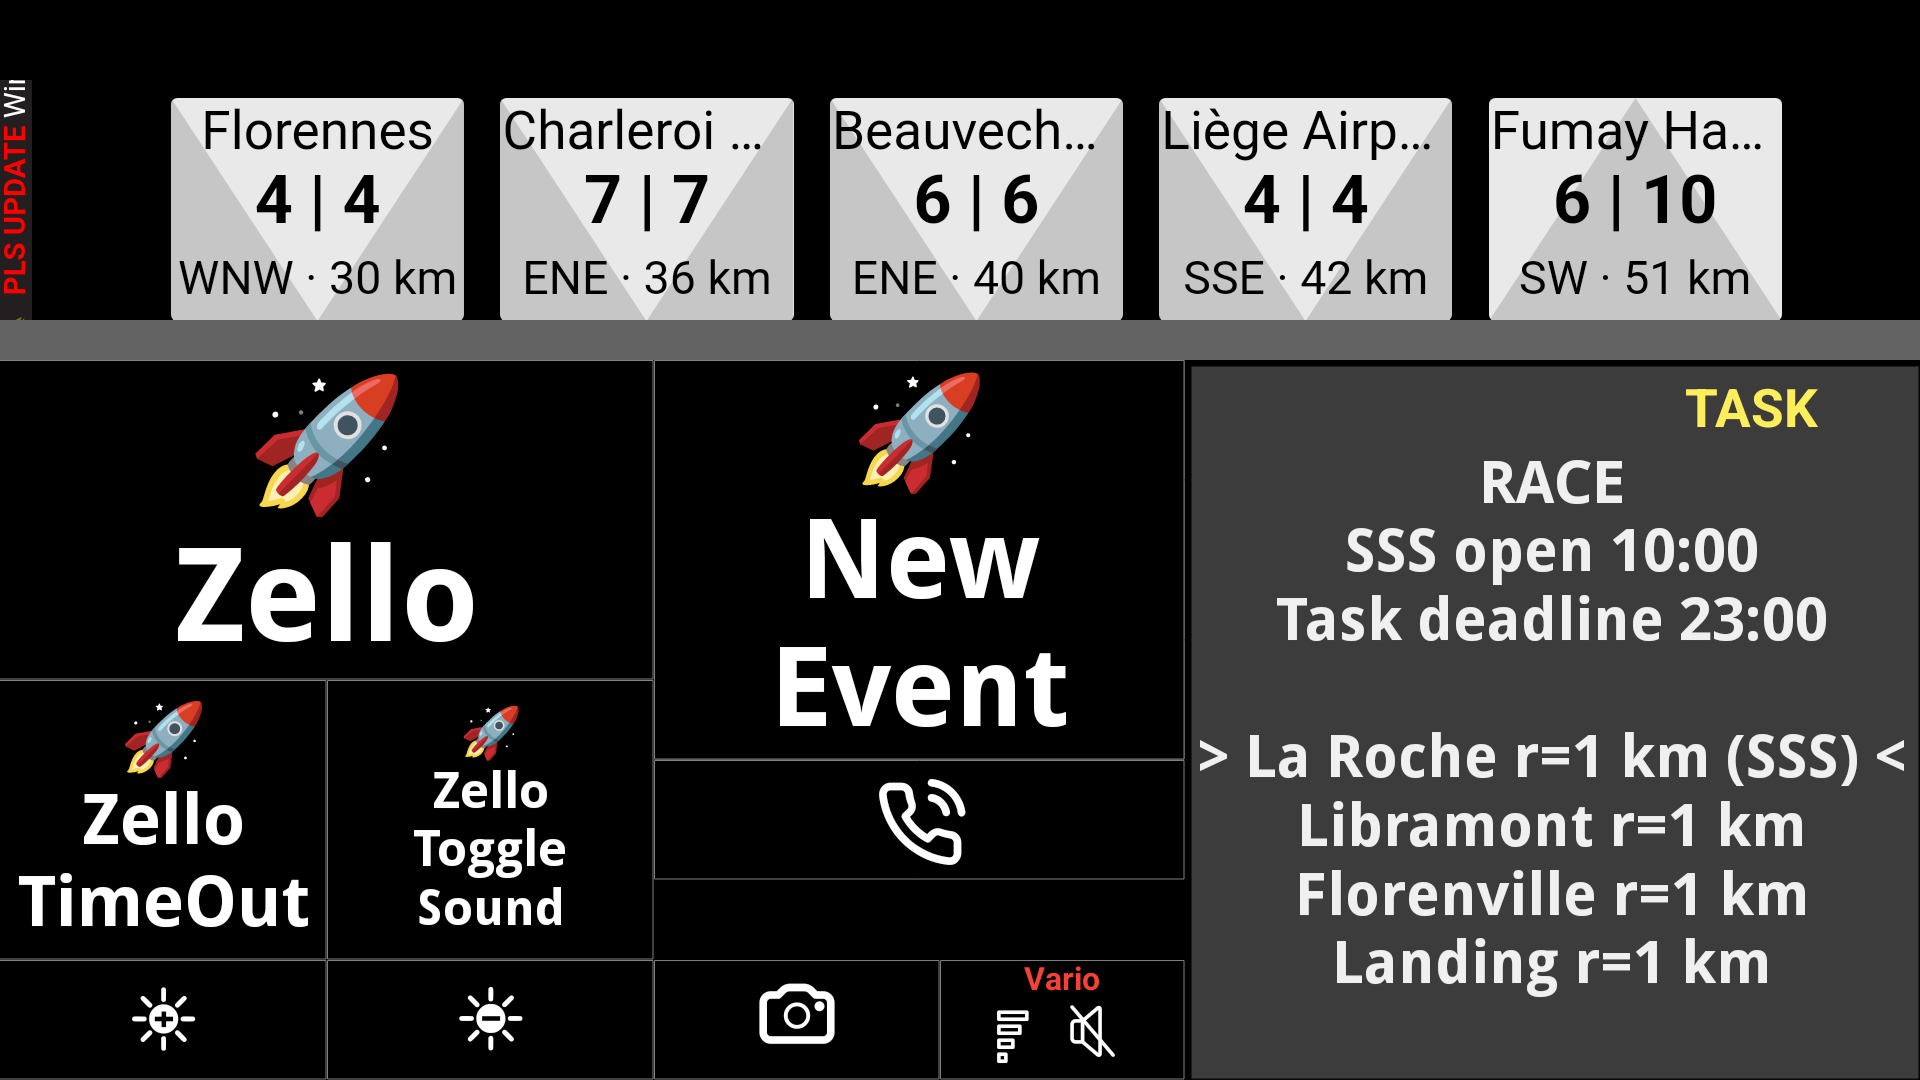
You can also add a new widget based on “Intent launcher” widget to add a new event to XCTrack events list.

Name it using “\n” if you want to display the different words on mulitple lines.

In the Action section, add the name of the custom event you want to use without any space or special character. Pay attention to the case.

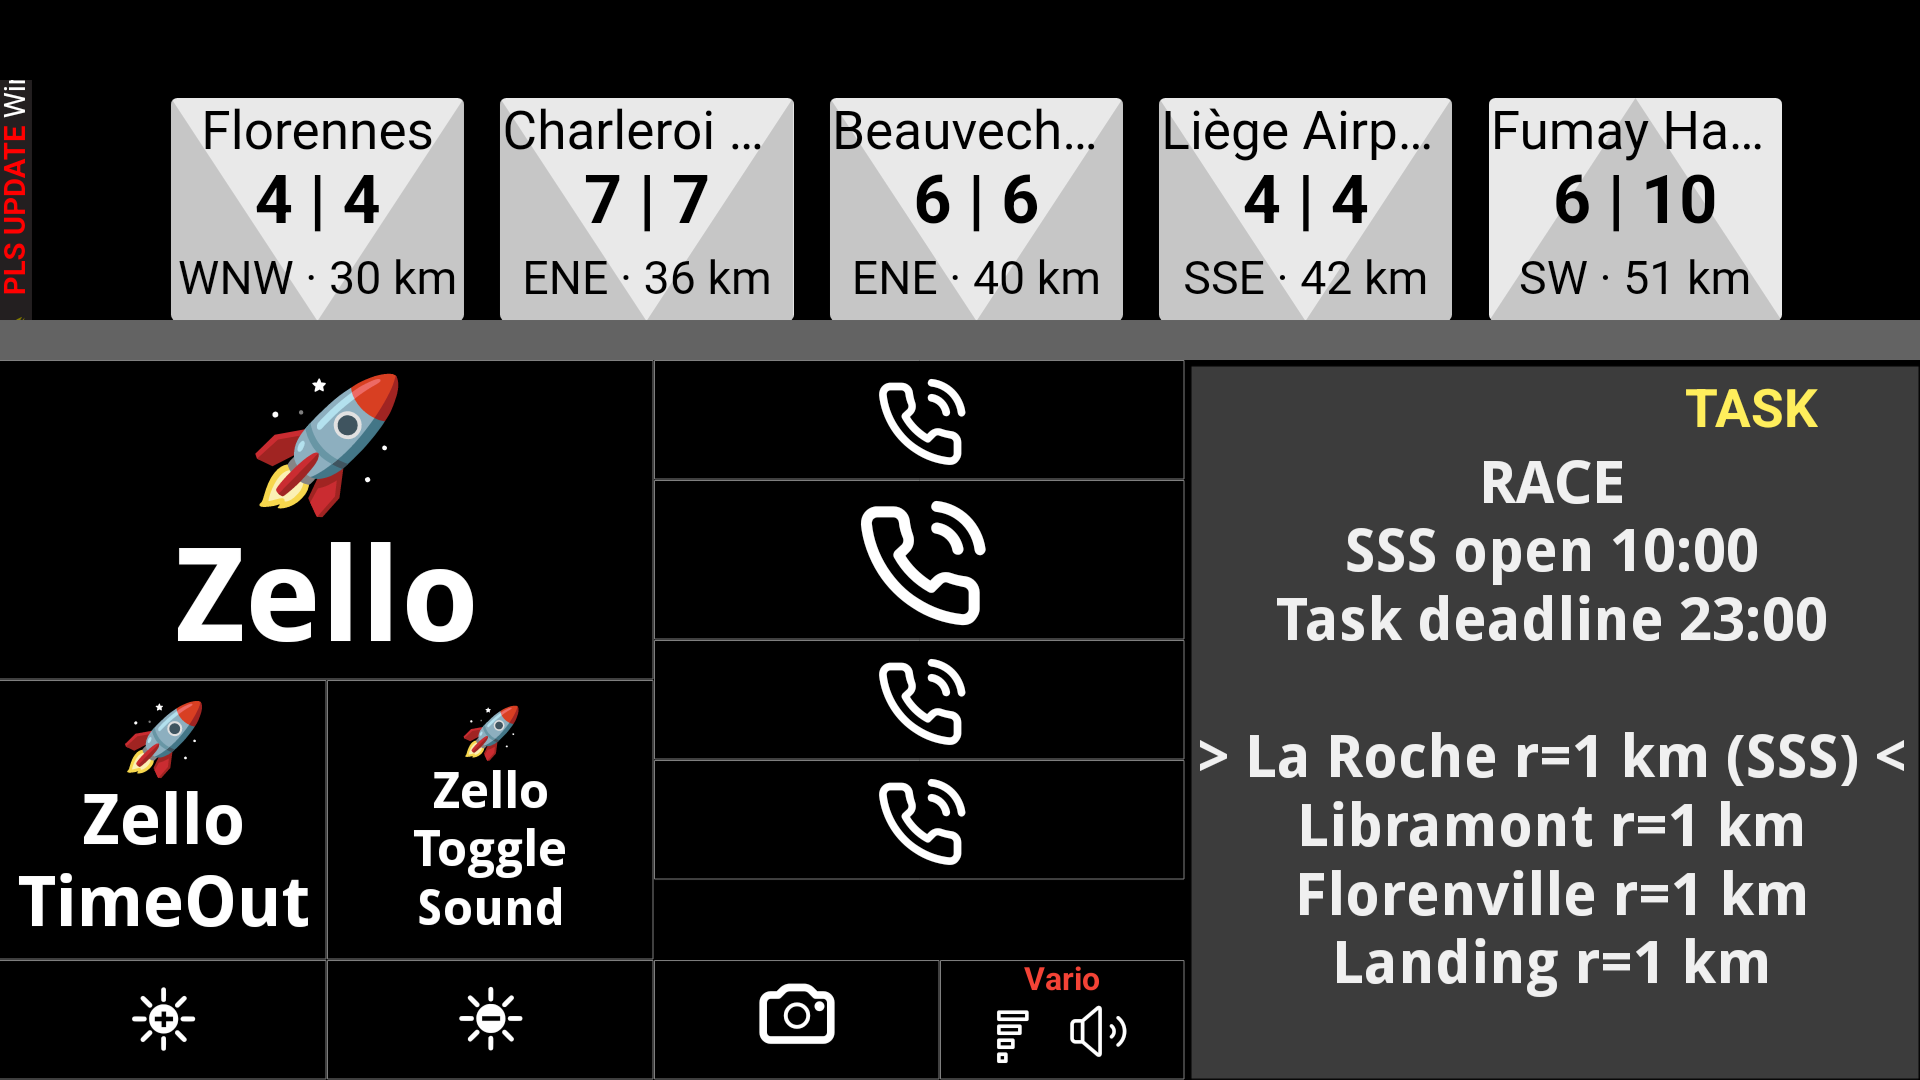
As described here below, Zello PTT is one of the possible use of these widgets. You can use AIR³ Manager with the Expert-zello profile to directly configure the expert profile with Zello widgets.


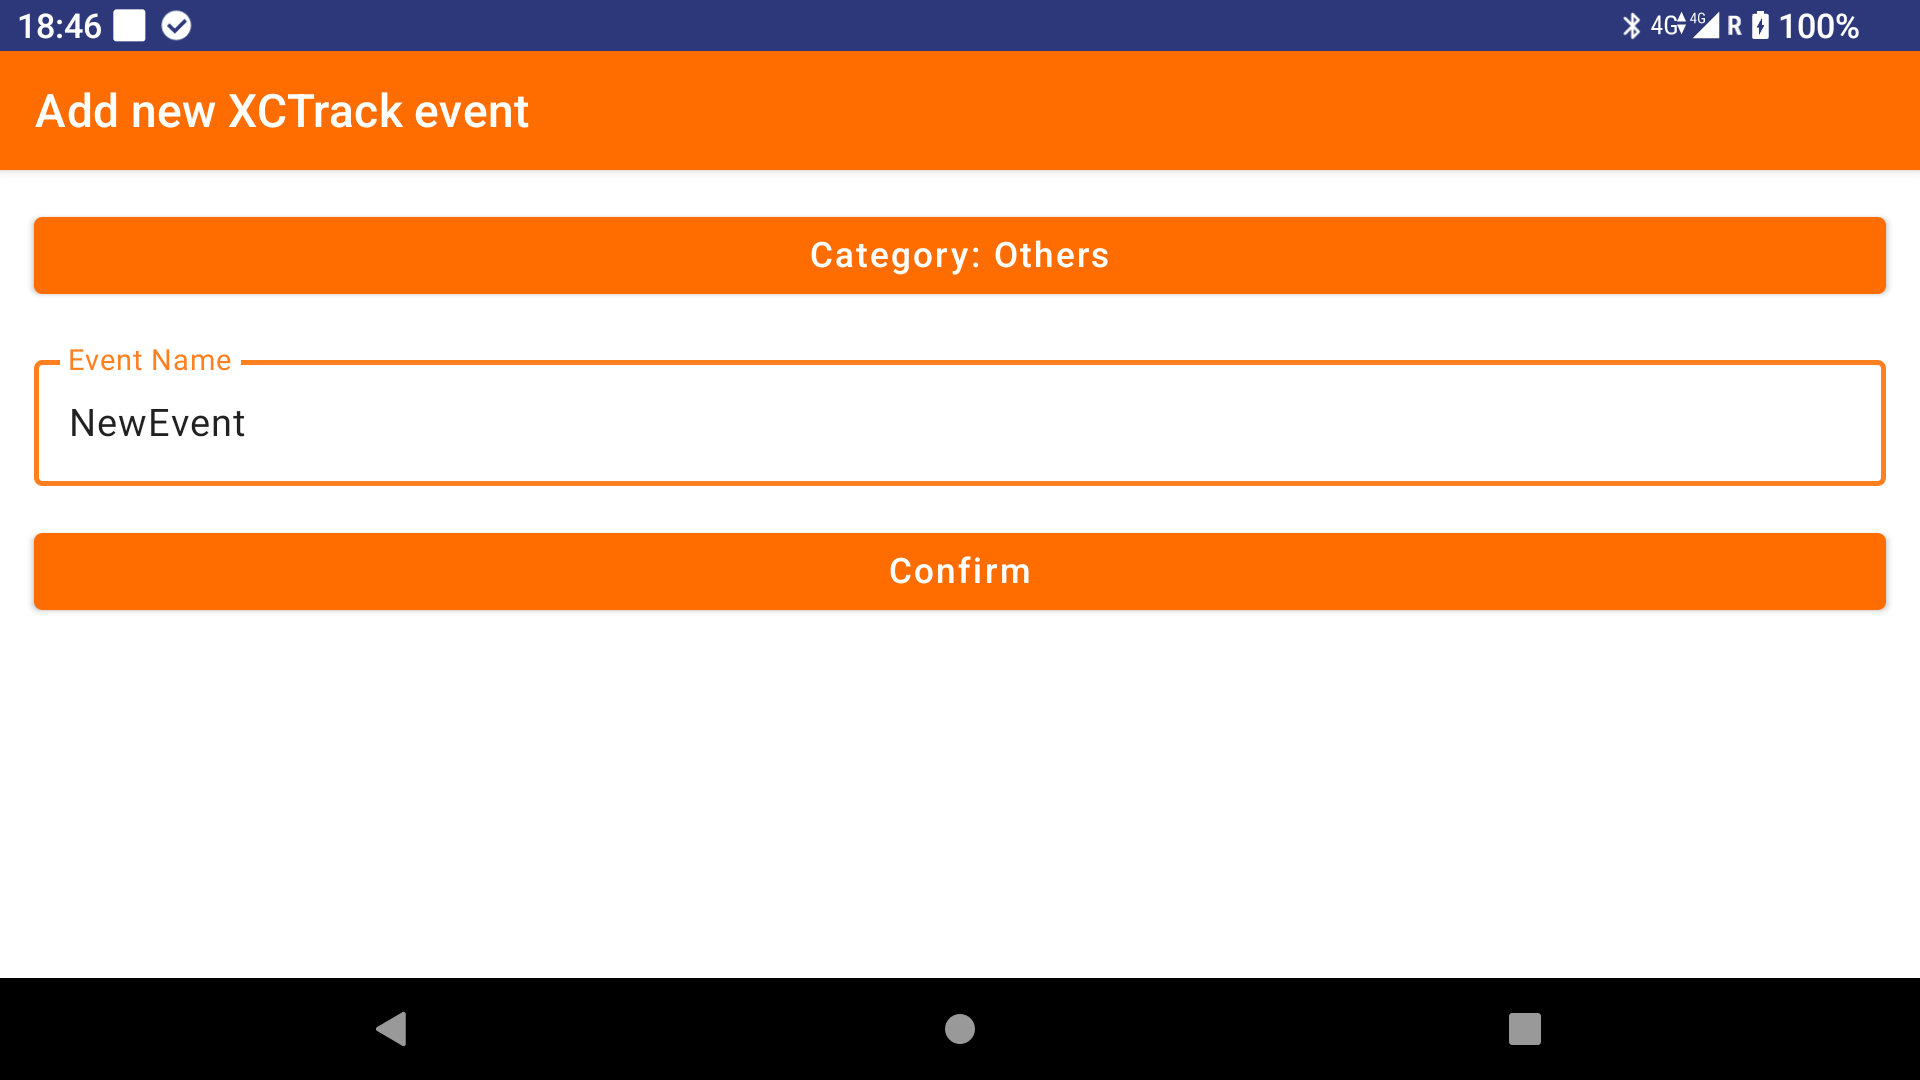
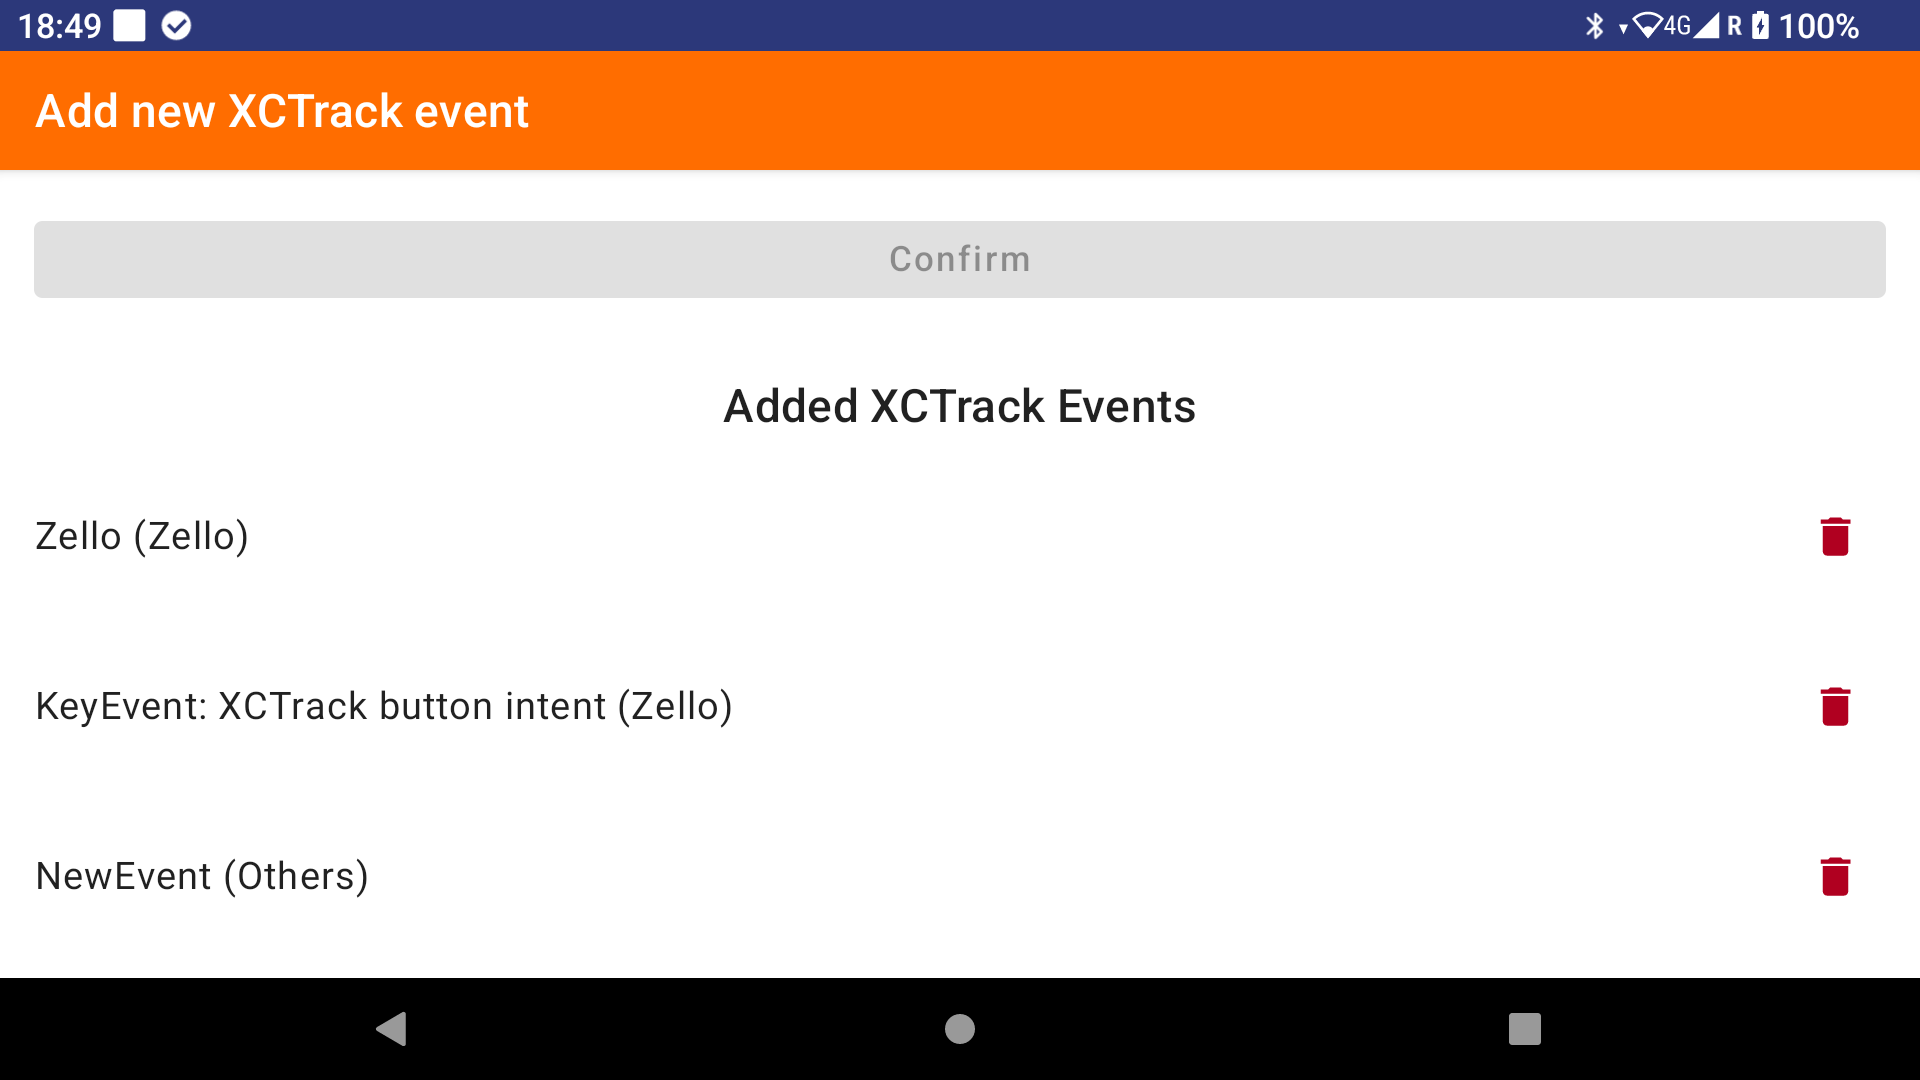
Within AIR³ XCT Addon, go to settings and click on “Add a new trigger event”, then “Add new XCTrack event”. Select the category to sort the event easily and type the event that you have set in the widget. After confirming, the new event will be monitored if you select it in a combination row.

If your goal is to use Zello PTT, see below how Zello events can be automatically generated within Zello configuration.


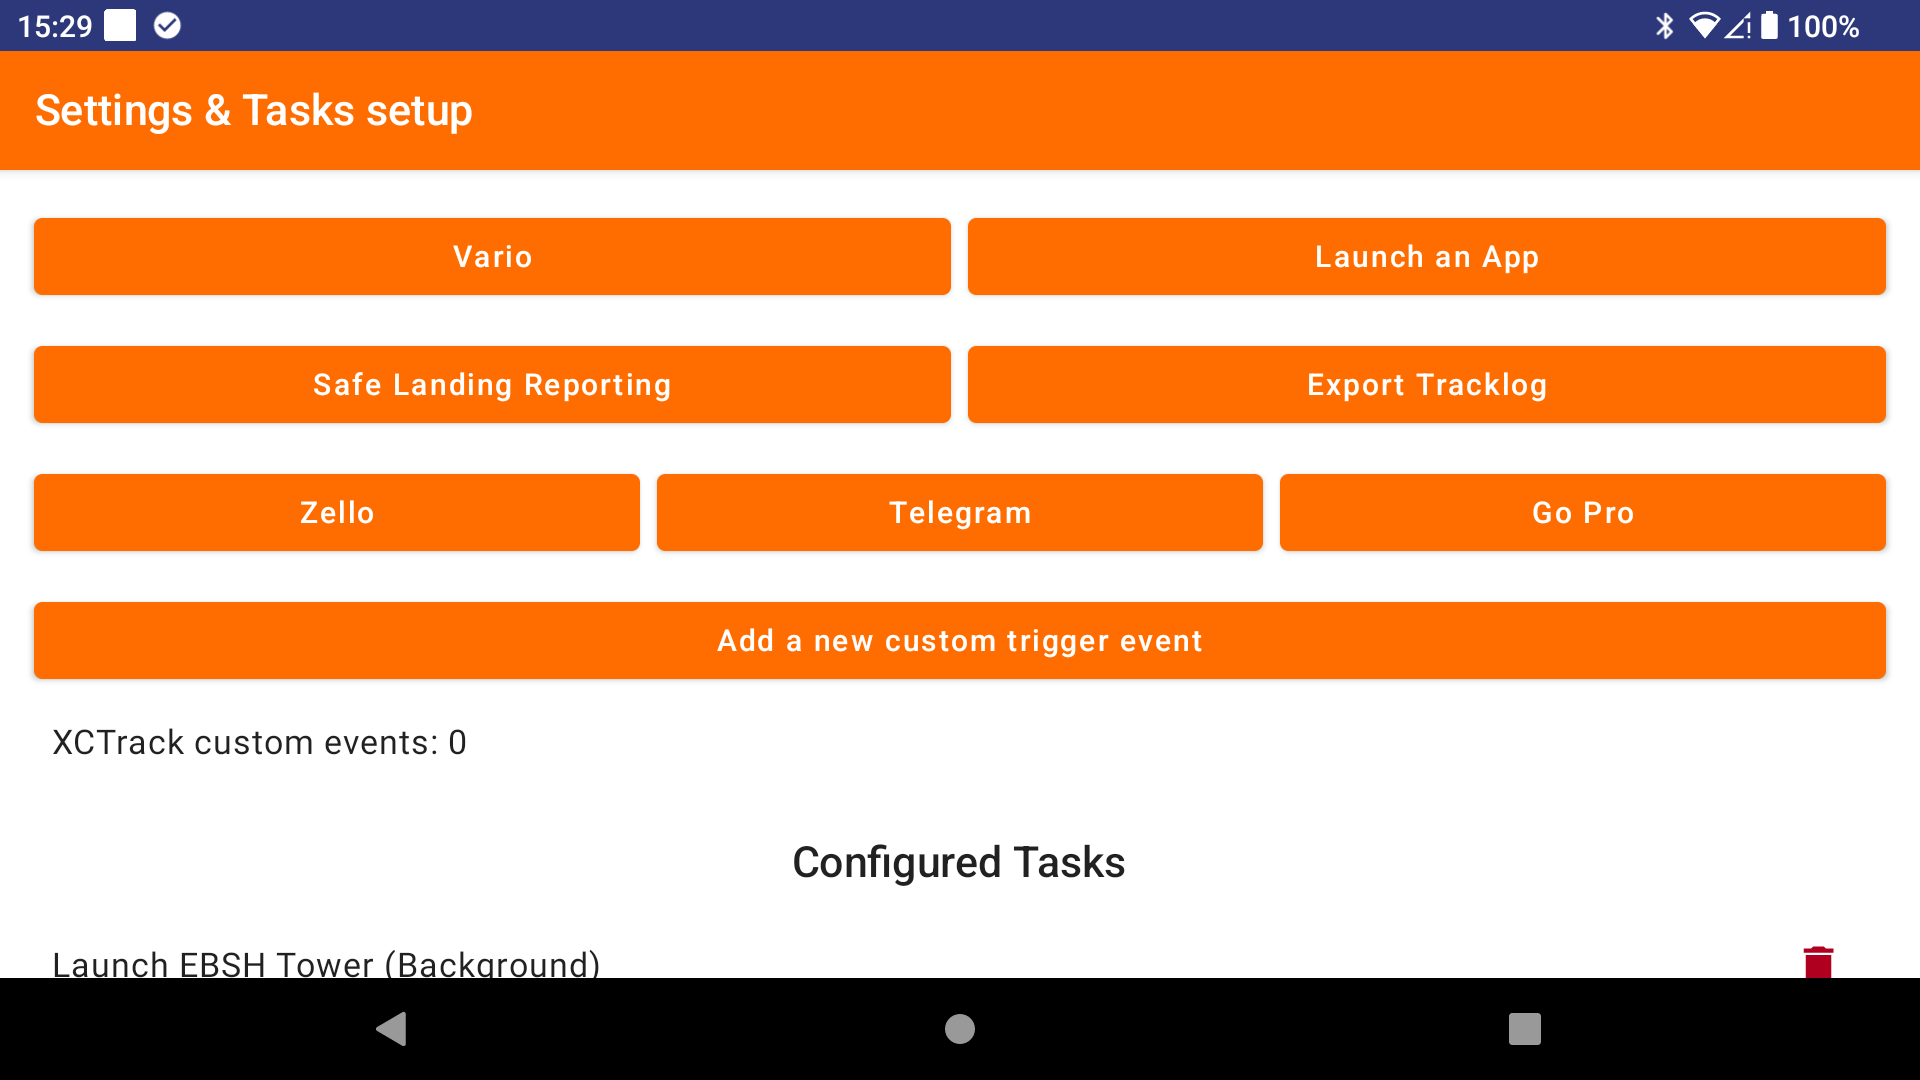
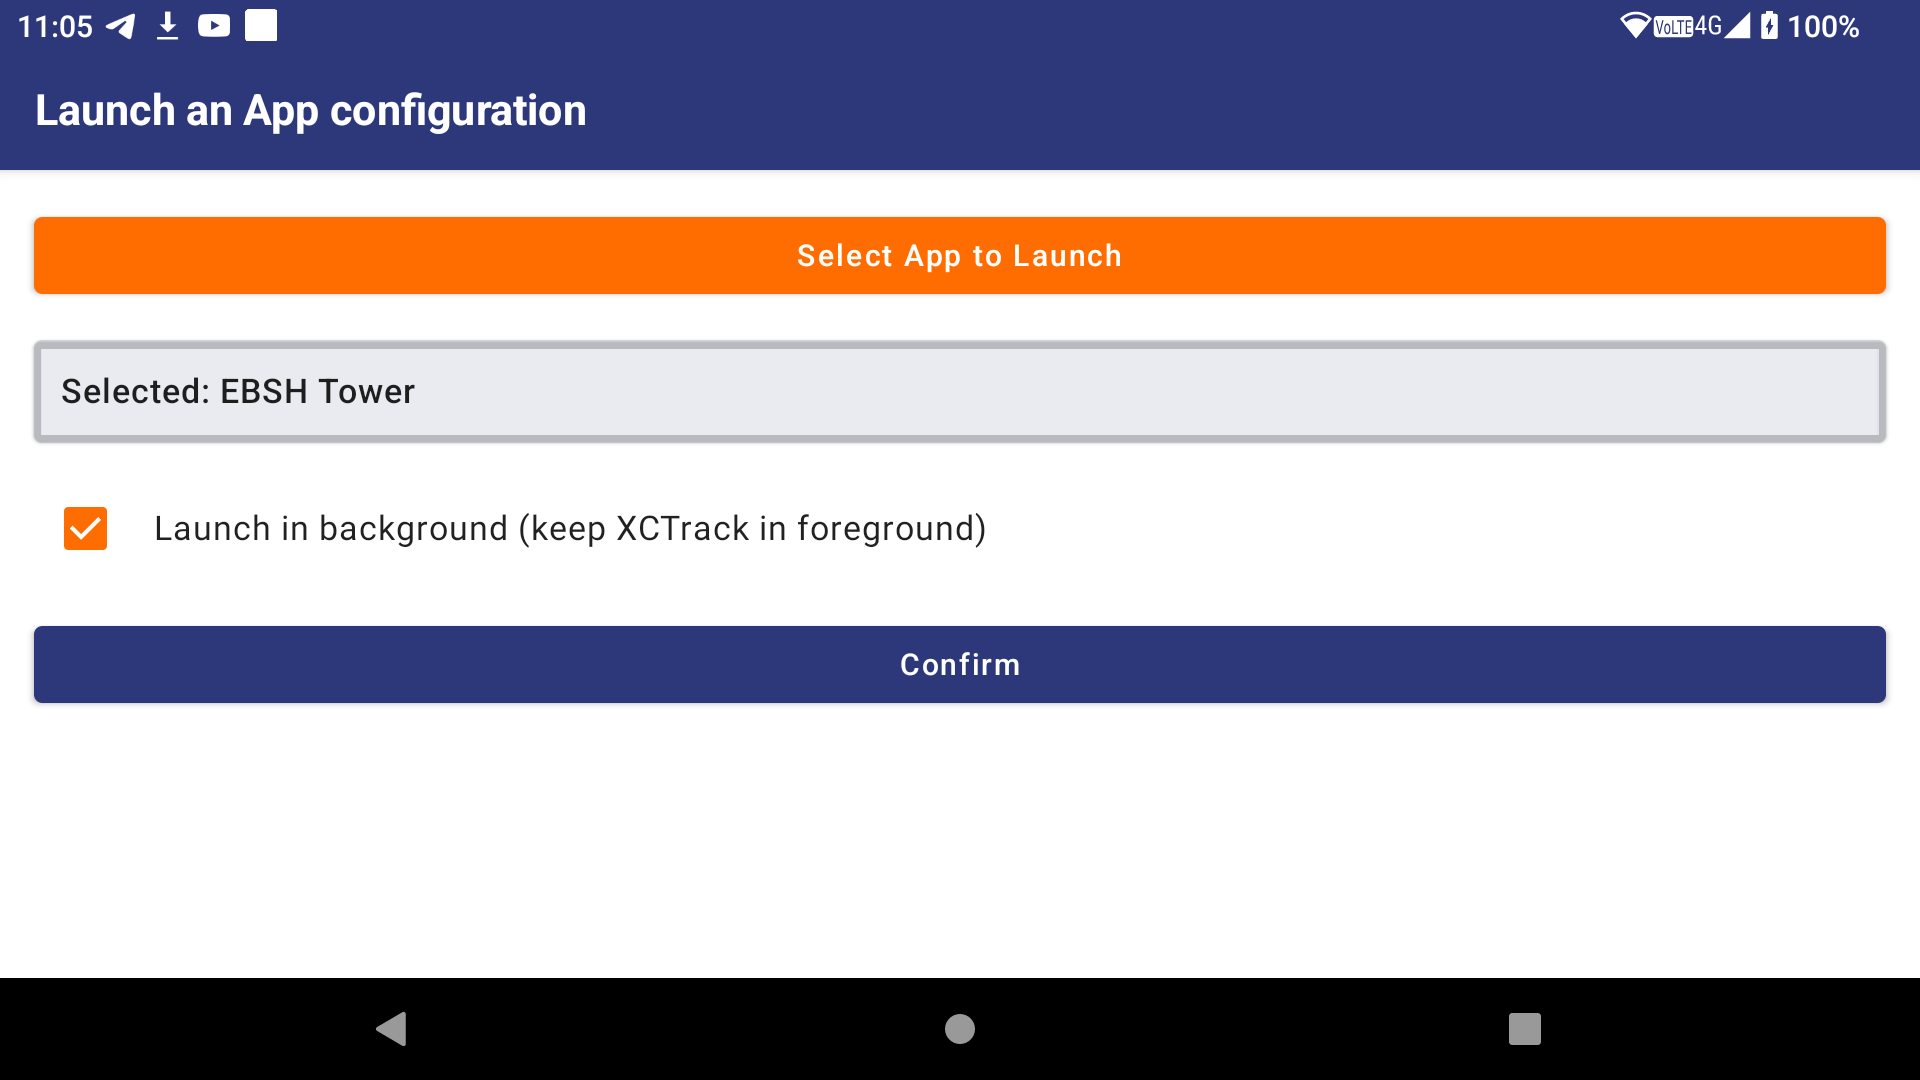
In settings, click on Add a new task. You can for example want to launch an App in the foreground or in the background.

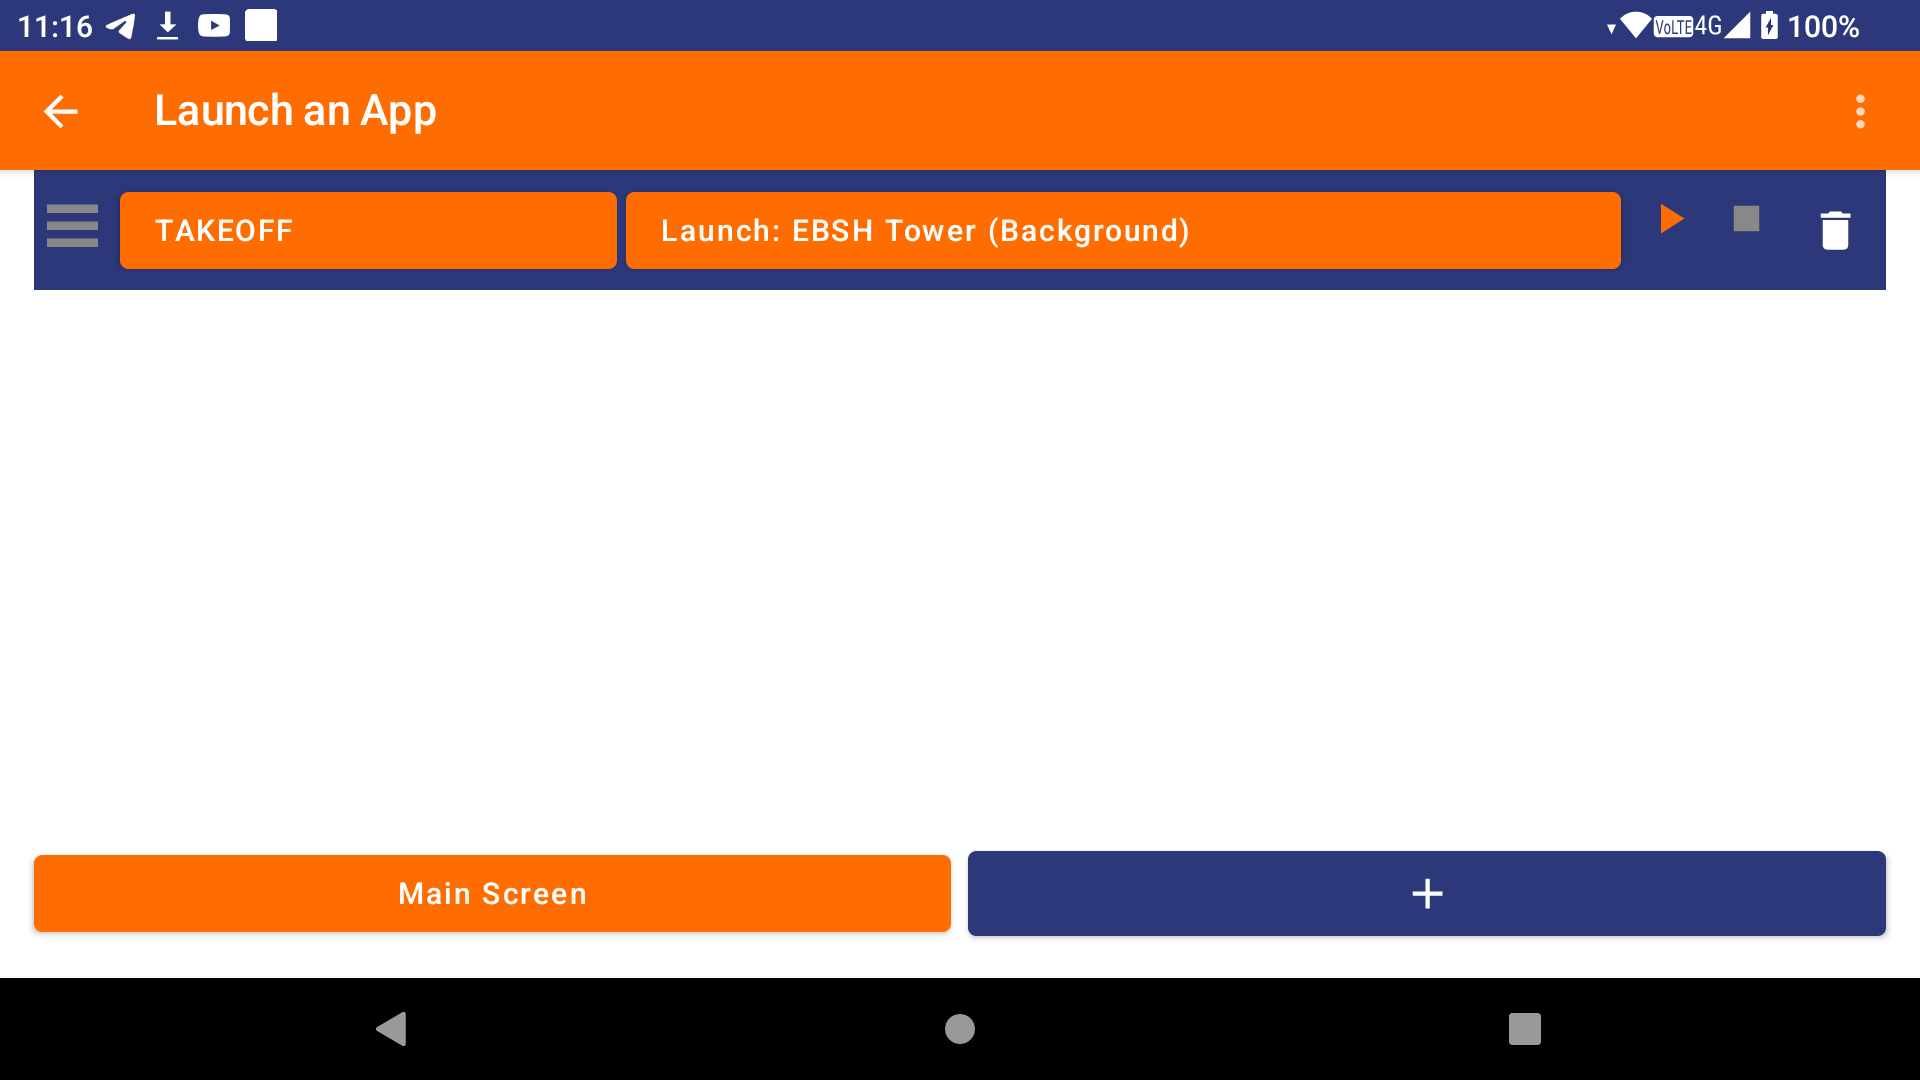
You can then create a new combination row, select your new XCTrack trigger event and combine it with the task you want.


Zello is a convenient way to communicate with others, similar to radio communication, except it is internet-based.

With AIR³ XCT Addon, you can communicate through Zello using either a XCTrack widget or a button (physical or with a Bluetooth remote control).
Once you have installed Zello and created a Zello account, test first your Zello setup before configuring XCTrack and AIR³ XCT Addon for Zello.

To communicate with Zello, you need to have defined the channel or the person you want to talk to. Set it as default to automatically load Zello with this conversation and not forget to start the communication channel you want to talk to.

Once Zello is setup, go to settings and click on Zello configuration button.

Note that Zello must be unrestricted for battery optimization to keep receiving commands from AIR³ XCT Addon when Zello is not in the foreground.

By enabling the tickboxes, follow the instructions.
You will be asked to setup XCTrack with a Zello widget but this can be done by choosing the Expert-Zello profile with AIR³ Manager.

Once this is done, create a new combination line in the mainscreen, select Zello as the trigger event and select Zello_PTT for the action.


If you want to be able to use Zello through a BT button in addition or instead of a widget, in XCTrack Preferences/Key bindings, select Launch android intent. Click on the physical button you want to use.

XCTrack will catch this button event and will share it with AIR³ XCT addon.

Select “Enable Zello triggered by XCTrack button intent” and add a  new combination line in the main screen to link XCTrack button intent as the trigger event with the Zello_PTT task.


Clicking on the play button in the combination row will send an initial call to Zello.

At this stage, Zello should not work.

Then, go to Zello Options. Click on Settings, then Push to Talk buttons.

A new button called ‘Hardware button’ should now be visible (created by clicking on the play button in the combination row with Zello PTT defined as the task).

Click on the ‘Hardware button’. Change the ‘Push to talk’ button action from ‘Hold to talk’ to ‘Toggle’.

You can now go back to the AIR³ XCT add-on and test the play button again. This time, you should hear the ascending sound indicating the start of your message, and clicking a second time should produce the descending sound indicating the end of your message.
If you do not click a second time within the timeout delay, the app will do it for you.

Note that you can also enable or disable the timeout through a special widget, as defined in the Expert-Zello profile of AIR³ Manager.

Once this is working through the play button in the AIR³ XCT add-on, you can test it directly in XCTrack, either with the Zello widget or the button you have defined.

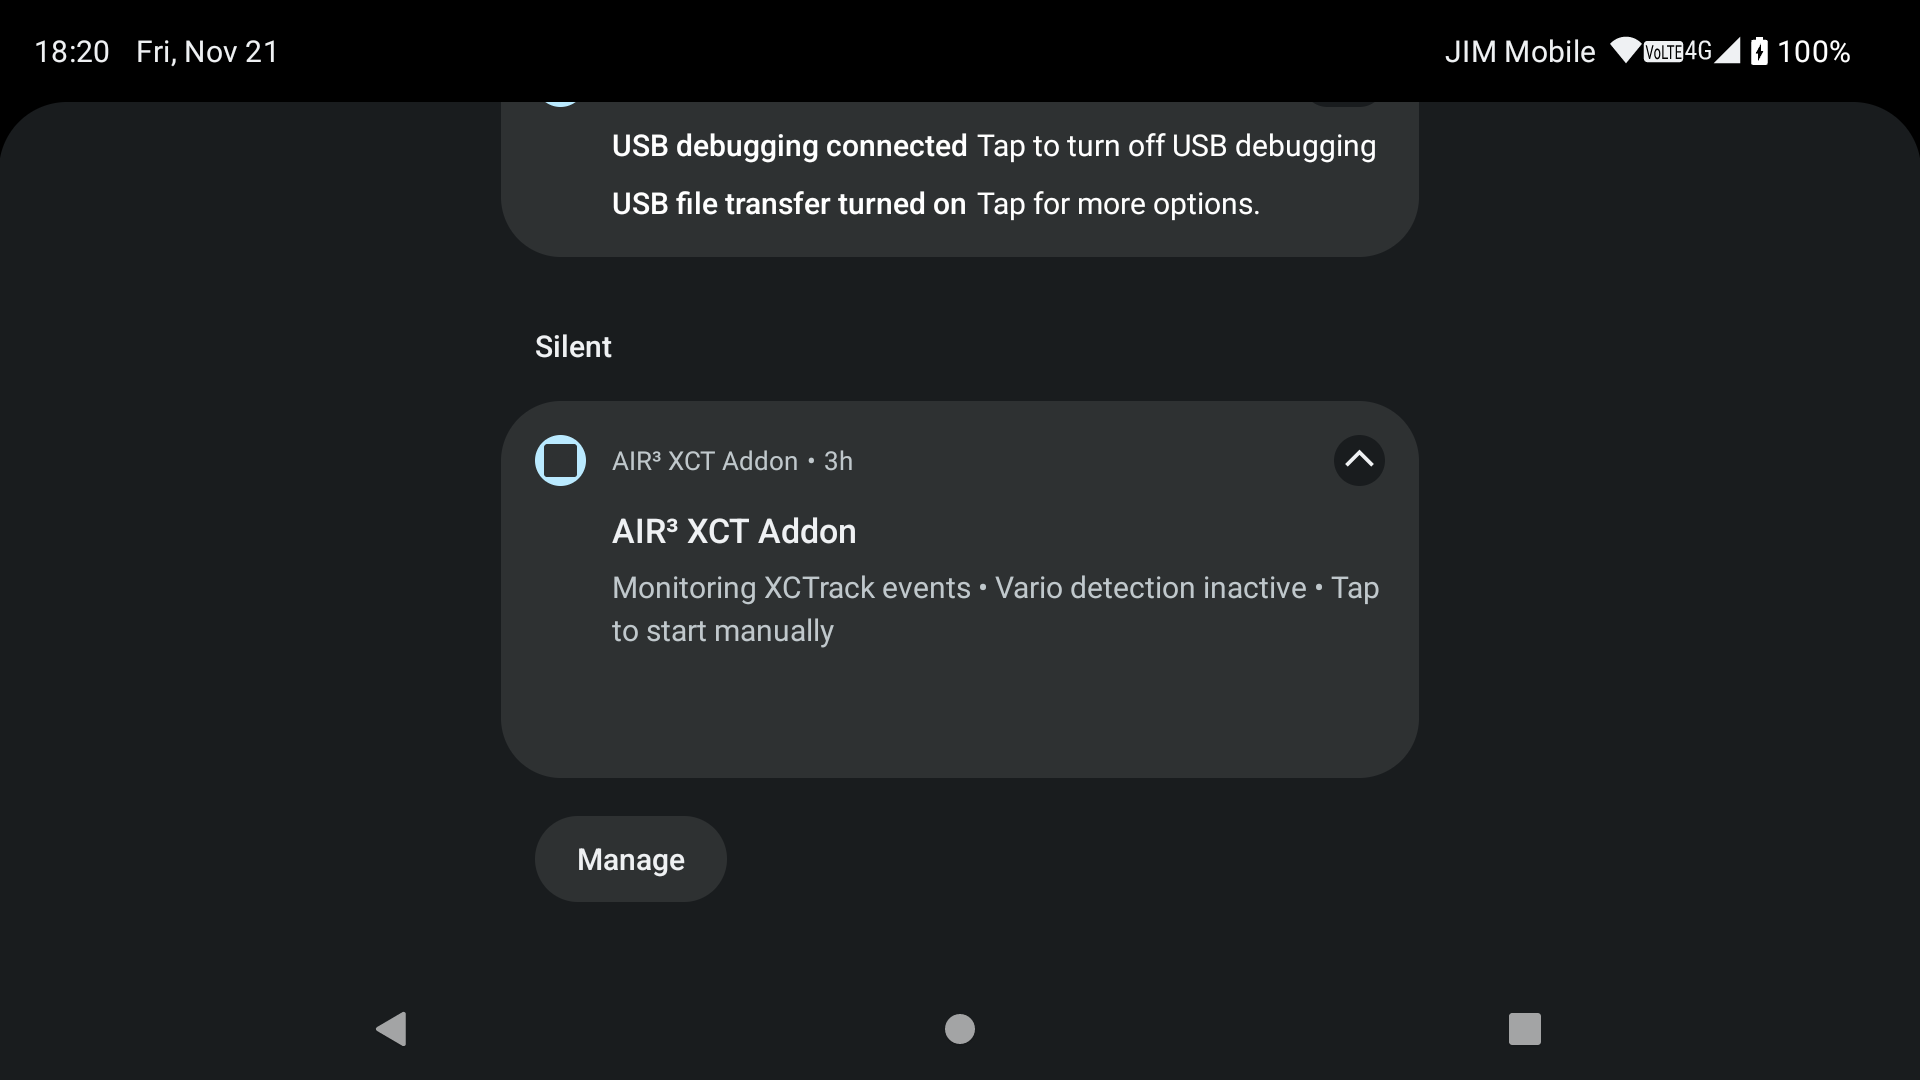
Thanks to the AIR³ Manager settings, make sure to automatically launch the AIR³ XCT Add-On and Zello on boot, so that everything will work smoothly every time the unit is started.

In order to user the telegram tasks (Send your position or send a message to a telegram group), the pilot name must be filled in. Once you have added your pilot name, you will have the opportunity to proceed with the Telegram authentication. Follow the steps and send /start to the Telegram bot to finish the authentication.


Once done, you can add a new task with Telegram. Click on Send Position to telegram to configure a task to send your position to a specific Telegram Group. Click on Send message to Telegram to configure a task to send a specific message to a specific Telegram Group.


To send your location to a Telegram group, click on ‘Send position to Telegram’.

Then click on ‘Select a chat’. If you have previously added a group, select the available group. Otherwise, click on ‘Other’.

You will then be prompted to add the bot to the group, provided that the group has just been created and the bot has not yet joined. If the group already contains the bot, click on ‘Select group with bot’.

To add the bot to a group, you need to be an admin of that group. Select that group’s chat and click on the “v” to add the bot. Once you return to the app, the group will be selectable.

If the group already contains the bot, click on ‘Select group with bot’. Select the chat of the group that already contains the bot. Click on ‘/’ in the message tools, then click on the ‘/start’ button to initialise the group for your configuration. Alternatively, type ‘/start’ in the message and click Send.

Groups containing the bot that have been initialised are now available for selection.

You can then configure these groups to either send your position or send a message.

You can delete unwanted tasks in the main Settings window, which lists the different configured tasks.

These tasks are now available in the combination row selection.


To send a message to a group on Telegram, you can use the same method as for sending your location, but you will create the message during the process.


en_USEnglish