This page gives details on the widgets that are in the “Action buttons” subsection. They can be accessed by customizing the XCTrack Pro pages pre-installed on AIR³. Remember that your customisations will be lost if you reset XCTrack Pro interface with AIR³ Manager, if you change the profile (Kiss, Easy, Expert, Paramotor) or if you load a different configuration file ‘xcfg’.
Read more details about the main features of XCTrack here.
Click on the + sign to read the details.
Make a phone call pressing the widget/button for 1 sec.
Select the contact to call before take off. Configure your contacts with the “Contacts” app. 
You can decide if you want only the logo or also include the name of the contact in the widget. If you show the name, we advise to resize the button to make it wider.

By enabling “Keep XCTrack on-screen during a call”, XCTrack will be displayed on screen as soon as the call is made, otherwise, the phone app will remain active on screen until the call is ended.

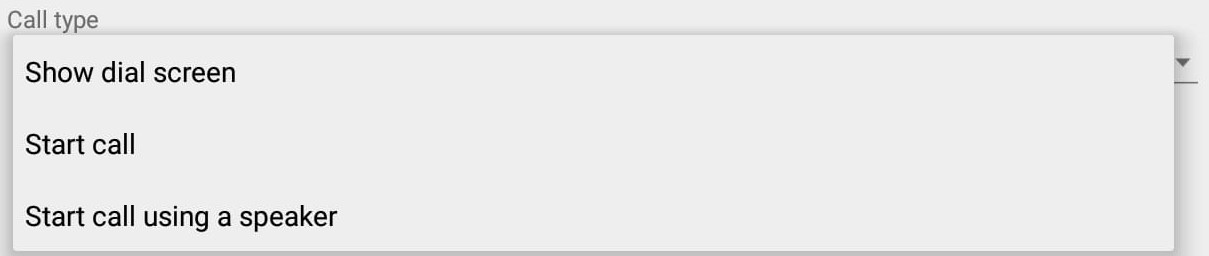
- “Show dial screen” will “only” launch the dial screen with the configured contact set.
- You will need to click on the call button
 to make the call.
 - If you want the speaker ON, you will have to click on the speaker button
 , once the call is launched.
- You will need to click on the call button
- “Start call” will make a call to the configured contact.
- If you want the speaker ON, you will have to click on the speaker button , once the call is launched.
- If you want the speaker ON, you will have to click on the speaker button
- “Start call using a speaker” will make a call to the configured contact with the speaker ON.
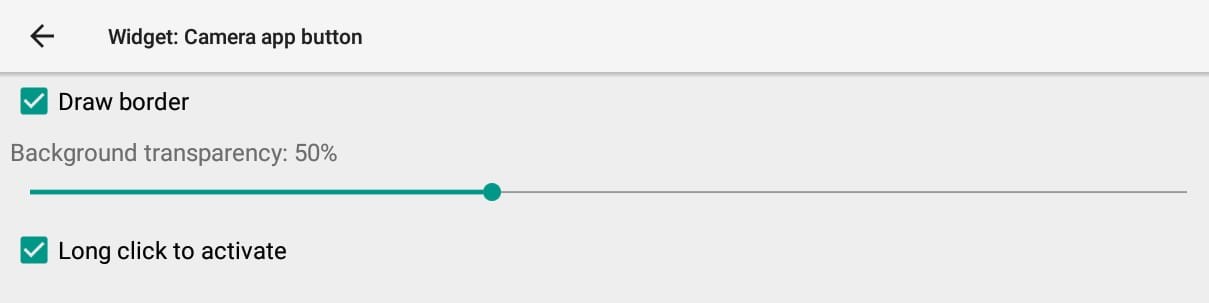
Launch camera application.
You can decide if you want to activate the camera with a short click or a long press on the widget.
![]()
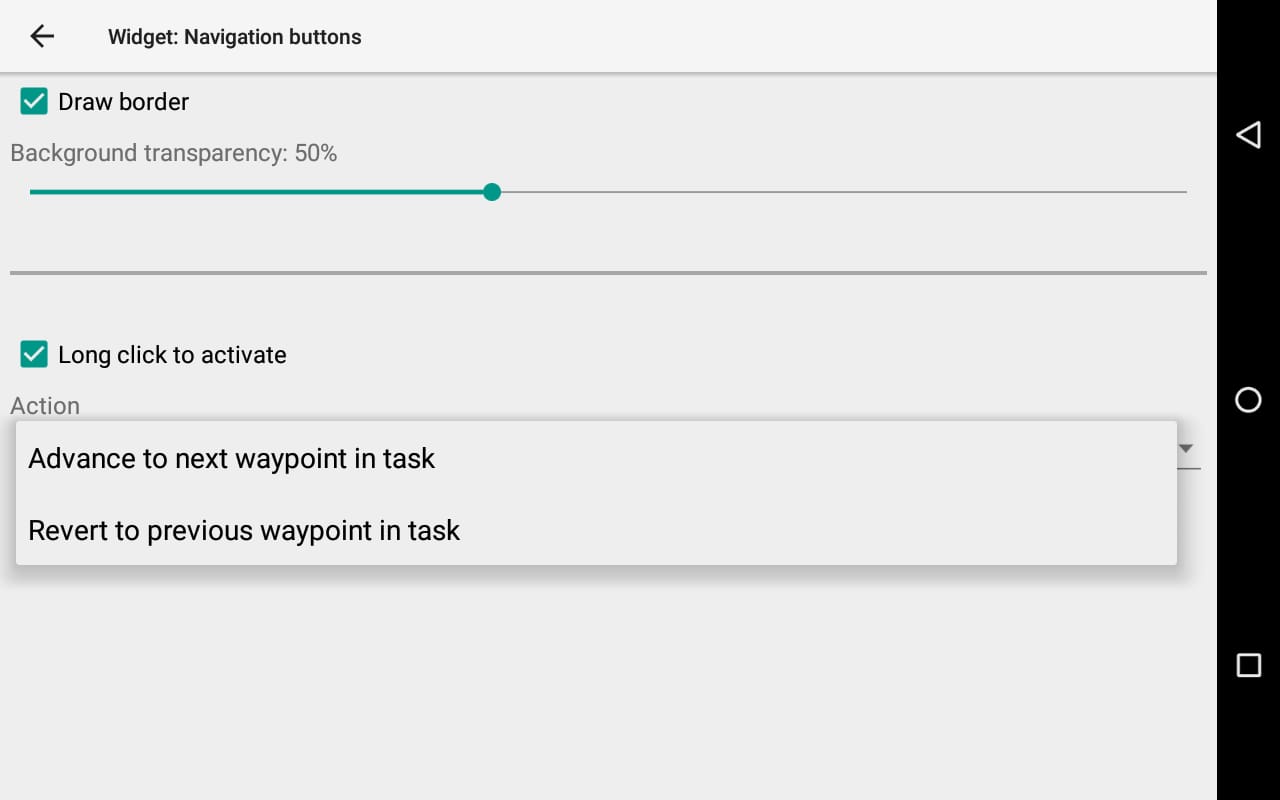
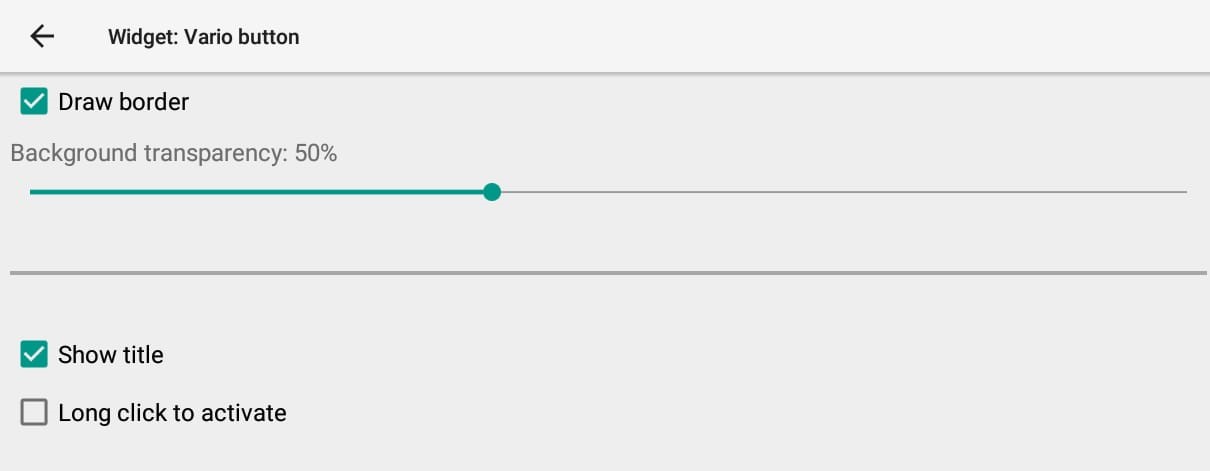
Mute/unmute vario and weak lift.
You can decide if you want to activate the action to mute/unmute with a short click or a long press on the widget.
The mute/unmute action influences both the vario (for lift above the Lift audio threshold) and the weak lift indication ( a double beep for vertical speed between -0.5 m/s and the Lift audio threshold. Weak lift indication is a specific feature to snif small lifts that can be activated with Menu/Preferences/Sound/Acoustic vario/Weak lift indcation volume.
Enabling/disabling the sound:
![]()
![]()
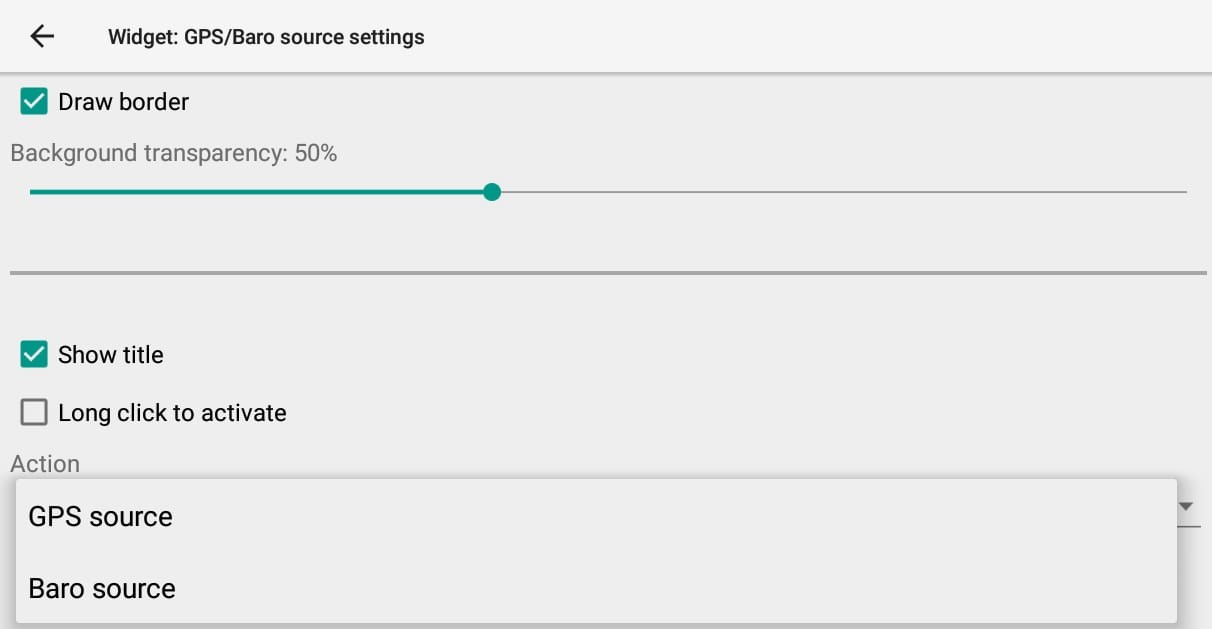
Choose internal or external data source for GPS or Baro data.
You can decide if you want to activate the widget with a short click or a long press.
The last drop down list is used to decide if the widget change the source of the GPS or the Baro.
The Air³ contains both a good GPS and a performing pressure sensor. Note that by using an external GPS source, the IGC file will not be FAI compliant.
To connect to an external source, go to Menu/Preferences/Connection & sensors/Connection/External sensor.
Once changed, the logo will indicate the source.
Internal source both for baro and GPS
![]()
External source both for baro and GPS
![]()
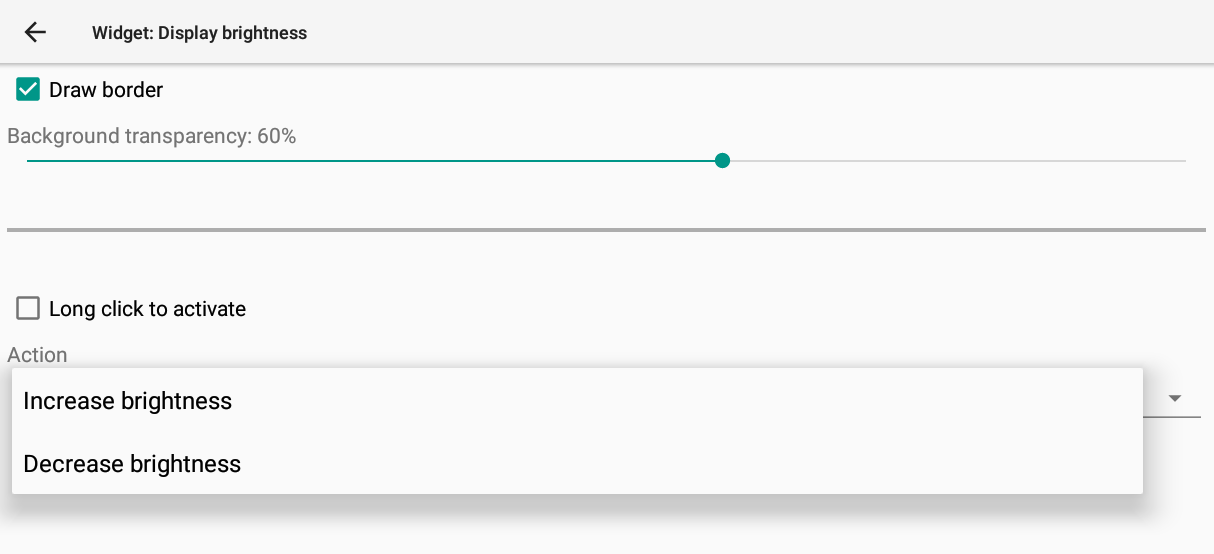
The widget gives the opportunity to decrease or increase the brightness of display backlight by steps of 10%
You can decide if you want to activate the widget with a short click or a long press.
The last drop down list is used to decide if the widget change the increase or the decrease of the brightness.
The Air³ 7.2 benefits from a 1000 nits screen. This allows you to have a very good readability of the information displayed. However, maximum brightness is also very energy consuming, which means an autonomy decrease. This is one of the reason why the AIR³ Base has been designed. Tilting the screen is the most efficient way to increase readability.
Alternatively, this widget allowing the pilot to easily reduce or increase the brightness according to the needs, is another way to increase pretty much the autonomy.
Depending on your choice (decrease or increase), the widget gets a + or a – in the center.


Next section: