This page describes several subsections of the Preferences menu of XCTrack. Check the other sections to learn more about the different features of XCTrack.

Videos have been produced to explain the different features of XCTrack Pro. Check the videos tuto page to learn quickly how to use XCTrack Pro.
Click on the + sign to read the details.
Language
By default, XCTrack will use the language set for the OS. However, you may want to use a different language.
Most Roadmaps are available with local language (for example, you are flying in Korea) and in English. If the language set in XCTrack (example “German”) is different from the local language (Korean) or English, the local language will be displayed on the map. In this specific case, set the language of XCTrack to English to get latin characters. You can check which languages are supported by the roadmap on https://www.openandromaps.org/

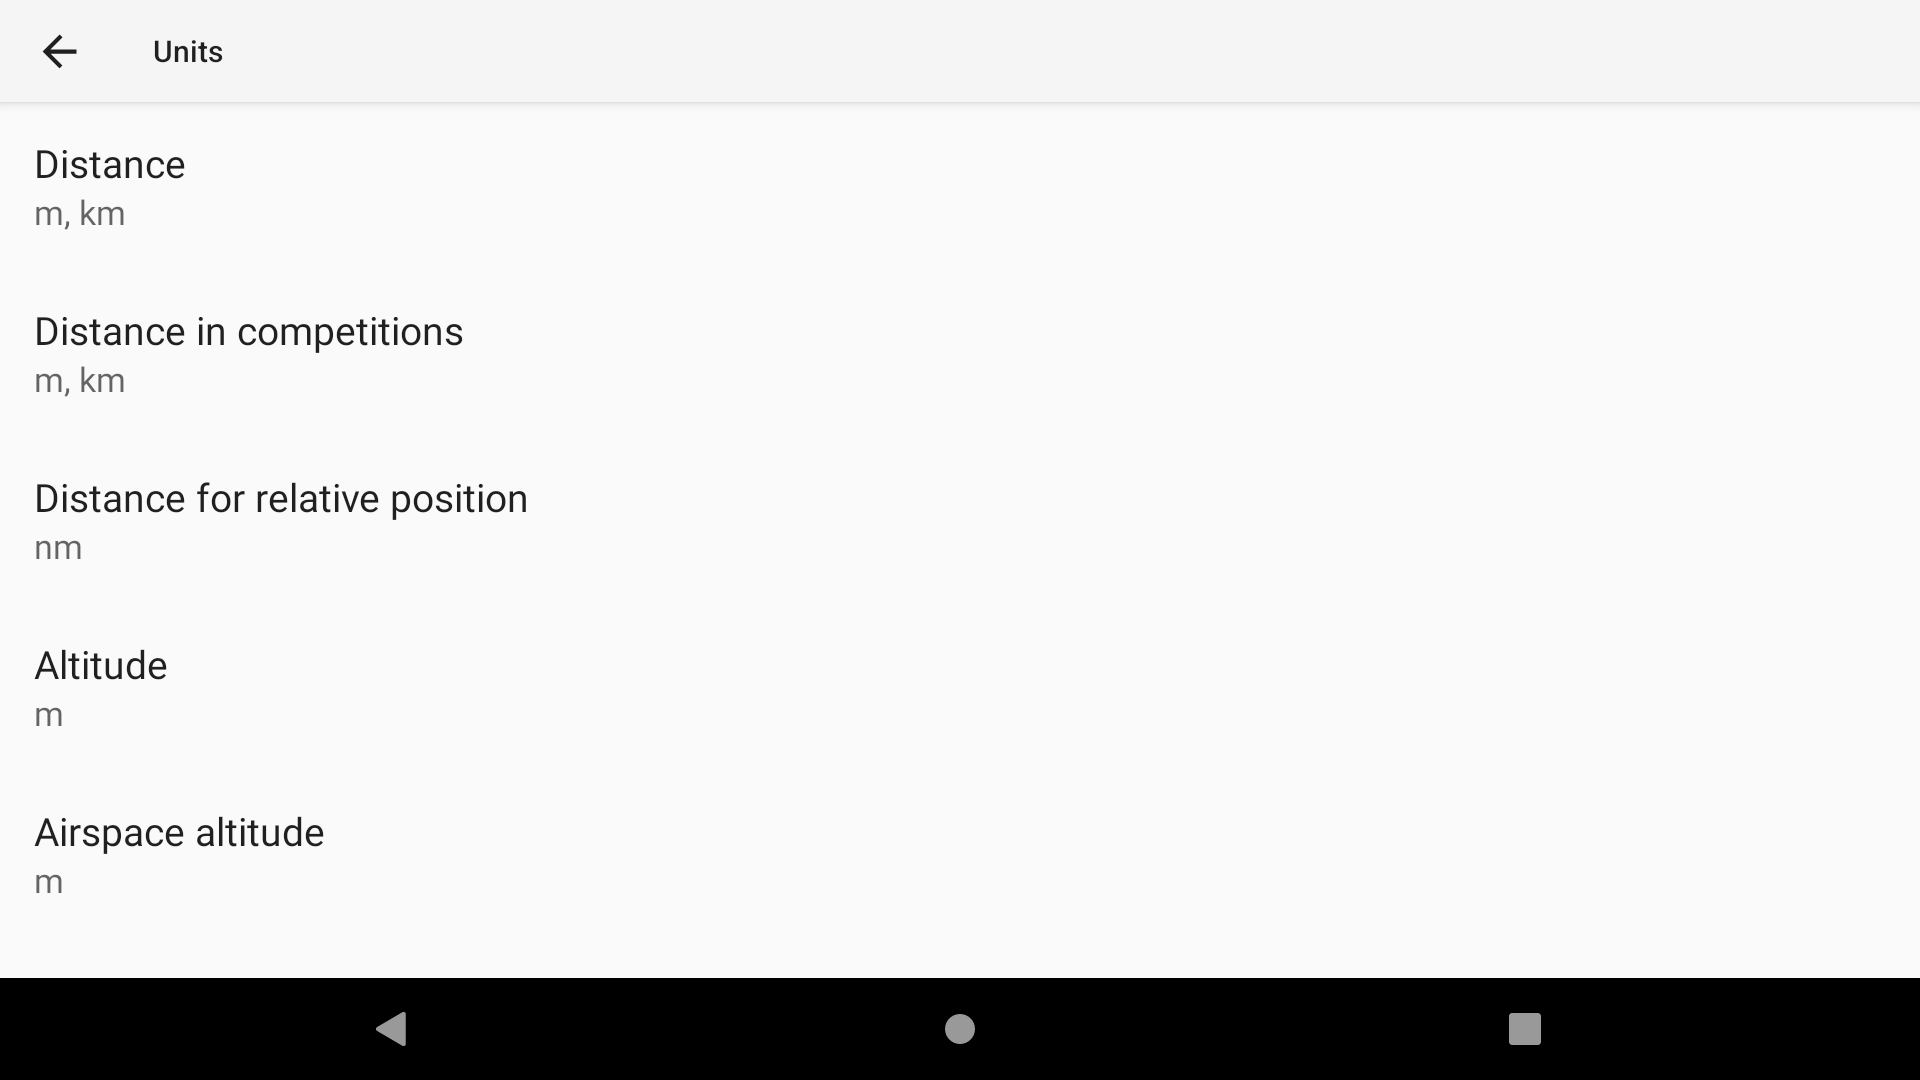
Units
Check more details about units used by many widgets in the XCTrack Pro widgets manual
Theme
You can choose between 5 different display themes. However, note that the display theme chosen will be influenced by the Map theme selected (see Maps details above). Using AIR³ Manager, you can select a theme for XCTrack and AIR³ Manager will choose both the right Map theme that fits with XCTrack display theme.
As described in the General information regarding widget configuration in the XCTrack Pro widgets manual, each widget can be set with a specific theme.
You can for example use a Black theme for the main theme and use a white theme for the map. AIR³ is using 30% less energy with Black theme compared with White theme. However, not all pilots will get used to read the map with Black theme. You could set the map widget (See XC Map widget, Thermal assistant widget or Task map widget in the XCTrack pro widgets manual) to use a White theme while the main display theme is Black, such as with the following screenshot.

Fullscreen
XCTrack is usually used with full screen. However, if you want to keep your Android icons on top and the system buttons on the right, you can disable the “Full screen” option.
Orientation doesn’t require more explanations.
Repaint frequency
Finally, you can also change the “Repaint frequency” for quicker or lower repaint of the screen, but take into account that this will influence the energy consumption.
Widget titles
These preferences will influence all the different widget titles on all pages as described in the general information regarding widgets. Check more details in the General information regarding widget configuration of the XCTrack Pro widgets manual.
")

You can change the widget titles size (from 70% to 320%).
You can use a normal or a condensed font.


You can apply an outline to the widget (or not).
In addition, with the Pro version, you can also change the Widget title color and the Widget title outline color.

ActiveLook support
Support for glasses with HUD – https://www.activelook.net/
- First install the official ActiveLook application and update the firmware of the glasses
- The glasses can reasonably display only english texts. Events are directly in english, all other text are converted to ASCII
- The refresh interval is set to 1 second. There is not much bandwidth available between the glasses and XCTrack.
Select a device
Once you have turned on Bluetooth, first select your device.
XCTrack needs to upload certain things (mostly fonts) into the glasses. When the glasses are first connected, these things are uploaded. It takes about a minute.

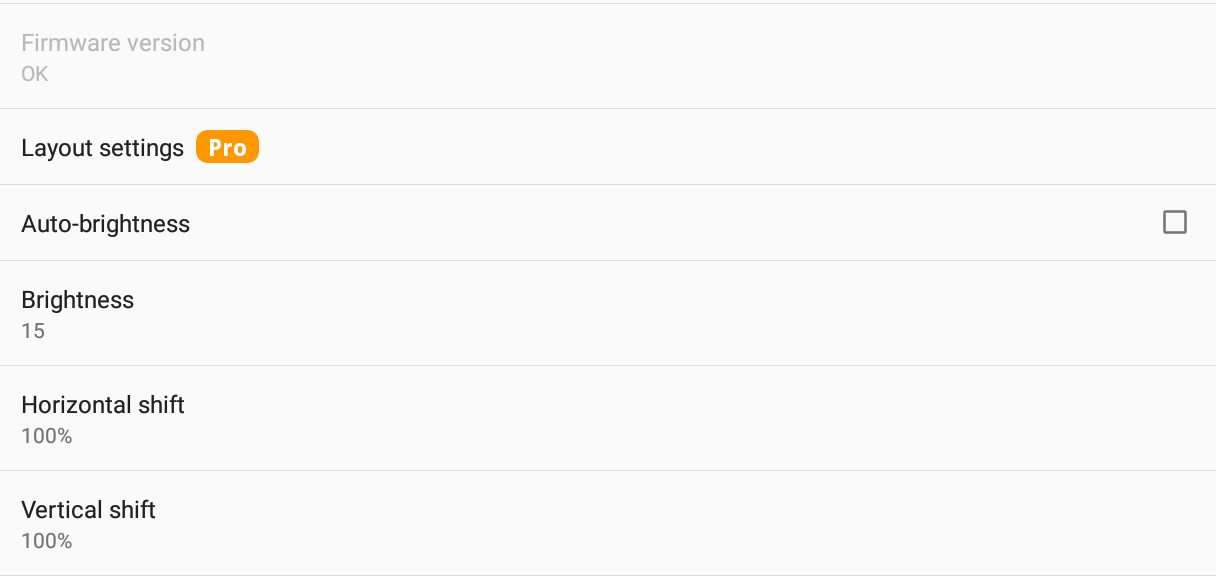
Layout settings
The non-Pro users can use the built-in layout (which will likely be subject to change in future releases), Pro users can build their own layout in a similar way as normal XCTrack pages.
Auto-brightness
The sensor on the glasses provides hand-motion sensor and ambient light sensor. According to the docs it is supposed to consume up to 50% of the available energy.
The hand-motion sensor is not implemented in XCTrack.
You will probably save a lot of energy when you disable Auto brightness (you will likely set the brightness to max anyway).
Brightness
Set the desired brightness
Horizontal and vertical shift
0 is the center of the glasses. -100 is the left edge. 100 is the right edge. You can shift the display according to your preferences.
Customize layout
In a very similar way you can customize the page layout as described in the XCTrack Pro widgets manual, you can also add widgets, delete widgets, change the widget configuration, resize widgets, so that you can customize the layout of the information displayed on your ActiveLook glasses.
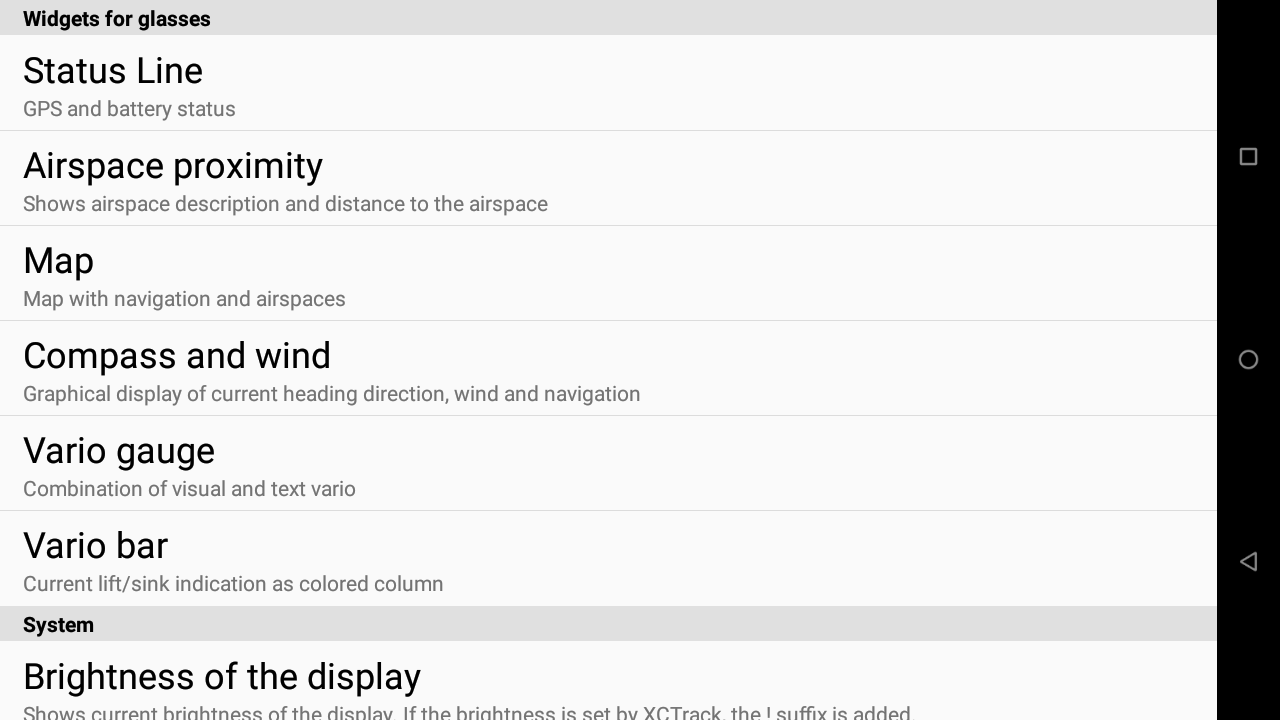
To add a new widget, click on “Add widget” button in the top menu.
- Widgets that had to be modified to better fit the limited environment are now located in the “Widgets for glasses” section.
- Widgets that are available to customize the layout for glasses without change in the configuration are located in the same section as described in the XCTrack Pro widgets manual.
- Widgets that are not available to customize the layout for glasses are not present in the list.
To configure a widget, select it first by clicking once on the widget. Then, either click in the center, or click on “Configure widget” button in the top menu.
When 2 widgets are located at the same place, click on “Bring to Front” or “Send to Back” after selecting the widget that you want to bring to front or send to back.
- When widgets overlap, the top one with at least some data wins; all widgets that are under an active widget are hidden
- You can overlap more text widgets, use the widget settings to hide both title and value when no data is available


To delete a widget, select it first by clicking once on the widget. Then click on “Delete widget” button in the top menu.
To move or resize a widget, select it first by clicking once on the widget.
- To move it, keep your finger in the center and swipe it to the desired area. Once you are happy with its location, lift up your finger.
- To resize it, keep your finger in the corner that you want to resize and swipe it up to the area that corresponds to the right size.
If you want to reset the layout to the last saved version or to the factory layout, click on “Reset layout” button and click on the appropriate choice.
Once you have made the desired customisation, click on the back/triangle Android button, to come back to the settings of the ActiveLook Glasses.
A change in the Layout is applied immediately when you exit the layout configuration screen.

The “Device information” shows versions of the different components.
Battery shows % of the available battery (also available in the status bar of the glasses).
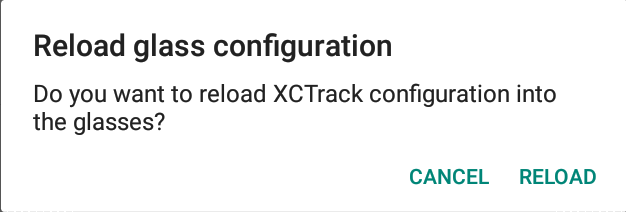
Click on “Reload glass configuration” to reload the items that were initially uploaded into the glasses at first connection.

AIR³ is preconfigured to take advantage of its large screen and the different specifications (sensors, brightness, physical buttons, etc.). Through AIR³ Manager, you can select different profiles according to your level (Kiss, Easy, Expert) or your sport (paramotor, balloon,…). Go to AIR³ Manager and select “Profile change and reset”. Once you have selected the profile and other options, click on “APPLY” and validate to apply the changes in XCTrack at the next XCTrack start. AIR³ Manager will interface with XCTrack to configure the pages, the settings according to your level or your sport. You always have the opportunity to add or remove pages, change any layout or any settings in XCTrack.
If you are ever unhappy with the changes you have made, you can reset all XCTrack changes using the AIR³ Manager with the method explained above.
IMPORTANT NOTICE: if you change the profile with AIR³ Manager, you will loose any layout customisation you could have applied. If you want to return to your previous configuration, don’t forget to first export your configuration.
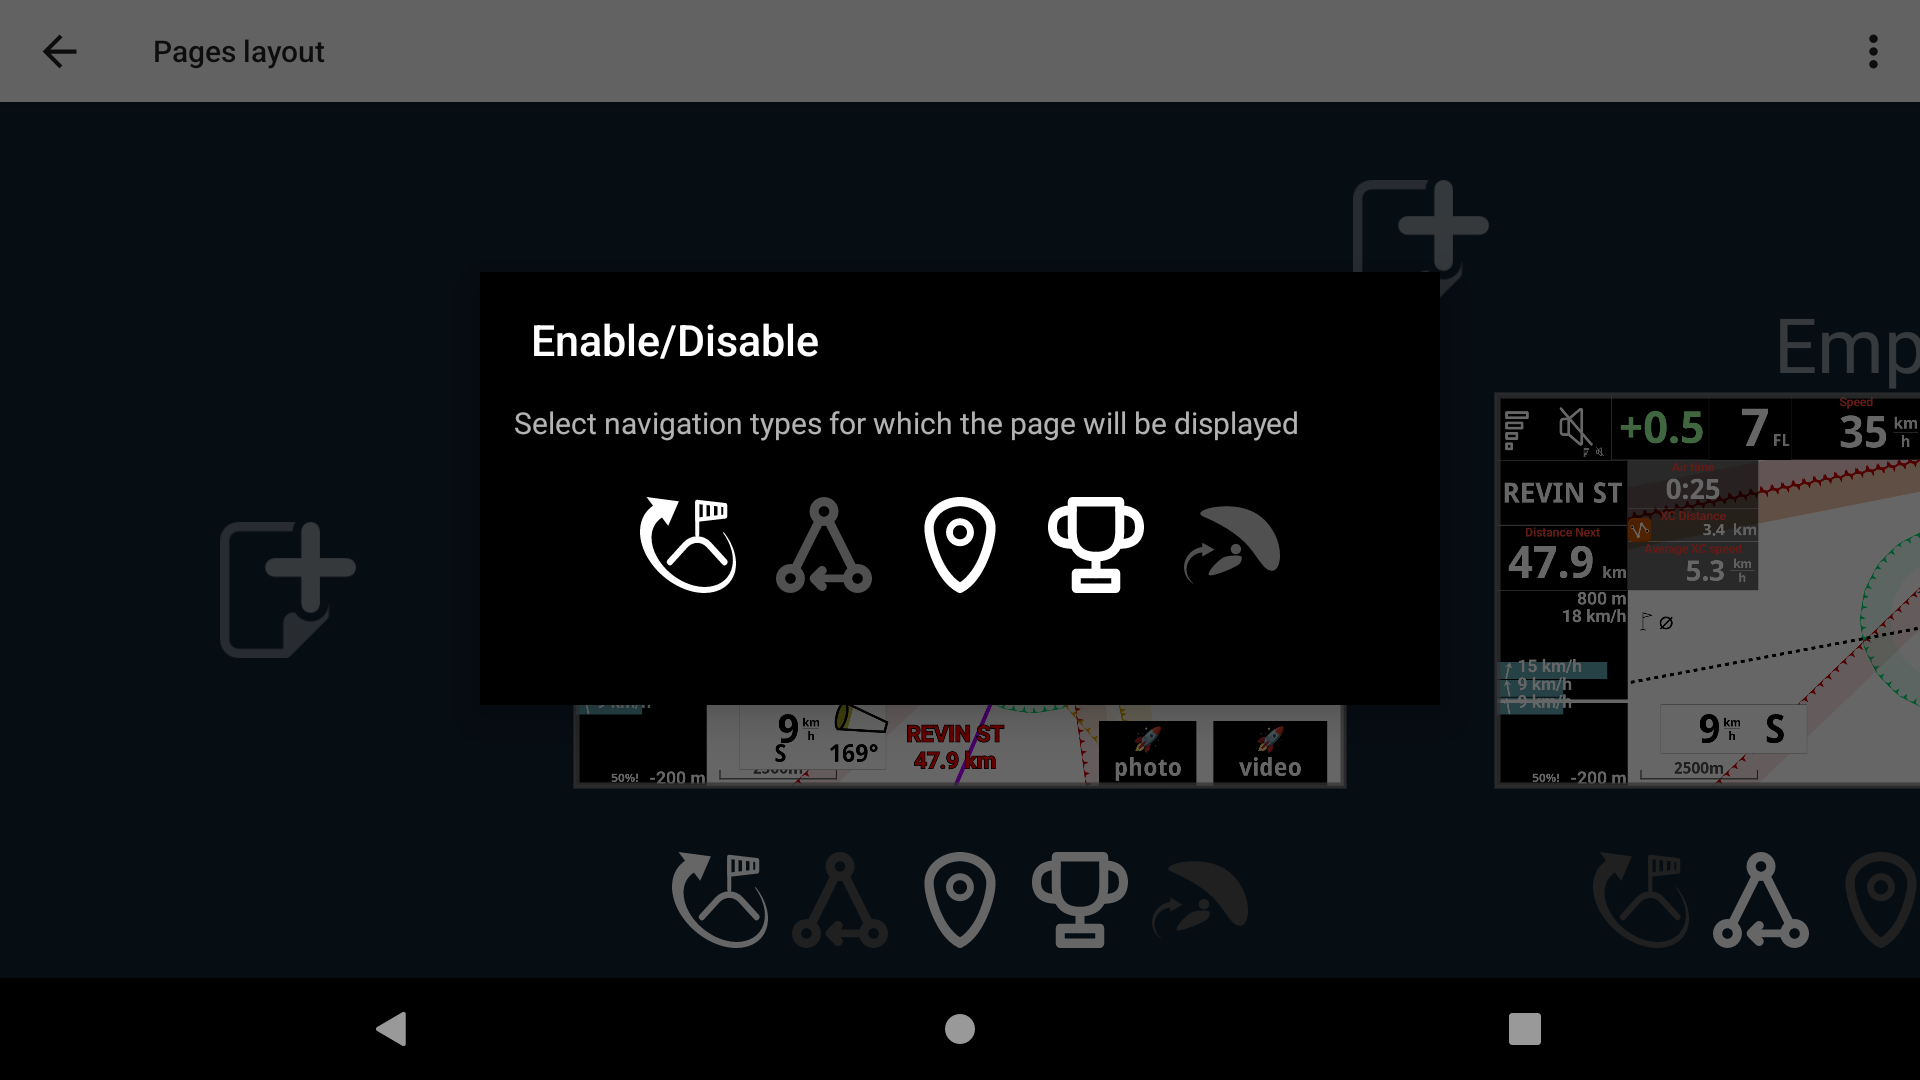
Pages layout allows you to create a new page (click on the + sign).

When you create a page, select the type of page you want to create.
Choose thermal assistant if you want to automatically switch to this page once a thermal is detected, with the default settings for such page (see more details in the “Automatic actions” section below). If you have created more than one page “thermal assistant”, the last one will be used for the automatic action. Do not confuse the Thermal assistant widget explained in the Air subsection of the XCTrack Pro widgets manual with the Thermal assistant page. The “Automatic action” is linked to the page and not the widget.
Choose XC Assistant or Competition to create a new page with the default widgets provided with such pages, or choose empty to start from a blank page.

To delete a page, move a page or duplicate a page, hold the page and drop it a the right place (trash, copy icon or move it to a different place.

Select for each page, the ones that are hidden or visible depending on the navigation type (back to takeoff, triangle, waypoint, competition task and/or Live pilot). Enabled means that the page is visible with every navigation type.
To reach this section, swipe down to open XCTrack menu → Preferences → Key bindings.
Select “Key bindings” to link the short press or long press of an available button to a given action. This can be pretty useful if you wear winter gloves that can not be used with touch screens.

By selecting a key related to brightness, you will increase or decrease the brightness of the screen by step of 10%. If you have set the brightness to be maximum at takeoff, by pressing once on a key that is linked to “decrease display brightness”, the brightness will be set on 90%.
By selecting a key related to Pan map, you will have the opportunity to set the Map panning relative step. Otherwise, this menu will be greyed out.
Pressing a key linked to map panning will activate this special mode (no need to configure a key to toggle map panning).

Map panning relative step allows you to decide how much pan you want to apply for each key stroke. 25% means that by pressing a key linked to “Pan map Left in panning mode”, the map will move so you can see the map on the left by 25% of the displayed map. If you select 100%, it means tha the map is totally replaced by the map that is situated on the left.

Landing detection
Can be set on Automatic, Manual or No detection. Automatic detection is based on speed and lift.
If you set the landing detection on Automatic, once XCtrack detects a landing, a new IGC will be created if a takeoff is detected afterwards. So, in case you are flying in heavy wind conditions and may stay at the same place at a very low speed, facing the wind, you may prefer the “‘manual” setting so that you would need to confirm “just landed” or “still flying” in case a landing is detected.
Takeoff speed
Can be modified if you want to have XCTrack detect more quickly the takeoff or avoid detecting a takeoff due to GPS inaccuracy move.
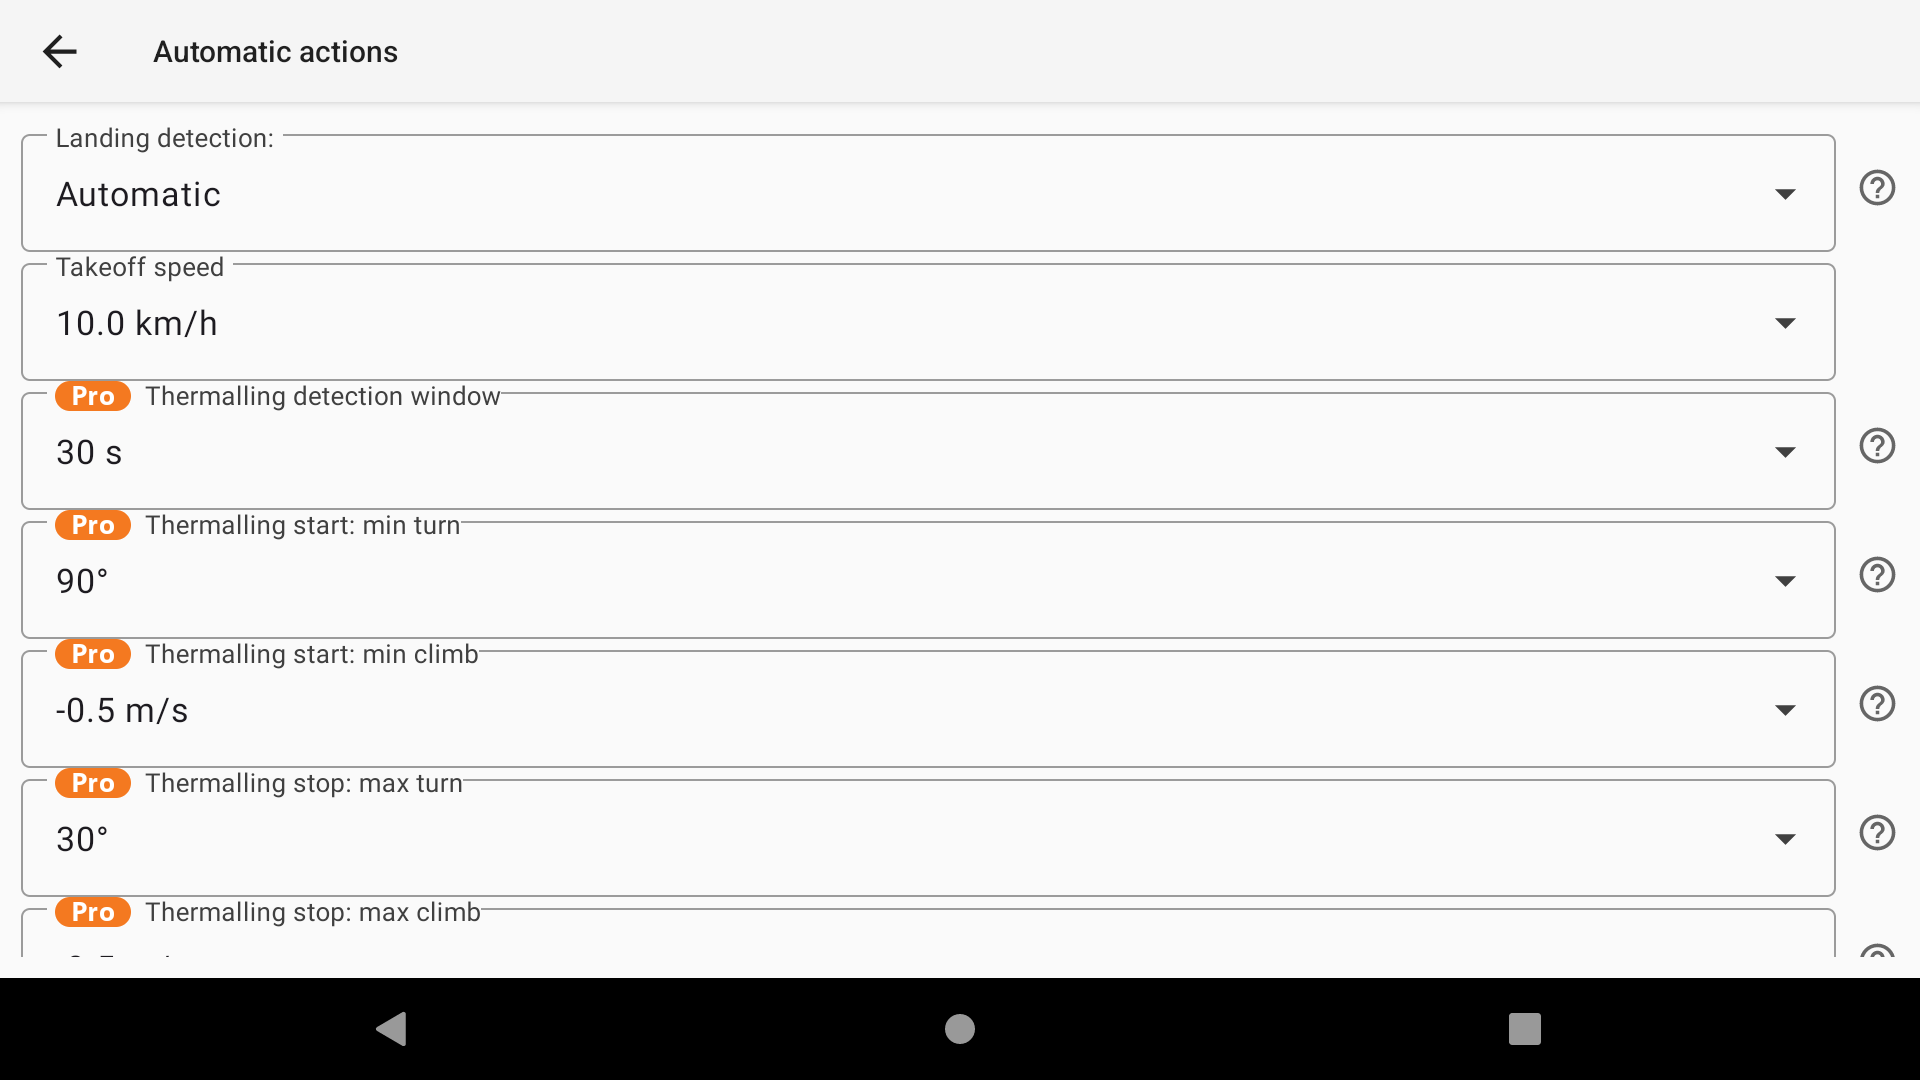
Thermalling detection (Pro)
XCTrack automatically detects when you are thermalling. The following parameters let you fine-tune when thermalling is considered to start and stop.
Basically, you are considered thermalling when you start making circles during a certain period of time with a given climb rate that indicates you have found a lift. You are considered stopping thermalling when you stop making circles and your climb rate decreases. This can be translated into these parameters:
Thermalling detection window — the time window over which XCTrack analyses your flight to detect thermalling. Default: 30s. XCTrack continuously evaluates the following parameters over this moving time window.
Thermalling start: min turn — the minimum turning angle during the thermalling detection window required to consider that thermalling has started. Default: 90°. Decreasing this value may bring false thermal detection. Increasing this value may delay thermal detection.
Thermalling start: min climb — the minimum average climb rate during the thermalling detection window required to confirm thermalling has started. Default: -0.5 m/s (slightly negative to account for the beginning of a thermal entry).
Thermalling stop: max turn — if your turning angle drops below this value during the thermalling detection window, thermalling is considered to have stopped. Default: 30°. Increasing this value may cause early exit from thermalling detection.
Thermalling stop: max climb — if your average climb rate drops below this value during the thermalling detection window, thermalling is considered to have stopped. Default: -0.5 m/s. Increasing this value (less negative) may cause early exit from thermalling detection.
Mapping of events
Displays the events mapped with specific actions. Click on Edit next to the event, to modify it.
Click on “show all events” to display all the possible events, including the ones that are not set.

For each event, you can choose an action amongst Page switch, Altering Display State or Altering Application state.
One of the main feature used with automatic actions is the switch to the thermal assistant page.
By default, once circling in thermal is detected, the page is switched to the thermal assistant page. Once XCTrack detects the pilot stopped thermalling, the page is automatically switched back if you have also set the second mapping of events related to “Stoped thermaling”. The detection of thermalling start/end is based on the following rules:
- XCTrack detects start of thermalling if there has been at least 90 degrees change in heading (not bearing) in last 30 seconds AND the vertical speed averaged over last 30 seconds is -0.5m/s or more (less the 0.5m/s sink or lift)
- XCTrack detects end of thermalling if there have been less than 30 degrees change in heading in last 30 seconds AND the vertical speed averaged over last 30 seconds is less than -0.5m/s
Another useful mapping of event used with AIR³ 7.1 was the Altering Display Stage set to Full backlight once the take off was detected.
Thanks to the very bright screen of AIR³ 7.2 and 7.3, this automatic action has been disabled as it is not required anymore to have the full brightness to get a good readability. However, new brightness button widgets have been created together with the release of AIR³ 7.2, so that the pilot can now easily decrease or increase the brightness depending on the readability conditions while flying. Read more details about these brightness buttons widgets in the Action buttons subsection of the XCTrack Pro widgets manual.
AIR³ 7.2 and 7.3 have a 10.000 mAh battery. Read more about in the battery life in this FAQ. Thanks to the automatic action generated once the battery level has reached 5%, you can continue to fly with the acoustic vario and XCTrack continues to track.

Next section