With AIR³ connected to internet (wifi, bluetooth, USB or 4G (Sim card required) or with any computer:
1/ Register on AIR³ website to stay informed.
2/ Register on Xcontest website for cloud flights and advanced XCTrack features. Keep username and password for next step.
3/ With AIR³, launch XCTrack Pro and fill in your details (follow the wizard or go to Preferences/Pilot and click on “login to Xcontest” after you have written your username and password.
4/ Miscellaneous
- Set your time zone. Go to Device Settings/System/Date & time, disable “Automatic time zone” and Select your time zone. Once done, enable the “Automatic time zone” again. Note that this time zone setting is important for the first satellites search (GPS) and for XCTrack Pro licence.
- Battery: perform 3 full discharge/recharge cycles to set the battery capacity to its maximum. Charge for 5 hours, keep XCTrack running from 100% to 0%, charge again for 5 hours, etc. Read more about battery maintenance in this FAQ.
- FANET/FLARM (AIR³ x.x+ only): select “Internal FANET” in XCTrack menu/Preferences/Connection & Sensors/ to activate the Fanet/Flarm module.
- If the Pro version of XCTrack is not activated when you receive the unit, follow theses steps:
- Make sure that the device is connected to the Internet so that the device’s time is synchronised with the time server.
- Make sure you have a GPS fix. Run AndroidTS GPS Test to visualise the satellites received until you get a clear position. Once this is done, start XCTrack and make sure that XCTrack is also getting a position. Once done, quit and restart XCTrack. If you are unsure how to properly quit XCTrack, restart the device.
- If you still fail to get the pro version, check this FAQ
- Activate the airspace that corresponds to your country in XCTrack menu/Preferences/Airspaces and obstacles and click refresh.
5/ Watch the Software Tuto videos to learn more about AIR³ features
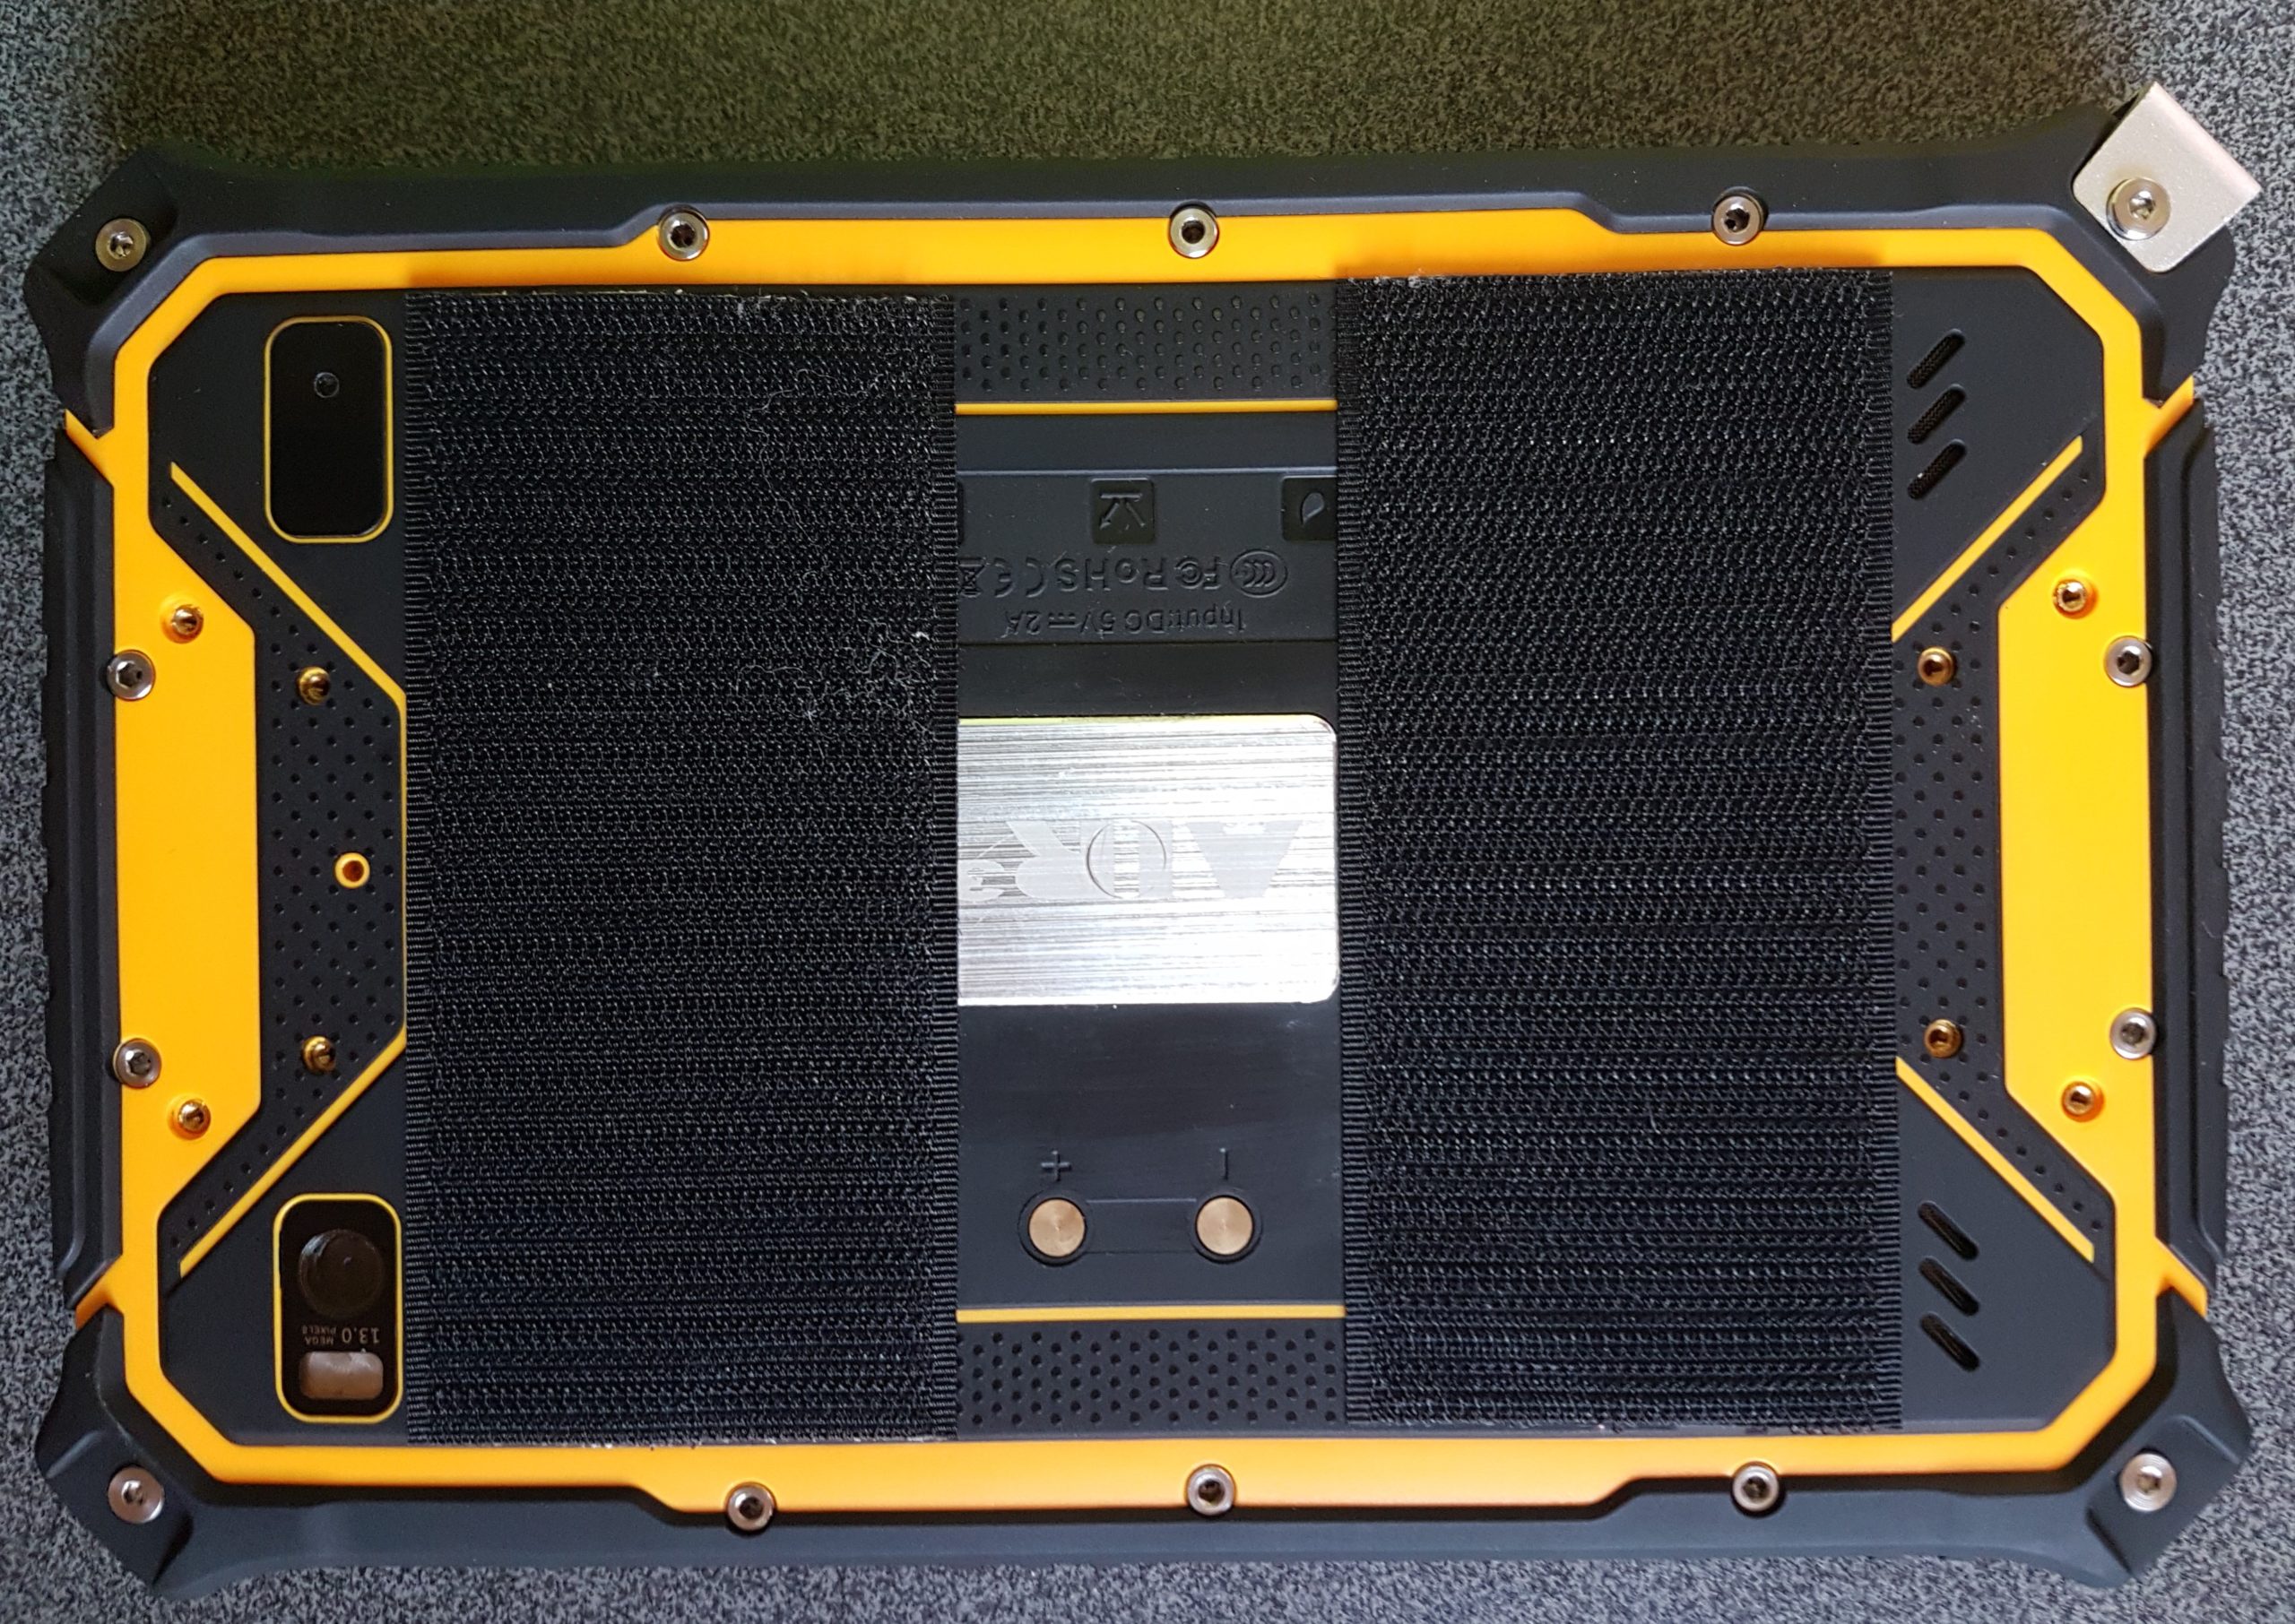
6/ Setup the Base if you are using one or the Velcro.
If you are using a Base, watch these videos:
If you are not using a Base but want to use the provided velcro directly on the AIR³, please take into account the following advises:
- Wait 48H after placing the Velcro for maximum grip
- Do not cover the speaker unless the sound level of the vario will be too weak
- Do not cover the camera and the hole for the pressure sensor
7/ Enjoy

