This page gives details on the widgets that are in the “Navigation” subsection. They can be accessed by customizing the XCTrack Pro pages pre-installed on AIR³. Remember that your customisations will be lost if you reset XCTrack Pro interface with AIR³ Manager, if you change the profile (Kiss, Easy, Expert, Paramotor) or if you load a different configuration file ‘xcfg’.
Click on the + sign to read the details.
Necessary glide ratio to reach next TP with configurable altitude reserve.
The value is computed either based on the route to the Point, [Optimized point] … or based on the nearest point (cylinder).
You can Activate “Use distinguishing brackets” in order to quickly identify your previous settings: Point [Optimized point] (Cylinder)
Reminder:
- “Point” indicates the exact target. The difference with “Cylinder” is that the distance, glide, time,etc. are calculated up to the point/target. However, once the circle around the target is reached, the navigation will switch to indicate the next point.
- “Optimized point” takes into account the route to the optimized point. This is the most used setting
- “Cylinder (nearest point) takes into account the route to the nearest point of the start circle.
Units can be changed (m <-> Ft) in Menu/Preferences/Display/Units/Altitude
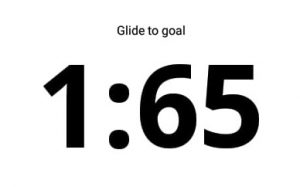
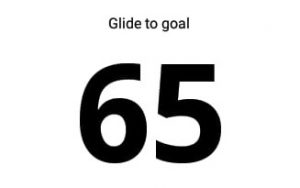
You can decide if you want to display it with or without leading 1:

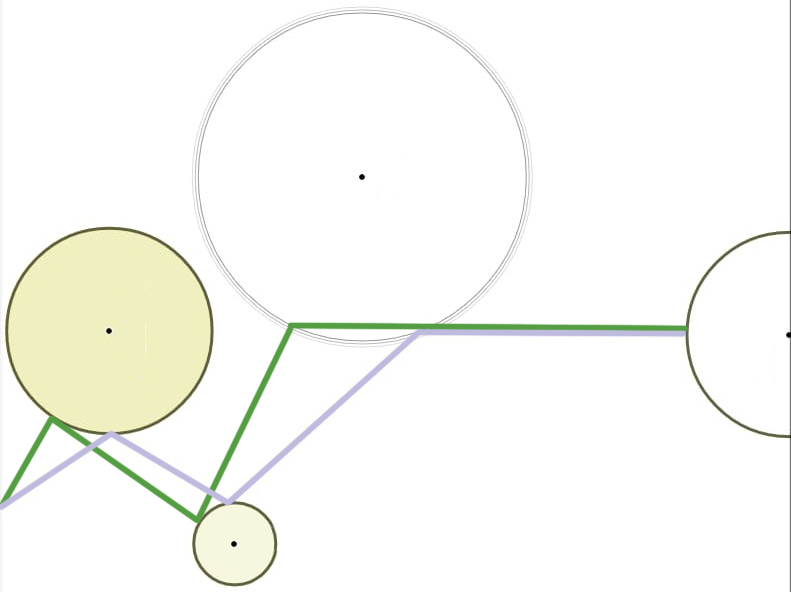
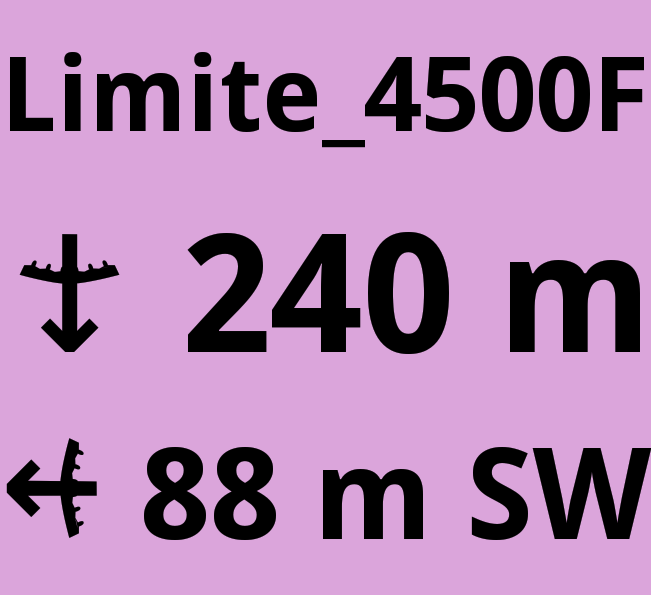
Shows airspace description, distance to the airspace (vertical and horizontal) and a color code allowing to identify quickly the proximity level with the airspace zone(s).
Read more details about how to setup Airspaces in Menu/Preferences/Airspaces
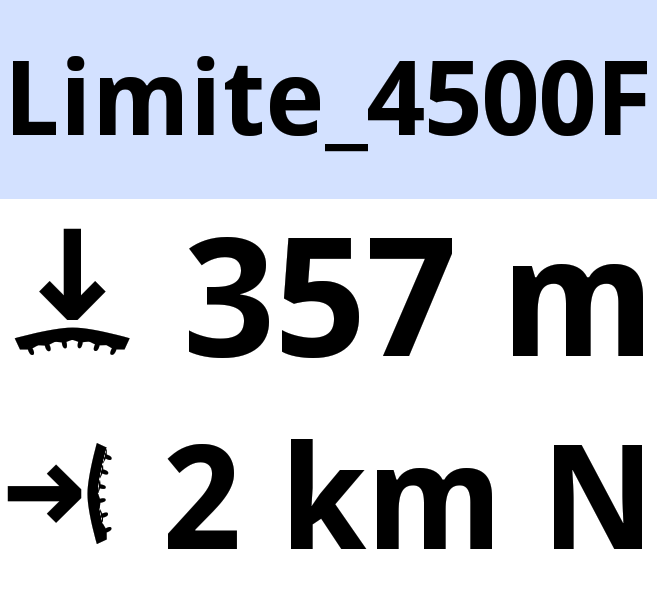
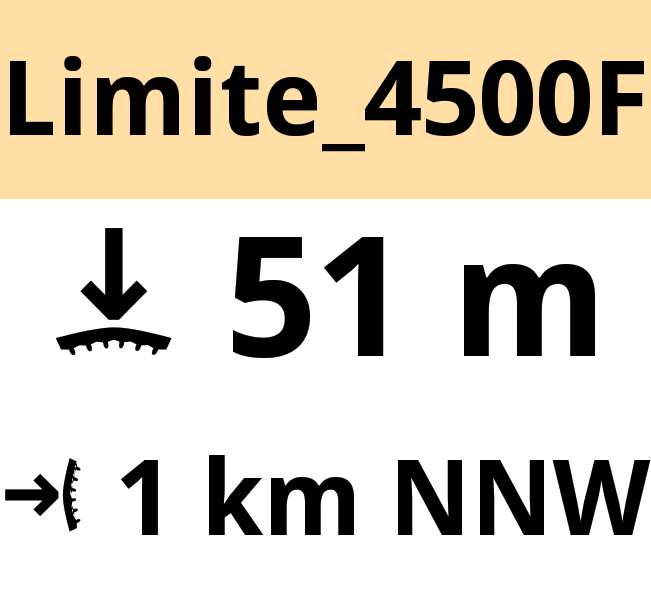
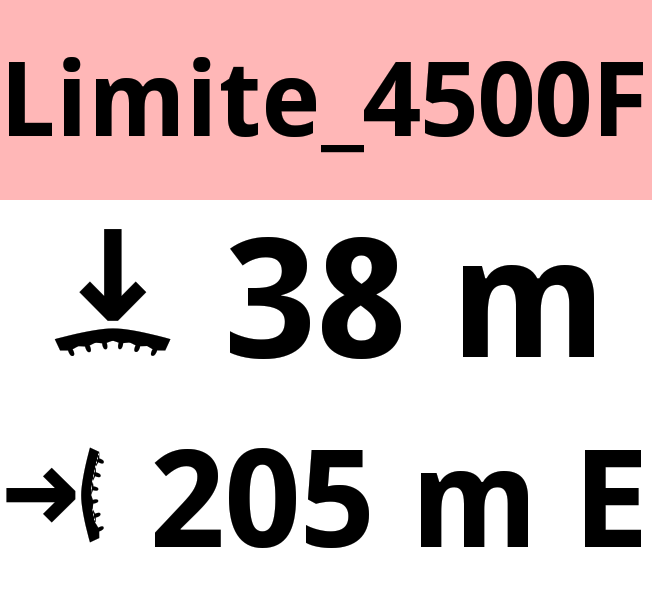
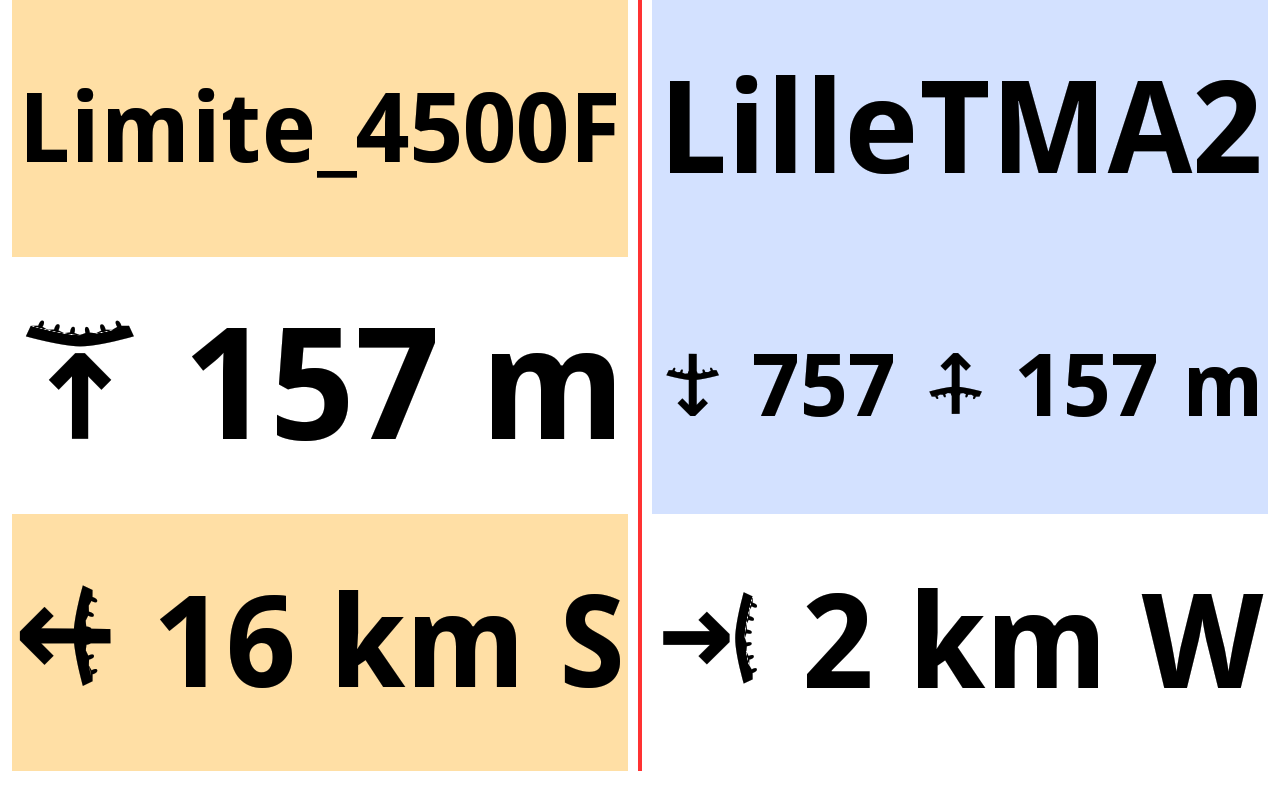
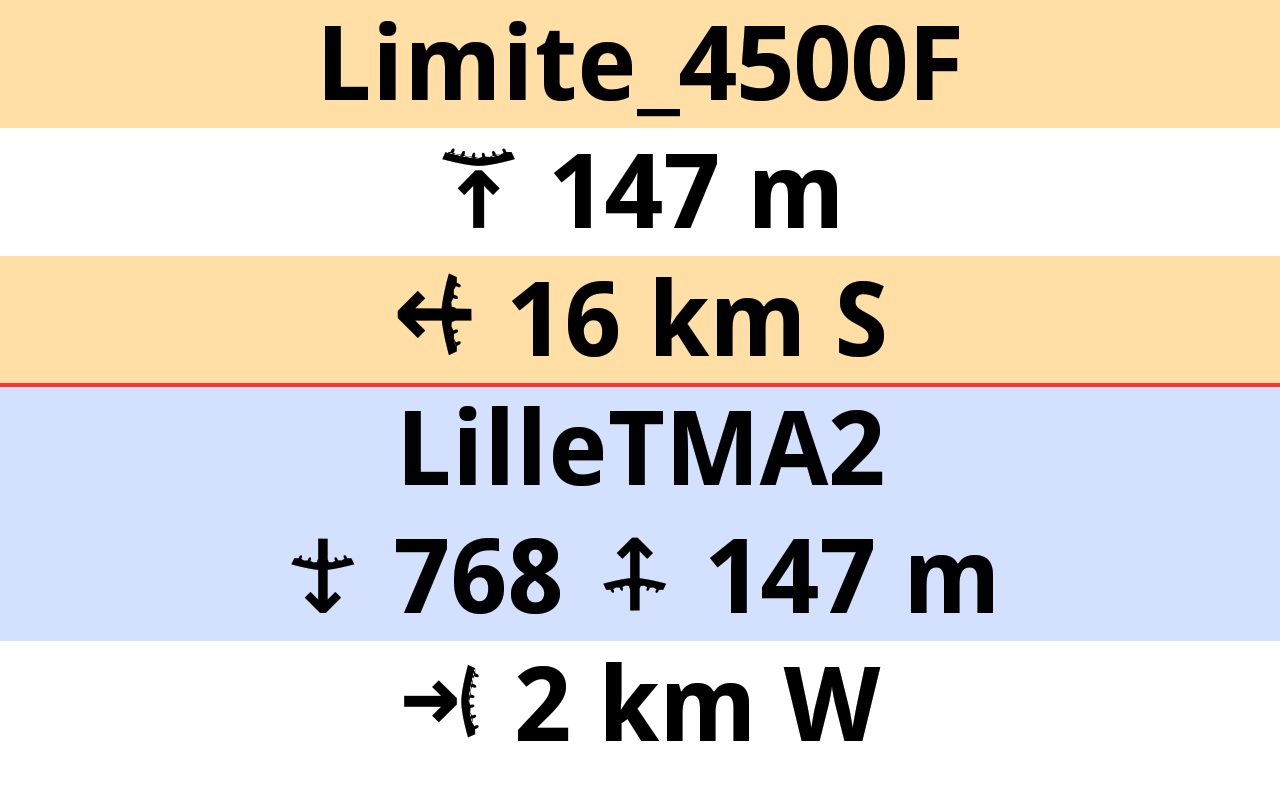
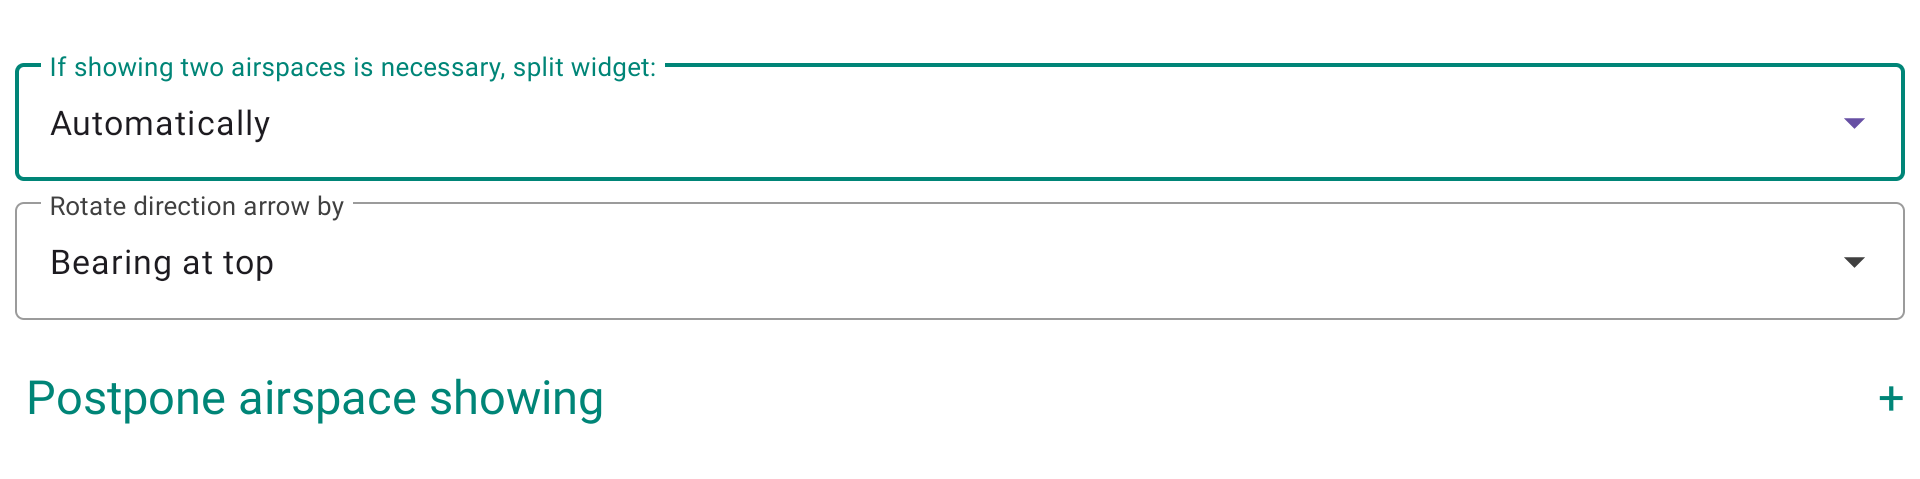
The widget is divided into 3 parts
- Name of the zone with altitude info

- Vertical distance to the vertical border (floor or ceiling)
- Horizontal distance to the horizontal border (as in a 2D map)
A ‘scaled distance’ is used to determine the level of proximity (the color code) with the airspace zone. Vertical distance and horizontal distance are taken into account to determine the ‘scaled distance’ with a ratio of 4:1, giving more importance to vertical distance proximity versus horizontal distance proximity.

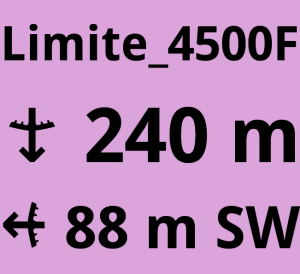
If you are flying in the prohibited airspace zone, the widget is purple. The widget shows the nearest border (=the shortest way to leave the airspace).
If the pilot is below the airspace zone (horizontal distance away from the border of the zone is 0 m), the airspace is red, once the vertical distance is less than 100 m. It will turn orange once the vertical distance is greater than 100m but less than 500 m. These vertical distance limits will decrease while you are away from the zone.
The vertical and horizontal distance parts of the widget will get colored depending on the fact that you are outside the limits or inside the limits.
Airspace altitudes, determined as flight levels are computed according to the standard pressure (STD). So the very same airspace will have different vertical borders every day (because of different atmospheric pressure). To know more about flight levels and Standard altitude, check the description of Flight Level and Baro Altitude in the Flying section. You can also read more details in the Wiki.
Vertical distance to an airspace zone limit determined as flight level is computed based on the baro standard (STD) altitude. Vertical distance to an airspace zone limit determined as AMSL is computed based on the baro QNH altitude (Check how to correctly set QNH here). Vertical distance to an airspace zone limit determined as AGL is computed based on the GPS altitude. If you are watching your altitude based on the GPS altitude, you may be surprised by the remaining vertical distance to the floor of the airspace zone that would be set on flight level.
Here are a few examples of colored widget depending on the proximity of the airspace zone:
The proximity widget displays a zone. This means you are nearby an airspace zone. Blue color means you are not that close.
Orange means that you are approaching the airspace zone. You should start paying attention to a different route.
Red means you are very close. It is urgent to find a solution!
Purple. It is too late! You are in the airspace zone.
Distance limit to register the airspace is the horizontal distance within which the proximity widget will display information.
Note that the maximum distance to look for nearby airspace is set in Menu/Preferences/Airspaces/Settings/Nearby airspace discovery. Once this maximum distance is set, the airspace proximity widget can’t register the airspace above such limit. Should you be willing to register an airspace zone further than the maximum limit indicated in the airspace proximity widget, you can increase that maximum in Menu/Preferences/Airspaces/Settings/Nearby airspace discovery.
“Show near airspace while being inside another” is self explanatory.
“Show original vertical borders of the airspace” shows the borders indicated in the airspace file (openair) without any convertion based on the atmospheric pressure (QNH). Flight levels are indicated as Standard altitude (see above for more explanations).
“Show vertical borders recomputed to gps altitude” shows the borders indicated in the airspace file (openair) converted to a real/GPS/AMSL altitude depending on the atmospheric pressure (QNH). Example: FL65 corresponds to 1980 m STD (standard=1013.25 hPa). If the QNH of that day is a little more than 1021 hPa, FL65 correspond to an altitude of 2050 m above the sea.
Units can be changed (m <-> Ft) in Menu/Preferences/Display/Units/Airspace altitude.
Different symbols are used to indicate your position in regards with the airspace zone.
Regarding horizontal distance, this is quite simple:
You are “horizontally” outside of the airspace zone. The distance corresponds to the distance to reach the horizontal limit of the zone. The cardinal/ordinal direction represents the direction to the nearest part of the airspace zone.
You are “horizontally” inside of the airspace zone (inside the airspace zone, below or above). The distance corresponds to the distance to exit horizontally the limit of the airspace zone. The cardinal/ordinal direction represents the direction to the nearest part of the airspace zone to get out of it.
Regarding vertical distance, there are more symbols to understand:
You are “vertically” below the airspace zone. The distance corresponds to the distance to reach the vertical lower limit of the zone.
You are “vertically” above the airspace zone. The distance corresponds to the distance to reach the vertical upper limit of the zone.
You are “vertically” inside the airspace zone (inside the airspace zone or next to it at the same altitude). The distance corresponds to the distance to exit vertically the lower limit of the airspace zone.
You are “vertically” inside the airspace zone (inside the airspace zone or next to it at the same altitude). The distance corresponds to the distance to exit vertically the upper limit of the airspace zone.
When more than 1 airspace zone is nearby, the widget can be split either horizontally or vertically.
Automatically is set to split either horizontally or vertically depending on the shape of the widget and the data to display.
Rotate direction arrow by
The airspace proximity widget displays the horizontal distance arrow indicating the direction of the nearest airspace boundary according to your selection.
The following setting defines the reference used to orient that arrow:
- North at the top — the arrow points toward the airspace relative to north, as on a standard map.
- Bearing at the top — the arrow is rotated relative to your current bearing (direction of travel). An arrow pointing up means the airspace is straight ahead.
- Heading at the top — similar to Bearing, but uses your heading (the direction your glider is physically pointing) instead of your GPS track.
In the example on the right, bearing at top has been chosen. Zone Faucon is located 1.3 km away from the pilot and slightly to the left of the intented route.
By setting in the widget to postpone airspace showing whose floor is above the set limit, the airspace zone can be deferred. Approaching a set distance, the deferred airspace can be displayed.
If you are interested to know more about Airspaces with AIR³, watch the dedicated tuto video in the videos’ page.
Here are a couple of examples:
There is 453 m remaining to reach, vertically, the altitude of the floor of the airspace zone (vertical distance).
The pilot is 3 Km away horizontally from the airspace zone border situated WNW from the position of the pilot.
There is 576 m remaining to reach, vertically, the altitude of the floor of the airspace zone (vertical distance).
The pilot is below the airspace zone, 5 Km horizontally within the airspace zone border. To exit, the pilot should fly in direction of SSE.
There is 449 m remaining to reach, vertically, the altitude of the floor of the airspace zone (vertical distance).
The pilot is below the airspace zone, 1 Km horizontally within the airspace zone border. To exit, the pilot should fly in direction of ESE.
There is 42 m remaining to reach, vertically, the altitude of the floor of the airspace zone (vertical distance).
The pilot is below the airspace zone, 5 Km horizontally within the airspace zone border. To exit, the pilot should fly in direction of SSE.
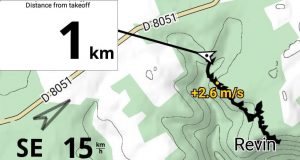
Shows distance from detected takeoff.

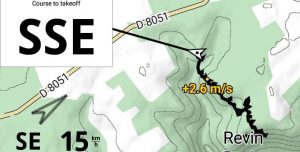
Shows course to the takeoff.
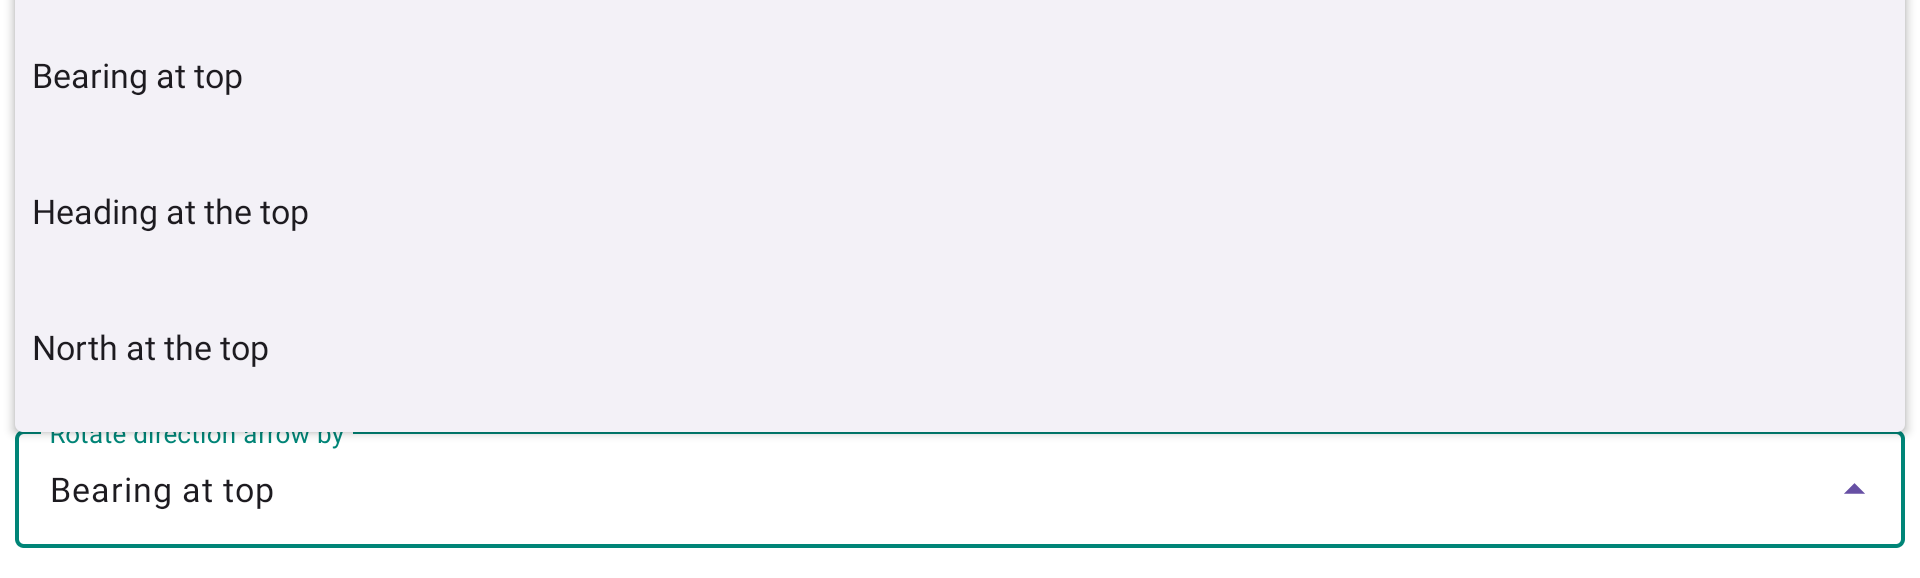
You can display numeric value degrees instead of Cardinal and Ordinal directions.

Next section:
