fbpx
October 23, 2019

XCTrack Pro Widgets – Others

This page gives details on the widgets that are in the “Others” subsection. They can be accessed by customizing the XCTrack Pro pages pre-installed on AIR³. Remember that your customisations will be lost if you reset XCTrack Pro interface with AIR³ Manager, if you change the profile (Kiss, Easy, Expert, Paramotor) or if you load a different configuration file ‘xcfg’.

Click on the + sign to read the details.

Free text

Note yourself what you want.

Edit the text to display whatever you want to note.

You have different options for choosing text color (custom or based on presets), background color (custom or based on presets), text size, bold or italic text.

Text padding can also be modified to define a margin around the text in the widget.


Web page

Show a web page as a widget.

You can use placeholders ${lat} and ${lng} for current latitude and longitude. For example: this is the URL for getting a public transport itinerary to Prague from current location: https://www.google.com/maps/dir/?api=1&origin=${lat},${lng}&destination=Prague&travelmode=transit

There are 3 ways to connect AIR³ to internet. The easiest way is to use the 4G connection with a Sim card. Alternatively, you can connect through Wifi, Bluetooth or USB (Ethernet) if you have an internet hotspot available (router or data sharing of your phone).

Watch the tuto video dedicated to the webpage widget in our videos’ page here to lean more how to configure the webpage widget.

To refresh the webpage, either you set a refresh rate to automatically refresh the page, or set it to 0 sec. but long press on the widget to refresh the page.

Once you have configured the widget, you will need to position the portion of the webpage you want to display. Once you have quit the customized mode (with the back button), swipe up on the widget to enter the special mode to position the webpage. You can zoom in, zoom out, position the window to display. Once done, you can save the position.

If the save button is placed above another button on the page you need to click on, you can change the position of the save button in the configuration of the widget.


URL: there are different ways to enter the URL:

  • Just write the URL of the web page you want to display. It can be tedious, so there are other ways below.


  • Open the AIR³ web browser. Navigate to the web page you want to display with the XCTrack web page widget. Copy the url to the clipboard (long click on the url to obtain the contextual menu). Return to the configuration of the web page widget in XCTrack and paste it (long click to obtain the contextual menu). Watch the tuto video dedicated to the webpage widget in our videos’ page here, showing the same thing.


  • Scan a QR code containing the URL you want to display in XCTrack. On your PC, open your browser. Go to the webpage you want to display. Copy the URL and paste it in a QR code generator tool (https://www.the-qrcode-generator.com/). Click the “scan QR code” button and scan the QR code that appears on your PC screen.


Note: if you have already saved the URL of a webpage and just want to share it with another AIR³, you can click the “Share by QR code” button to display the QR code of the Url for the scan with the second device.


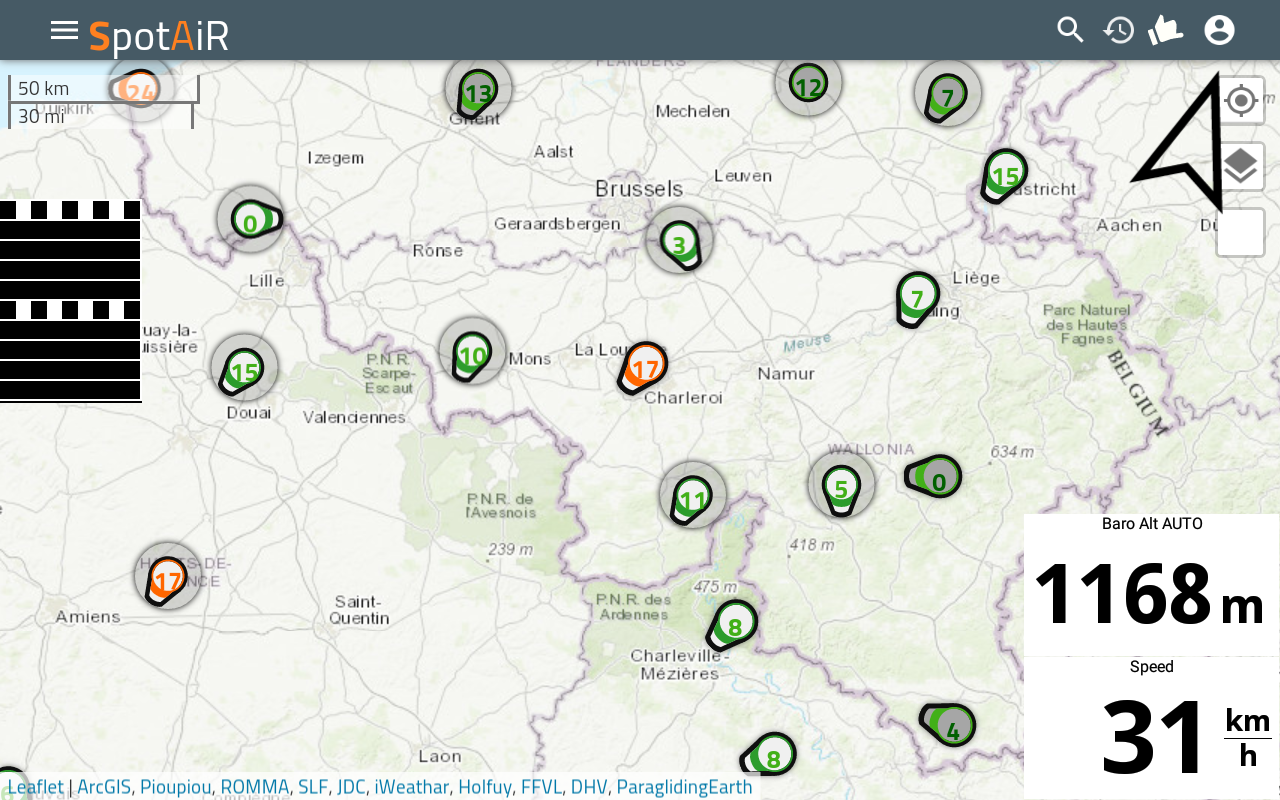
An exemple of use of the webwidget is to get wind speed from weather stations around while flying. You can obtain such info from a webpage widget configured with the Windspion URL. Read more details about  how to configure a webpage widget using Windspion URL here.

Use this barcode to configure the URL:

External Data Display

Show values parsed from $XCTOD sentences coming from an external sensor.

Check Menu/Preferences/Connection & Sensors for more details how to connect an external sensor.

This widget can be useful for custom external sensors (engine sensors, etc.)

The sensor must send the $XCTOD sentence and only these are interpreted (and displayed).

All these NMEA-like sentences can be sent via BLE, BT, USB, TCP, UDP.

Example of sentence received:  $XCTOD,20,another value

Result (two widgets, first configured as shown on the main picture):

image


Next section:

en_USEnglish