Jump directly to the right topic: Automation rules – Instant Lift, Weak Lift and Vario Sound – Custom sound – XCTrack Intent Launcher Widget – Add a new custom trigger event – Launch an App – GoPro – Zello Configuration – Telegram Configuration – Safe Landing Reporting – Export Tracklog
The AIR³ XCT add-on enhances the functionality of XCTrack.
The AIR³ XCT Addon is available on the Play Store. It can also be downloaded from our server.
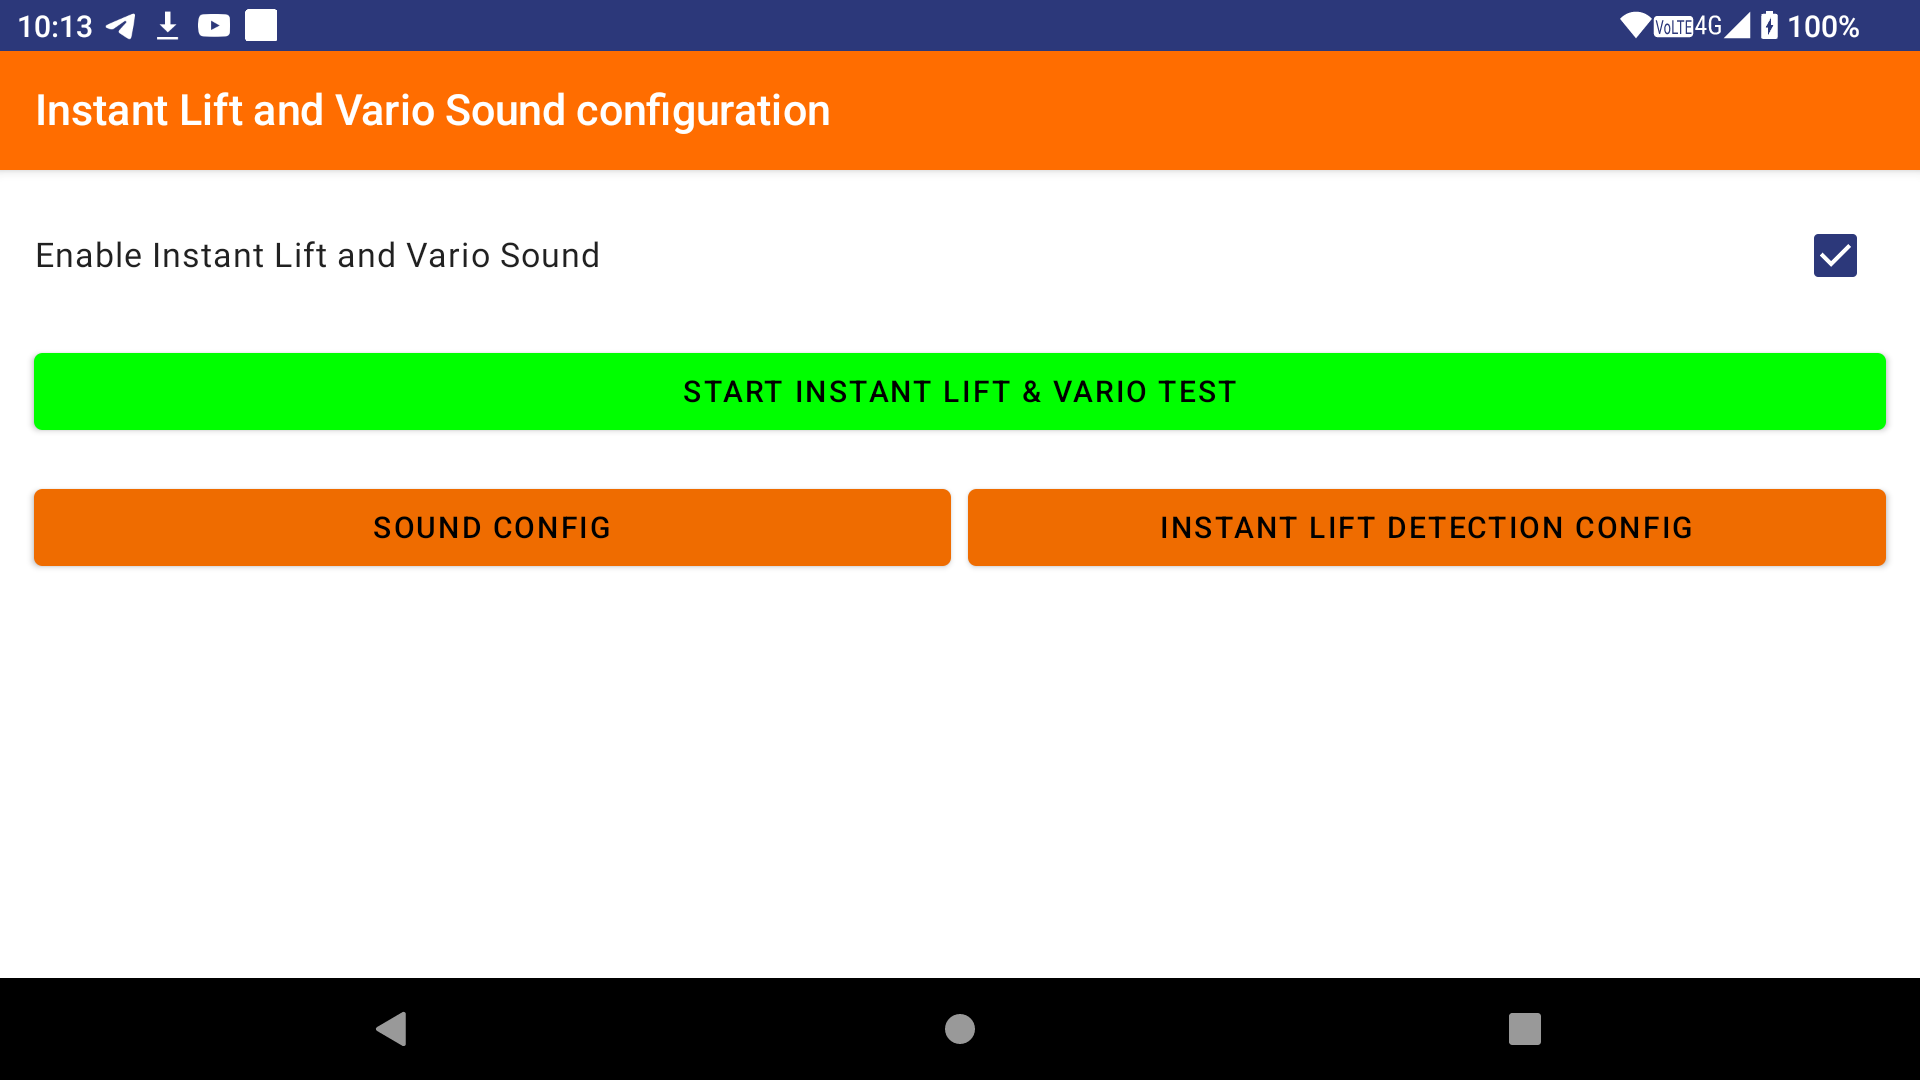
One of the AIR³ XCT add-on’s key features is its instant lift detection, which is based on accelerometers, as well as its special handling of weak lifts. The vario sound is produced by combining data from the pressure sensor and the accelerometer. This allows pilots to identify the start of lift immediately, recognise weak lift zones more easily and enjoy a clear vario sound when reaching higher vertical speeds.
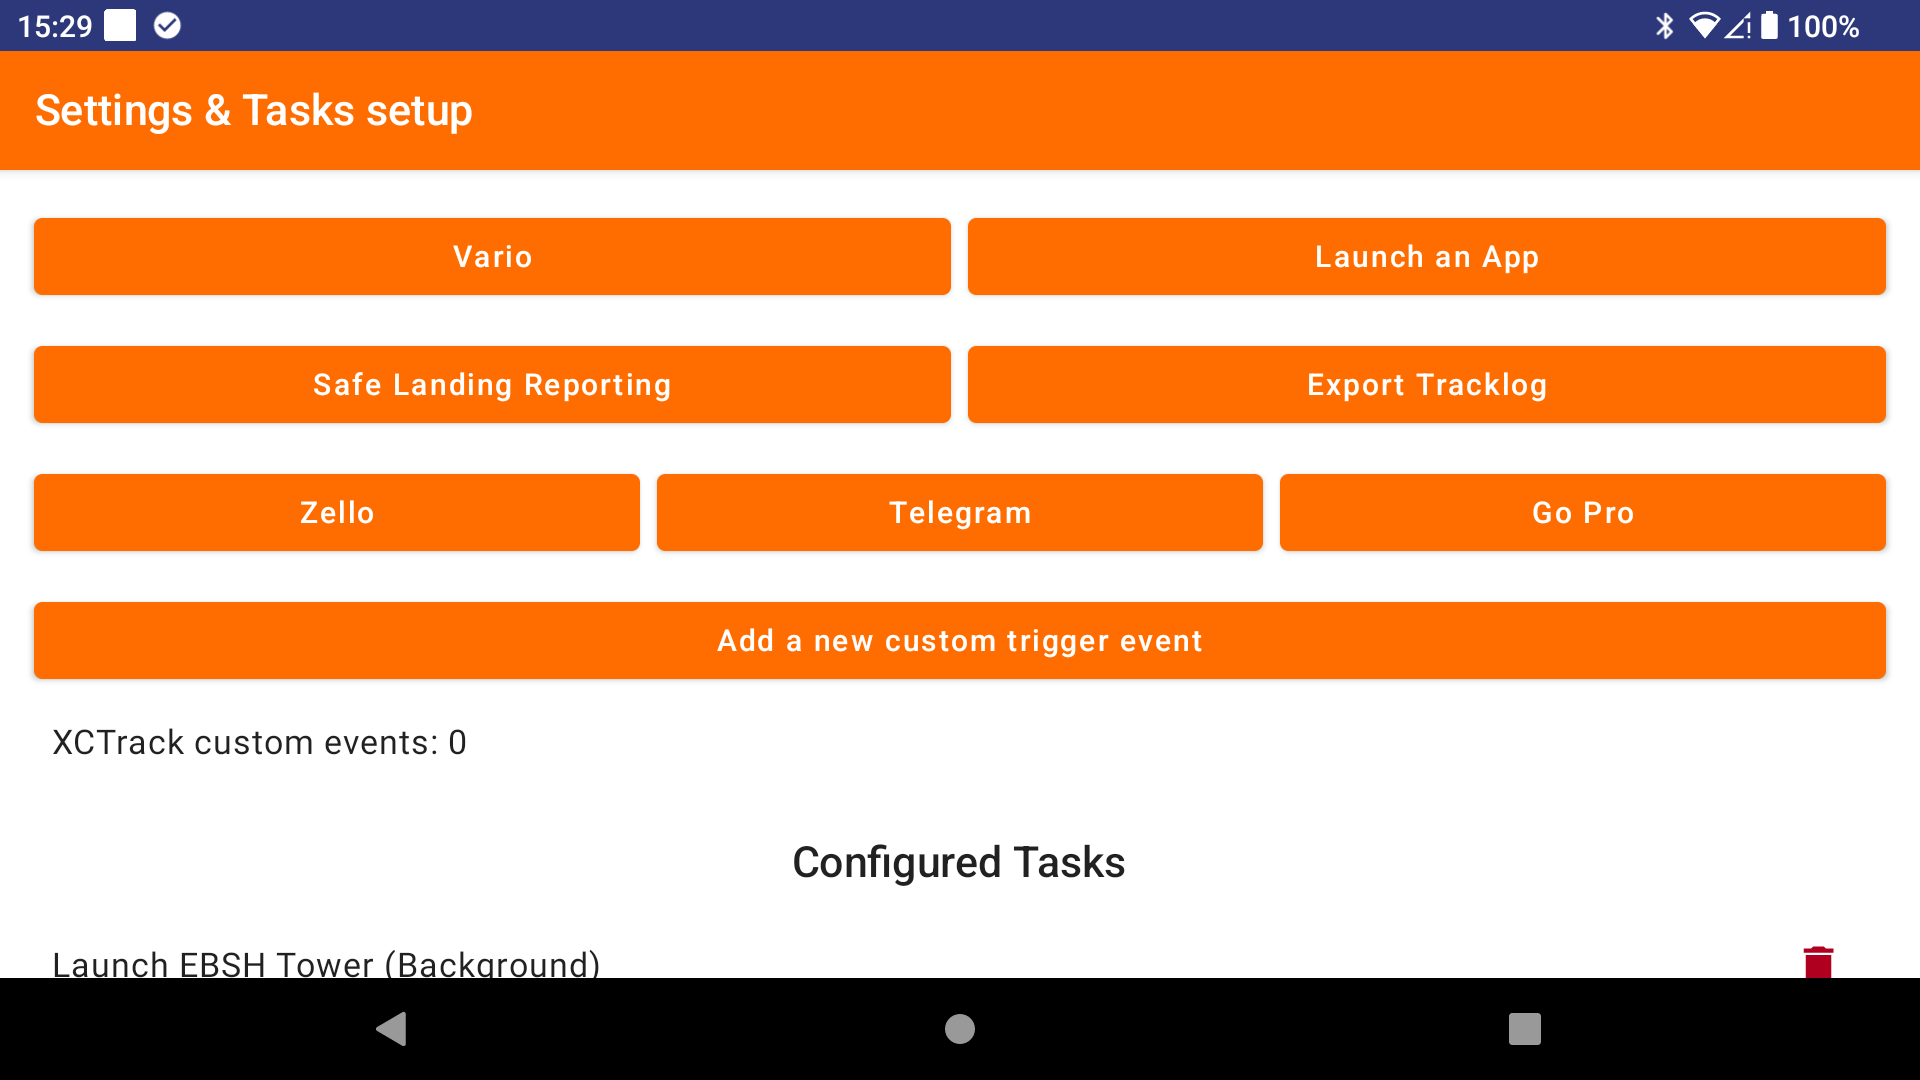
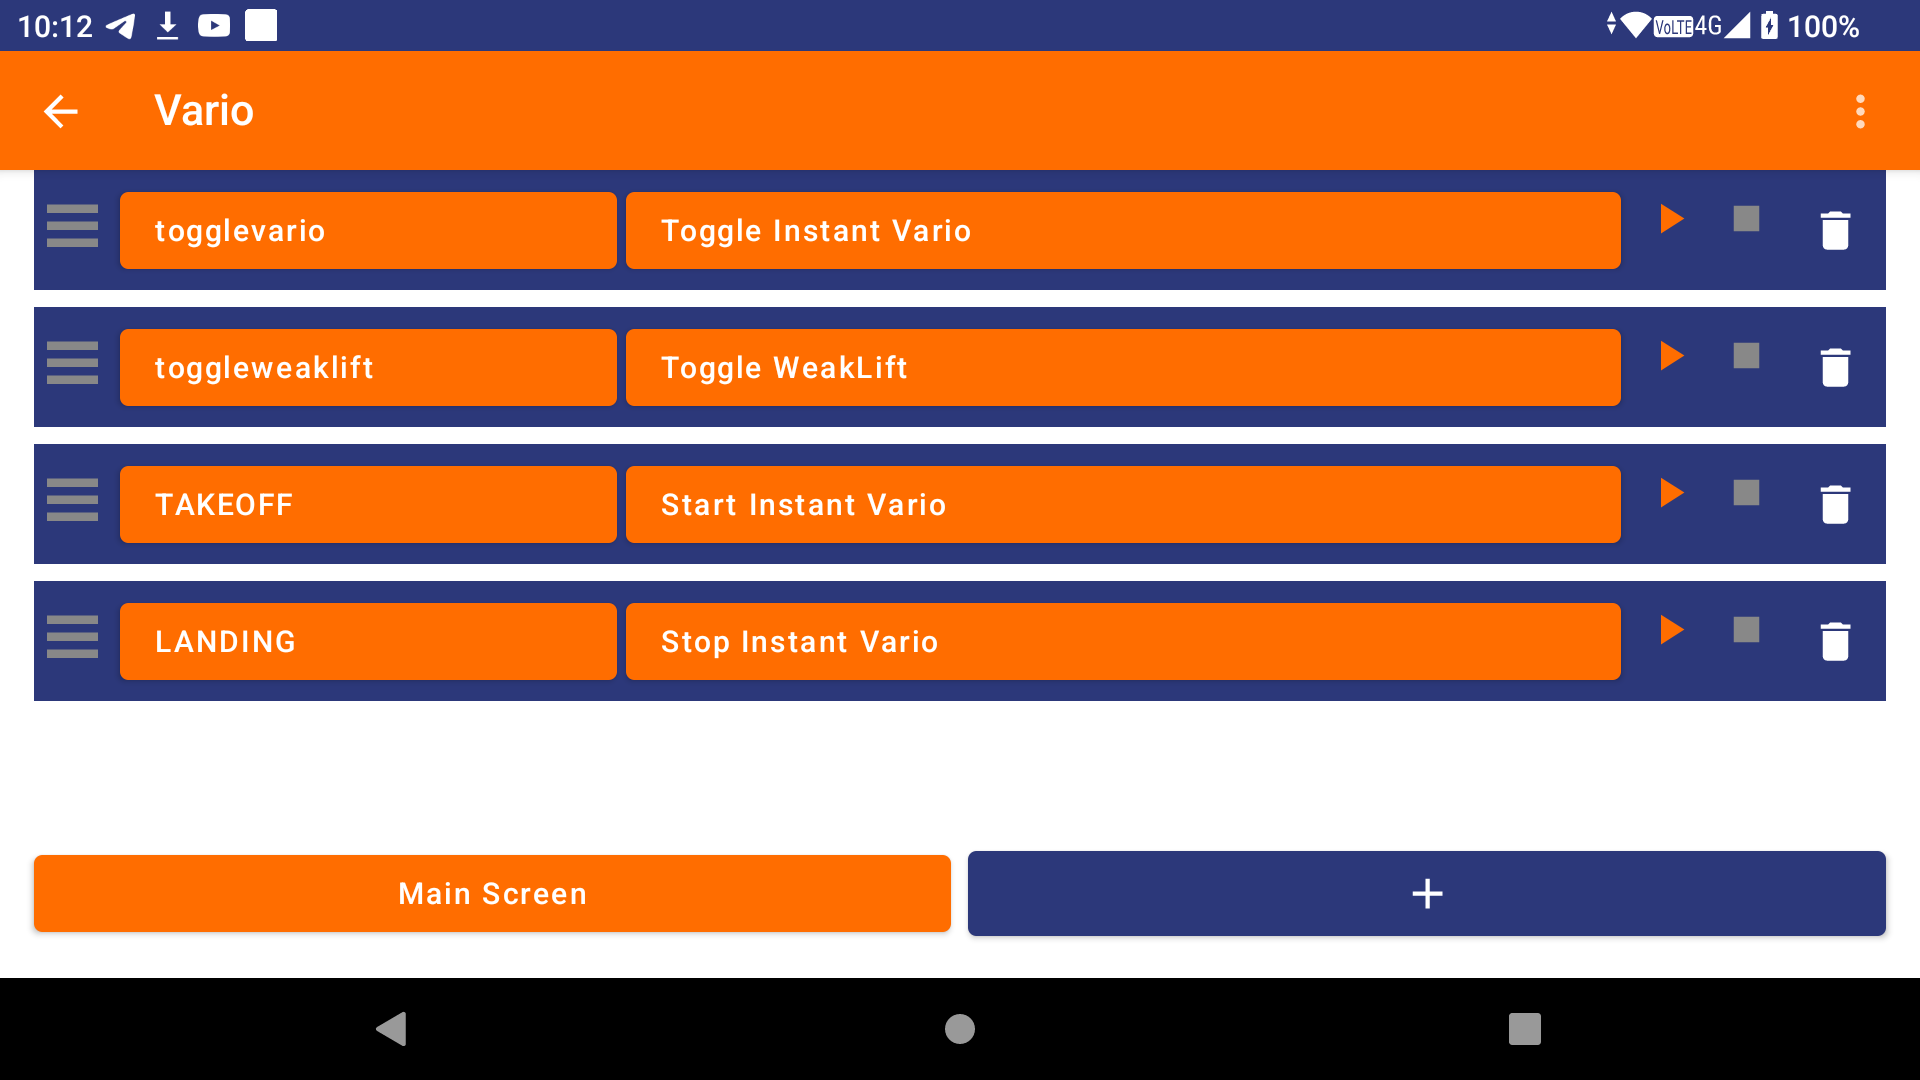
Events generated by XCTrack are caught by the AIR³ XCT add-on, which then applies the defined task, based on automation rules.
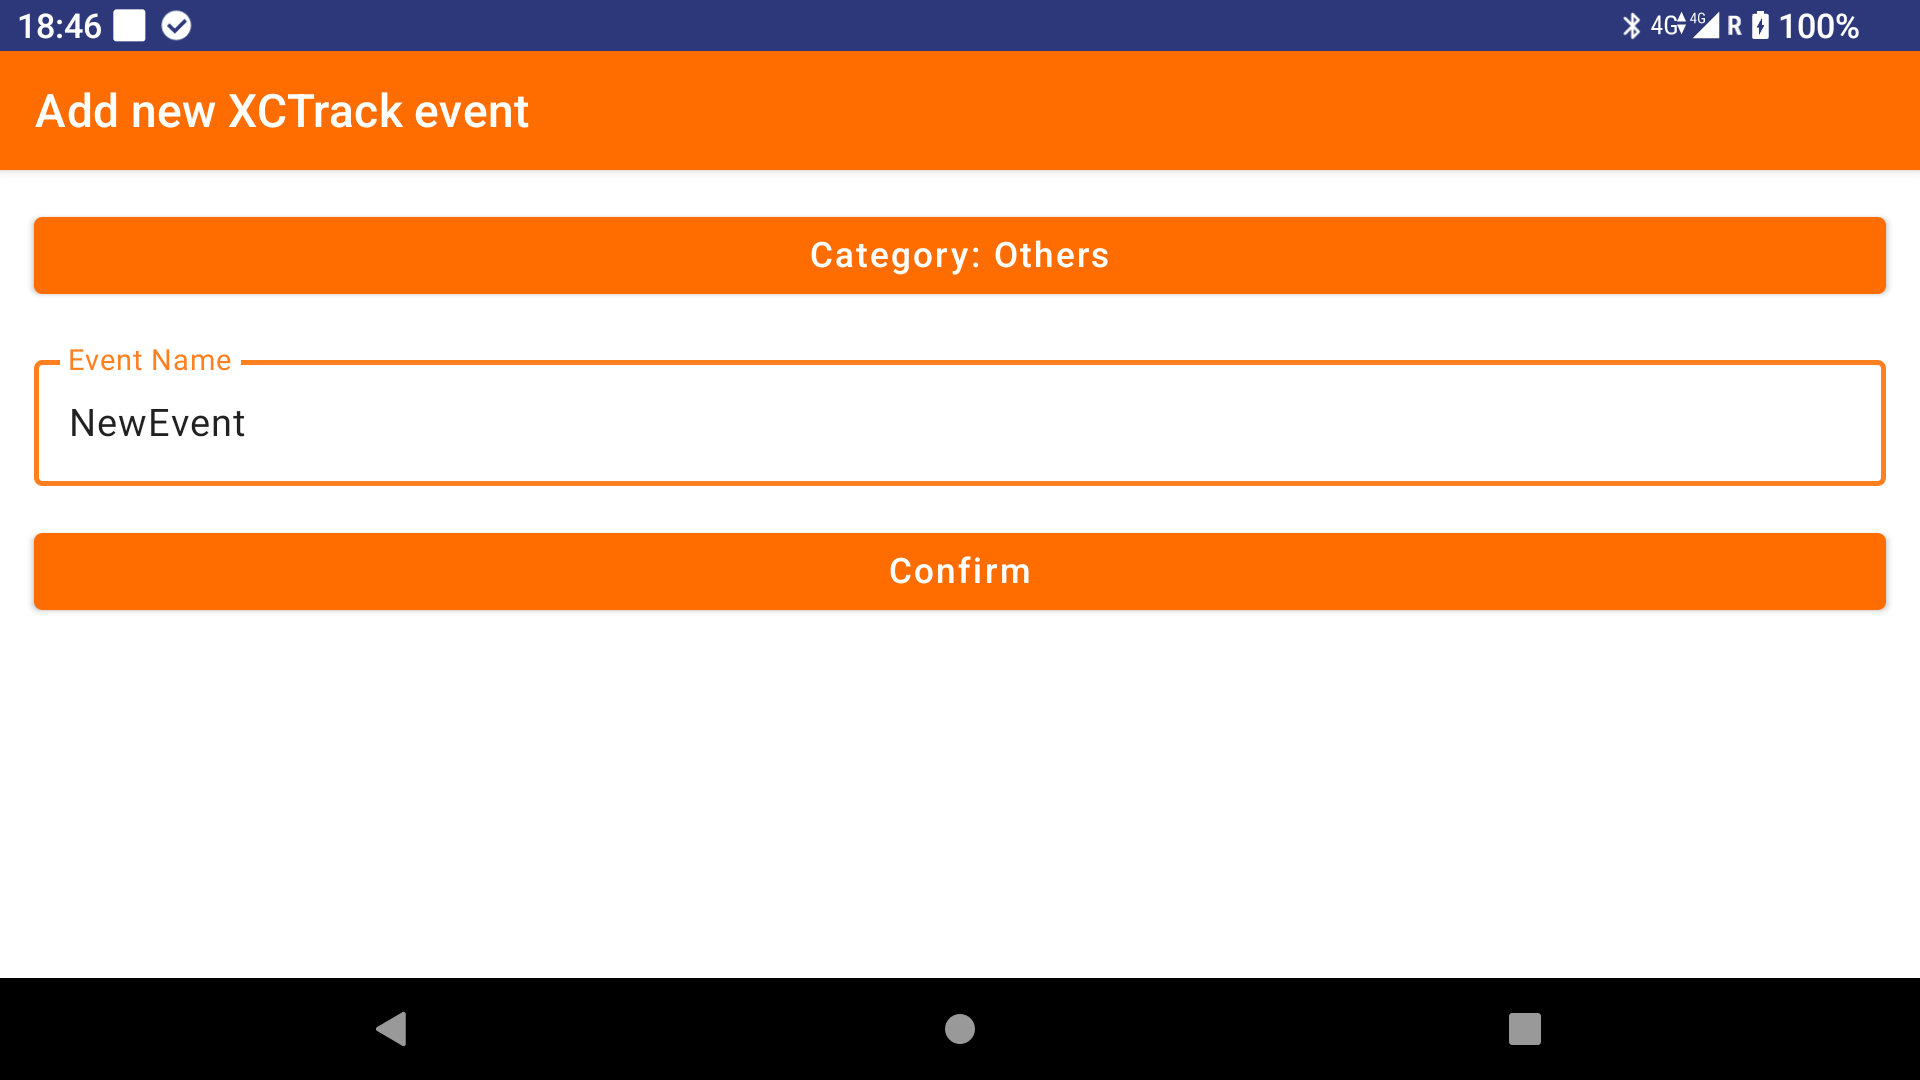
Each automation rule includes a trigger event and the task defined by the user.
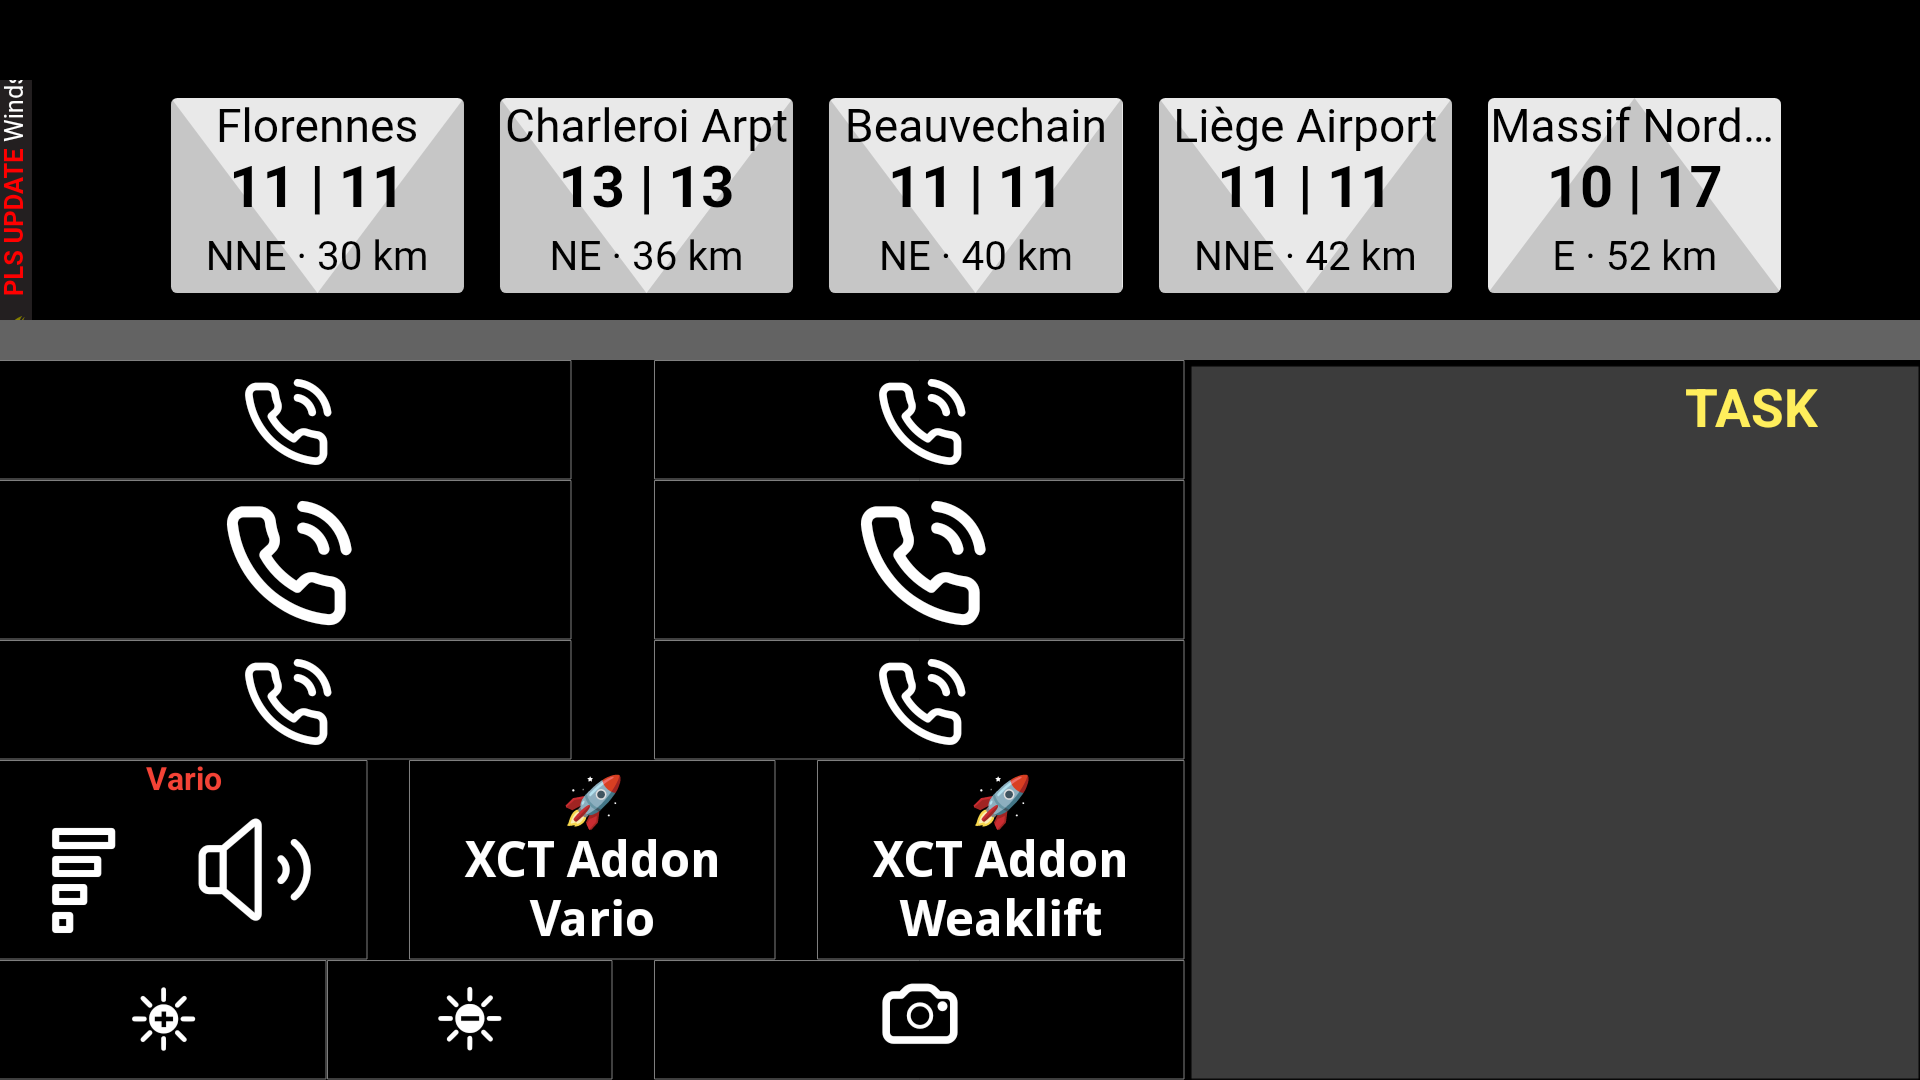
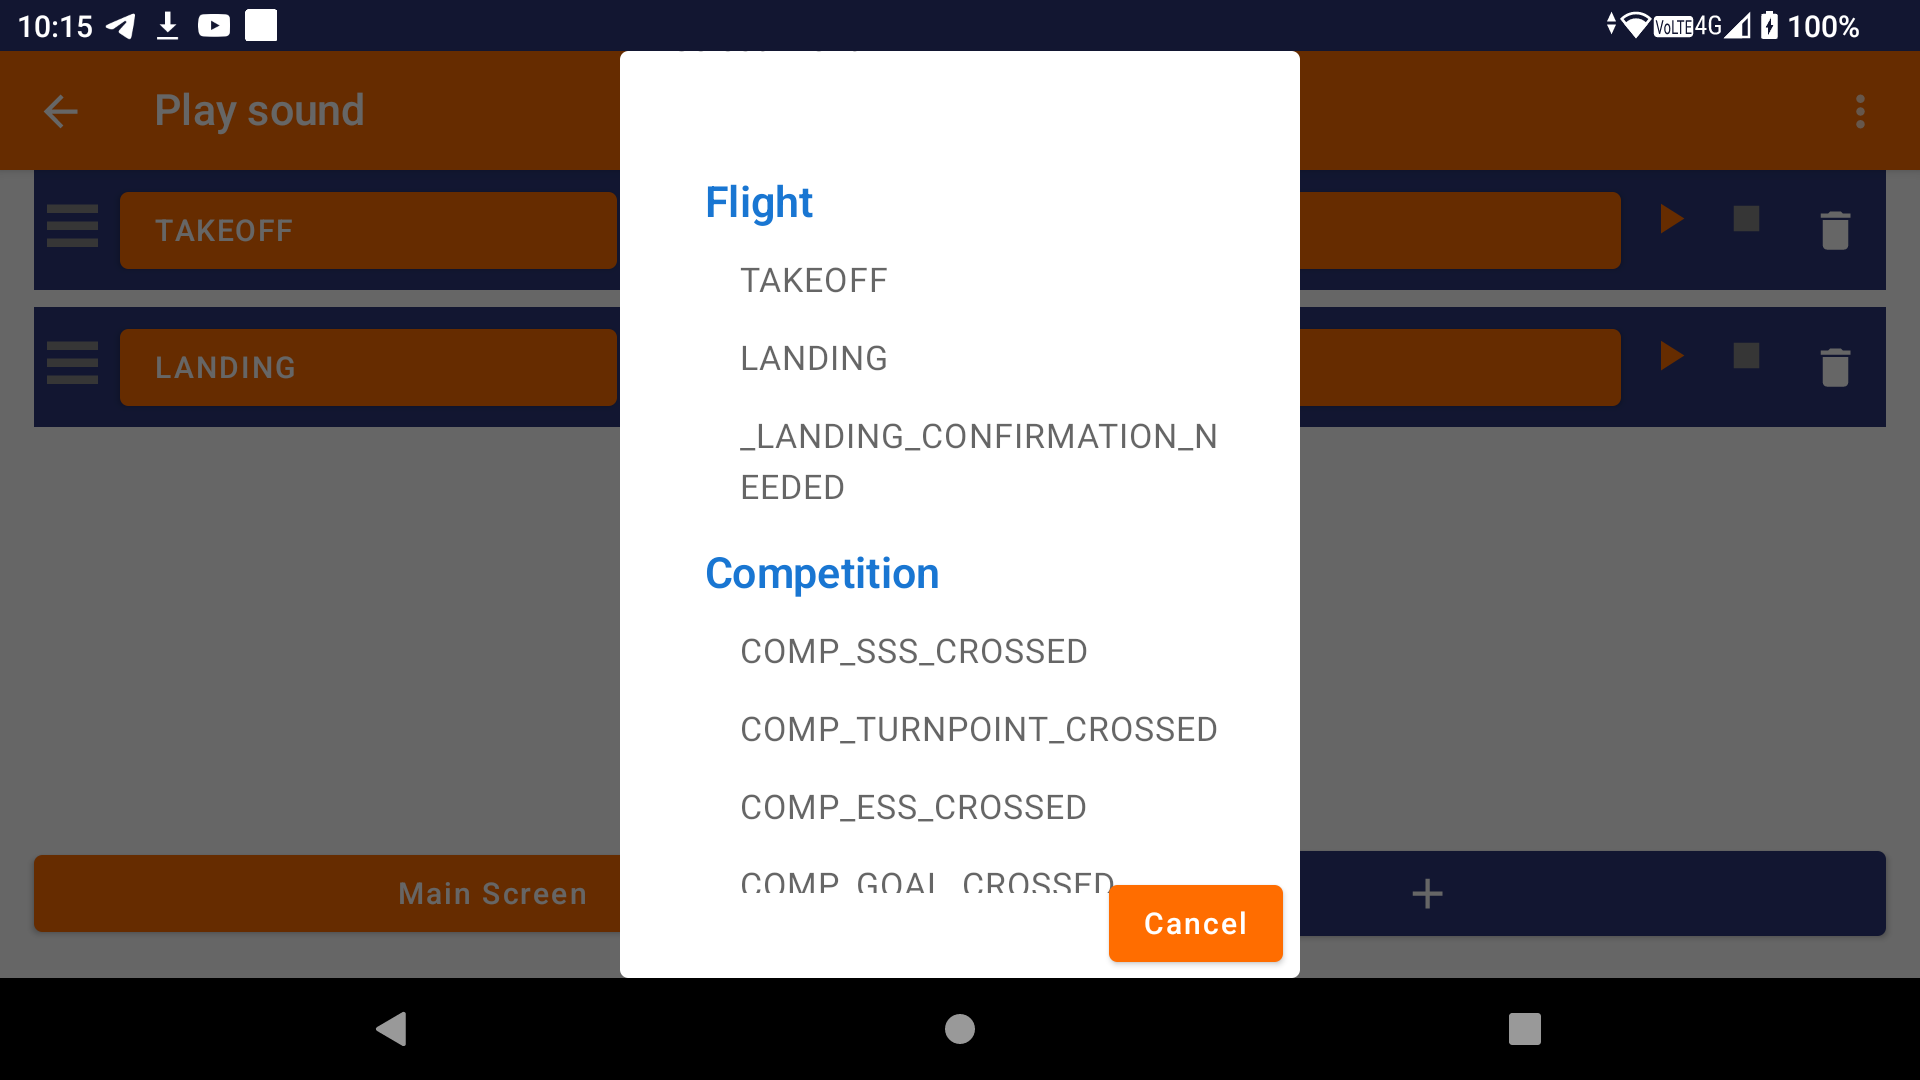
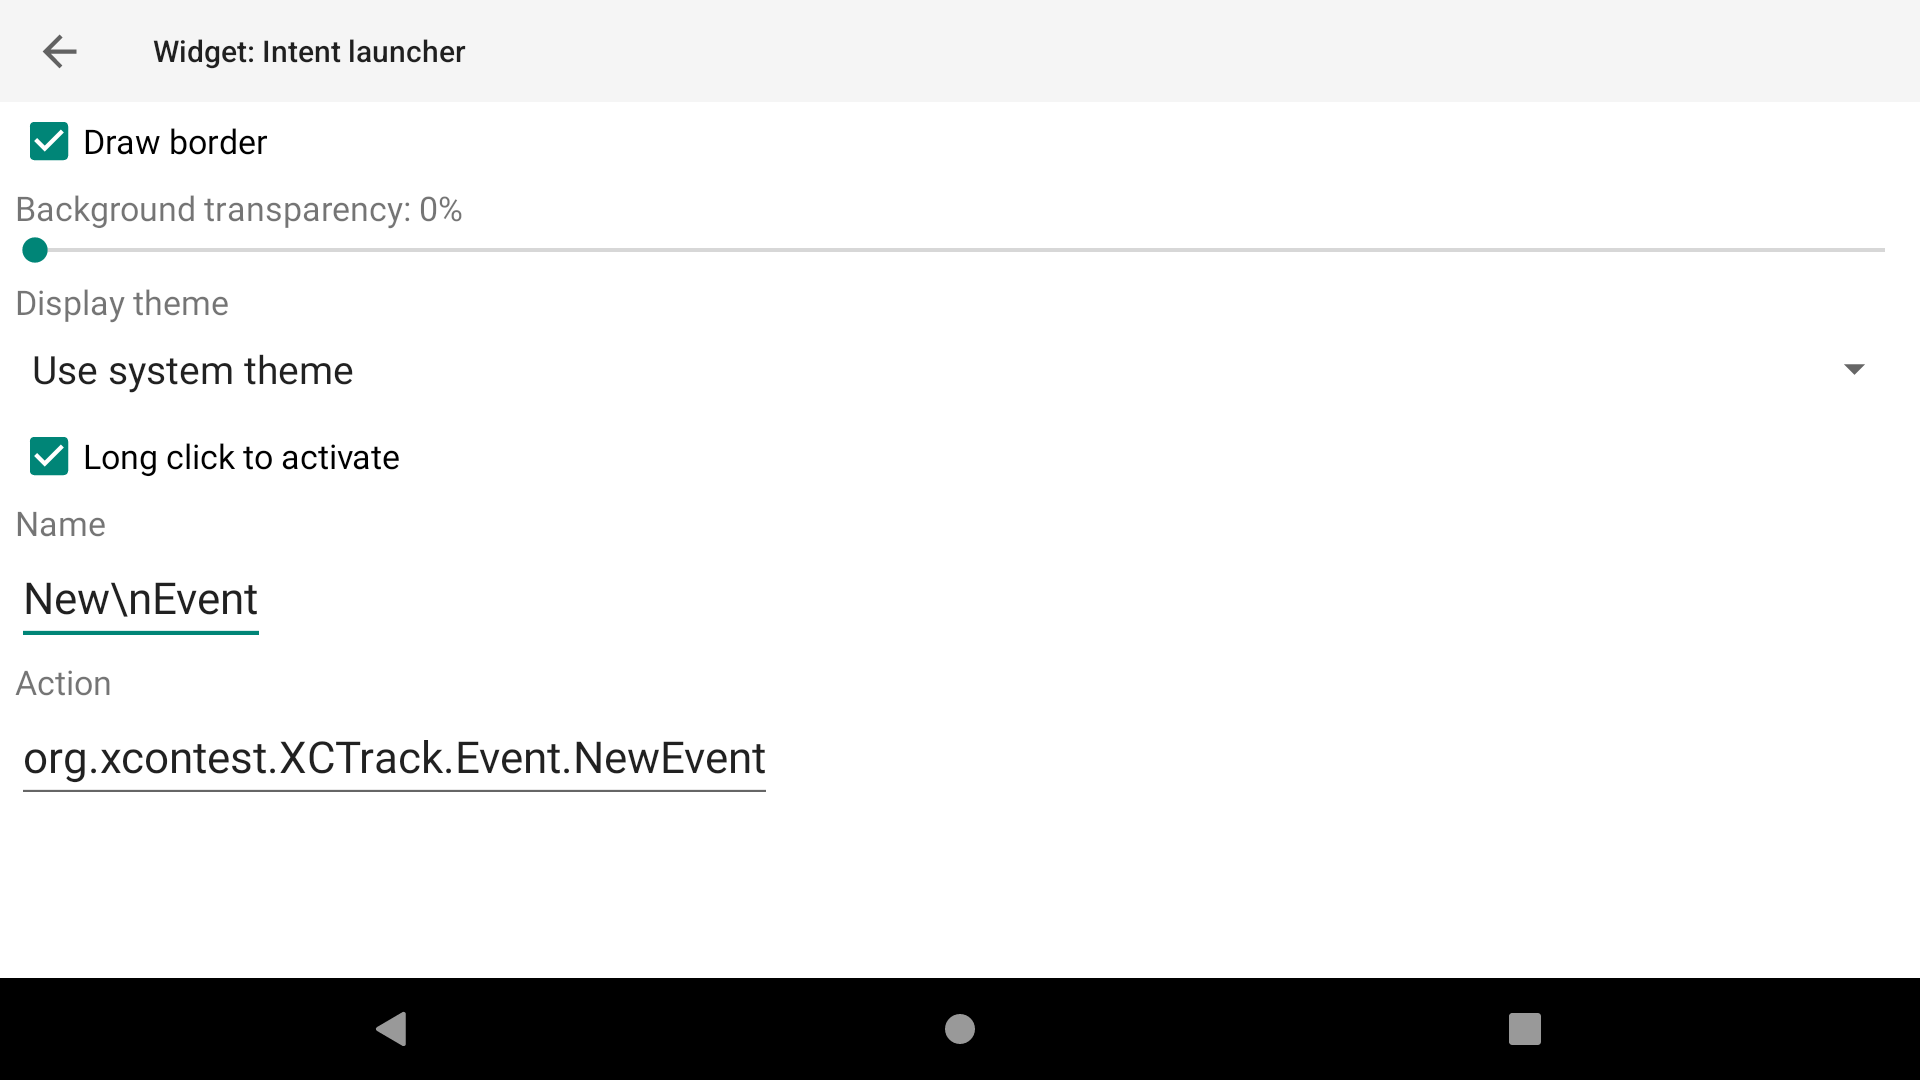
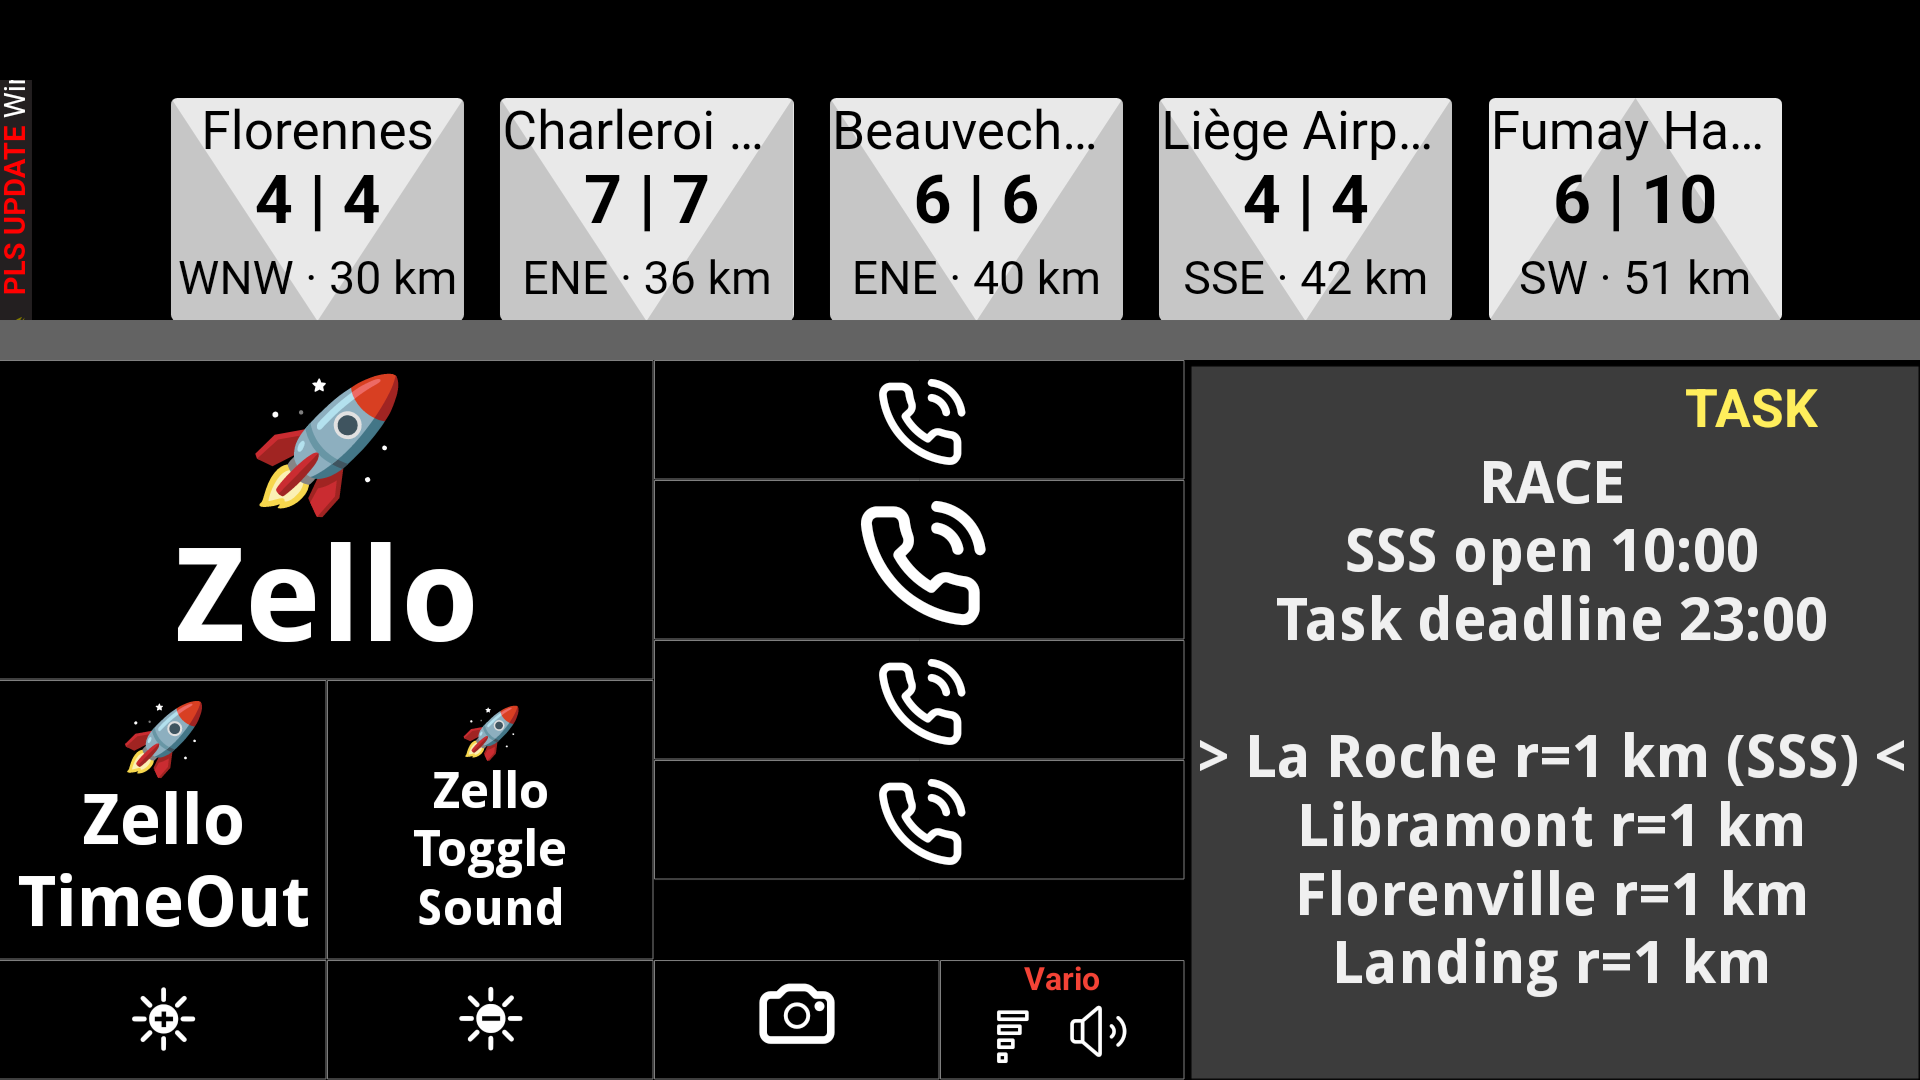
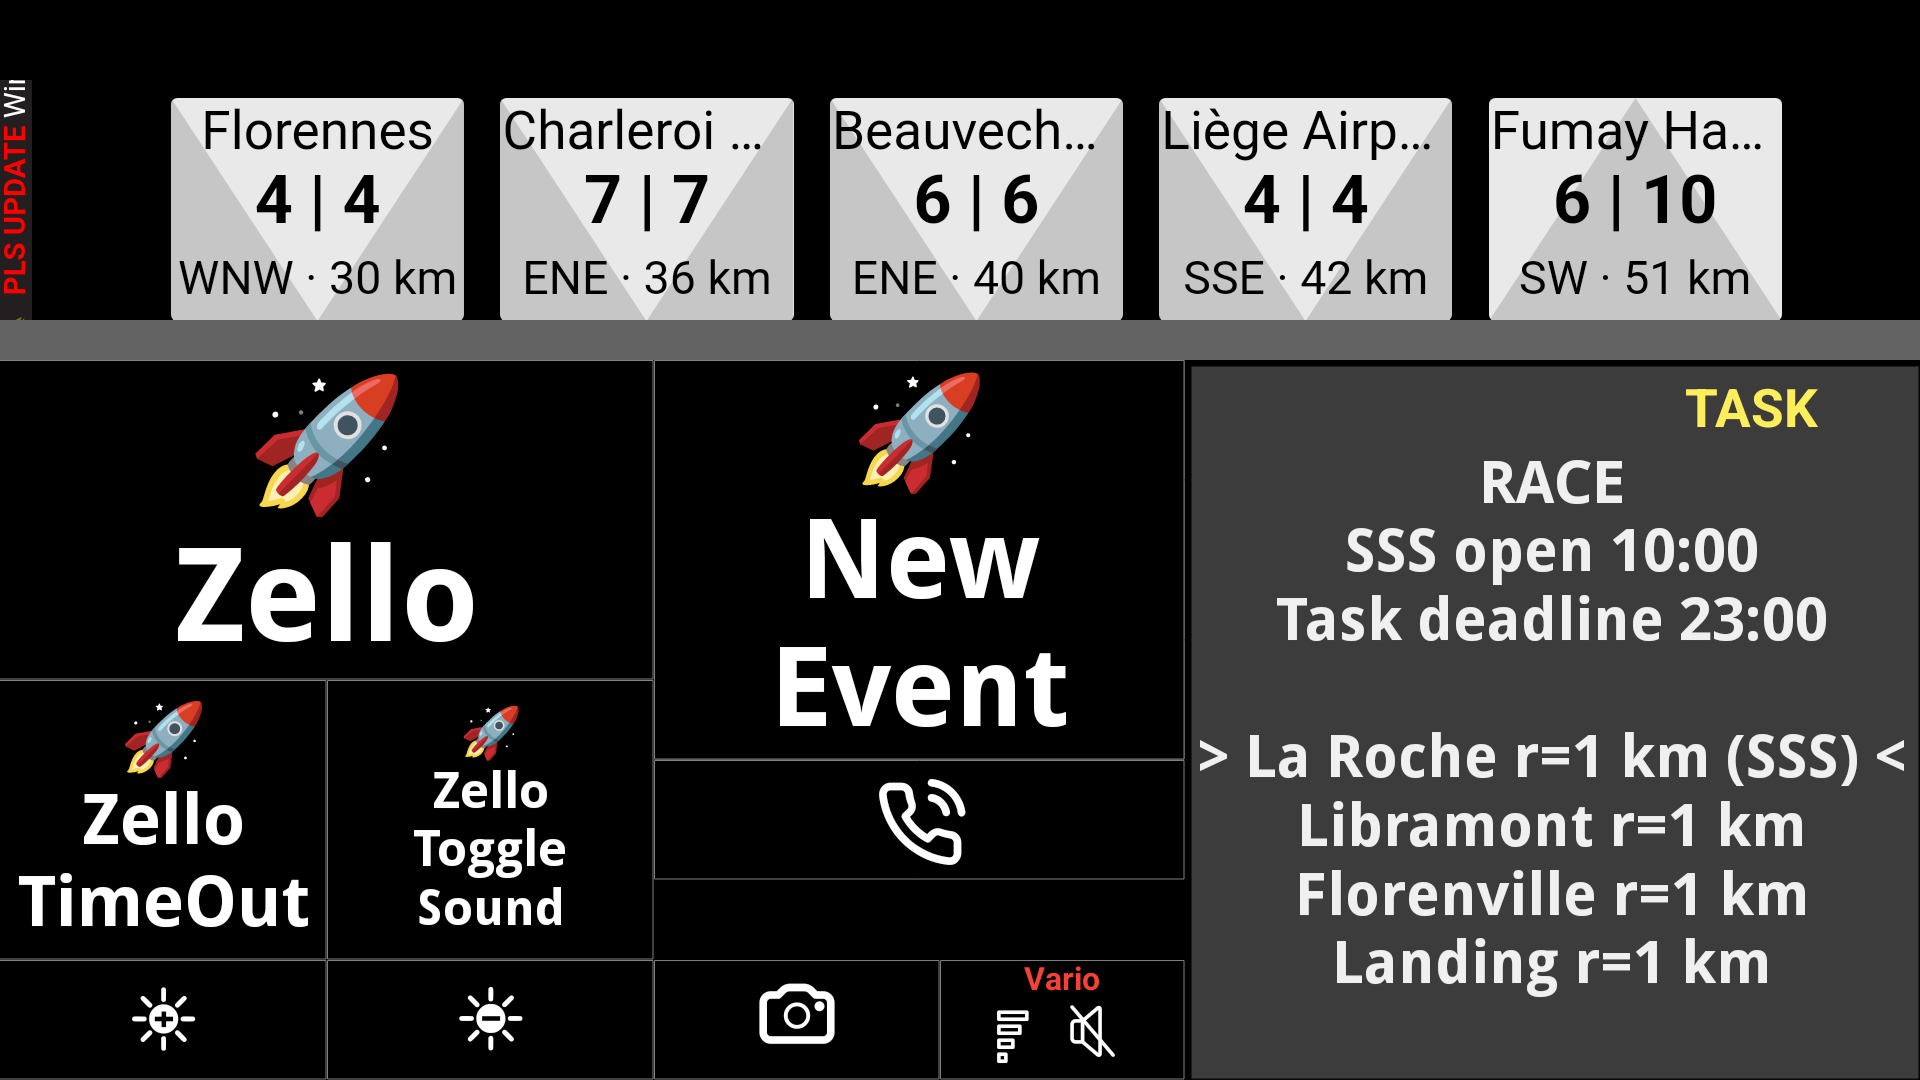
There are different types of event: Take-off, landing, crossing a turnpoint, crossing the start or the end of speed section during competition, clicking on a specific button (remote Bluetooth command or device button), clicking on a specific widget, warnings related to proximity of an airspace zone, etc.
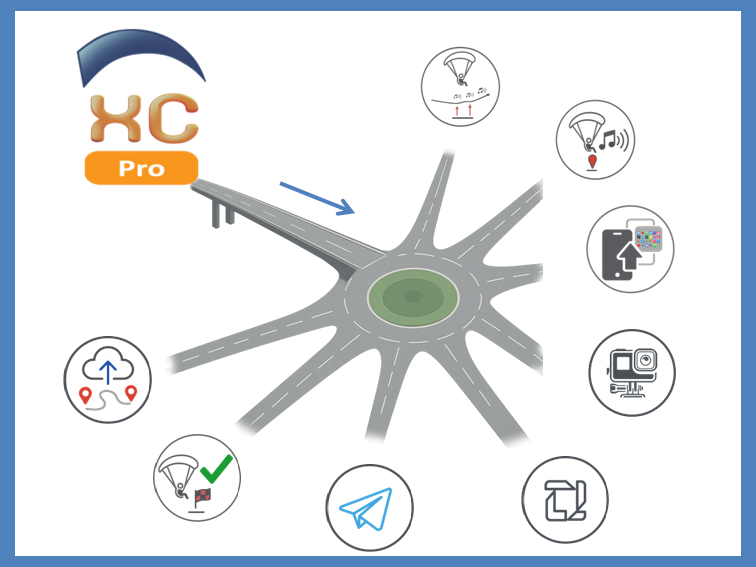
The following types of task can be defined:
– Start or stop instant lift and vario sound
– Play a specific sound
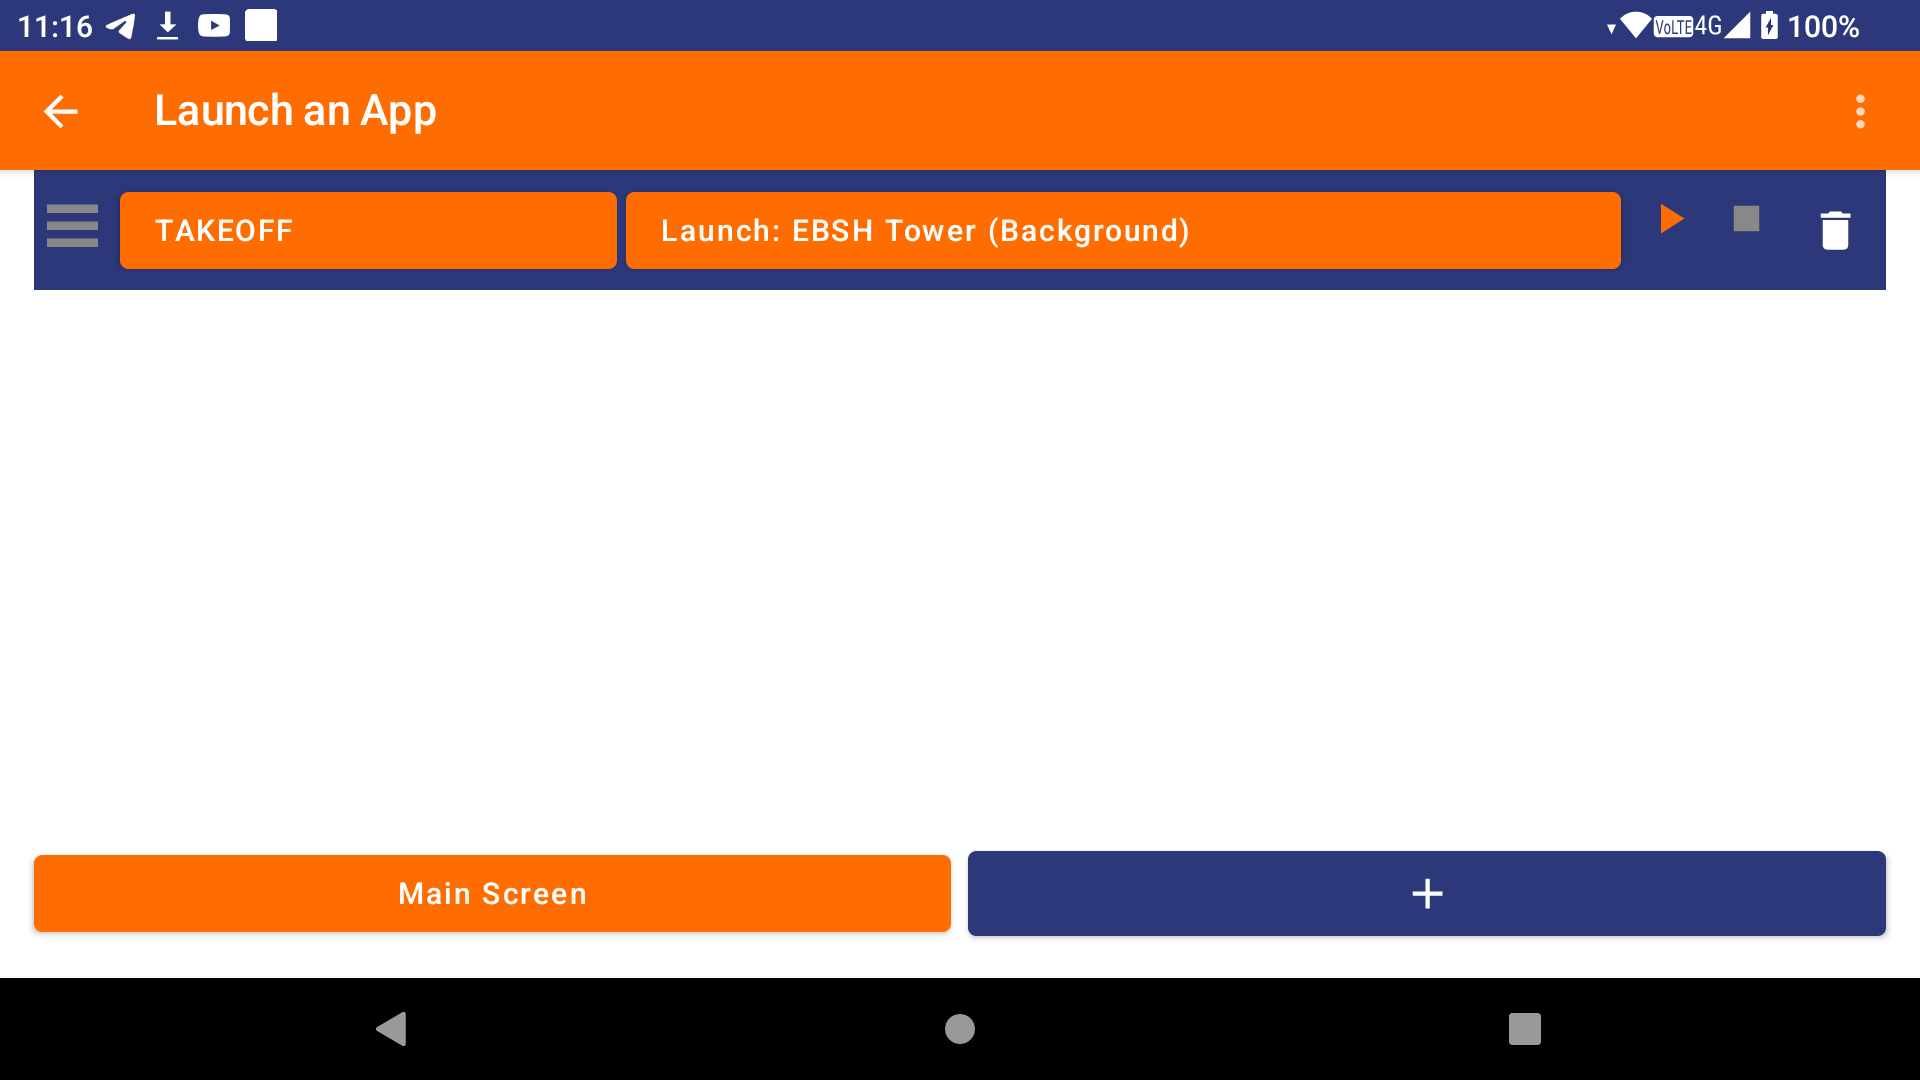
– Launch a specific app in the foreground or background
– Command your GoPro
– Zello PTT
– Send a Telegram message and/or my position to a group
– Safe landing reporting through a Telegram message and/or SMS
– Export the tracklog to a specific server
Technical considerations: Use the AIR³ Upgrader to ensure that you have the latest versions of XCTrack (version 0.9.12.3.11 or higher) and AIR³ Manager installed. Otherwise, the AIR³ XCT add-on will not work as intended. While AIR³ Manager is not necessary for the AIR³ XCT Add-on to work, it does allow you to set an automatic launch on boot, so that the setup will work automatically each time without you having to worry about starting it manually.
If you have read these instructions and are having trouble getting the AIR³ XCT add-on to work properly, check this FAQ.