
AIR³ Manager is the essential companion app for AIR³ New Generation flight instrument.
Key features:
– An easy configuration wizard for the initial setup.
– XCTrack profile management (KISS, Easy, Expert, Expert+Zello, Paramotor and Balloon).
– Vario sound selection (XCTrack, XCT Add-on or disabled).
– Automatic launch of key apps on boot
– A large desktop widget for manually starting XCTrack if needed.
The AIR³ Manager is installed by default on every AIR³. Always use the latest version and check with the AIR³ Upgrader.
The AIR³ Manager is available on the Play Store. It can also be downloaded from our server.
Check more details about AIR³ Manager here.
Here is a list of the features you get thanks to AIR³ Manager.
- Configuration wizard
- Large widget on the desktop to launch XCTrack
- Automatically launch XCTrack PRO on boot
- Automatically launch XC Guide AIR³ XCT Addon, and/or Zello on boot
- Change the profile used by XCTrack PRO
- Select vario sound
- Reset all the settings of XCTrack PRO to the default ones
- Check for Upgrades
- Launch AIR³ XCT Addon
- Need support?
Configuration wizard

When you launch AIR³ Manager for the first time, the configuration wizard starts.
First, ensure that AIR³ is connected to the internet. It is strongly recommended that you complete the entire configuration wizard in one go.
If you have already configured the device to your liking and end up on this page by mistake, you can click on ‘Skip forever’ to go directly to the AIR³ Manager interface.
If you would like to skip the configuration wizard for now, but still have it displayed the next time you start the program, click on ‘Skip for now’.
As long as you have not finished the wizard, you will be redirected to this page again to complete the setup process. Setups that have already been completed will not be displayed again unless you untick the corresponding setup’s checkbox.
Start the configuration wizard by clicking on ‘Start configuration wizard’.
Select AIR³ Model
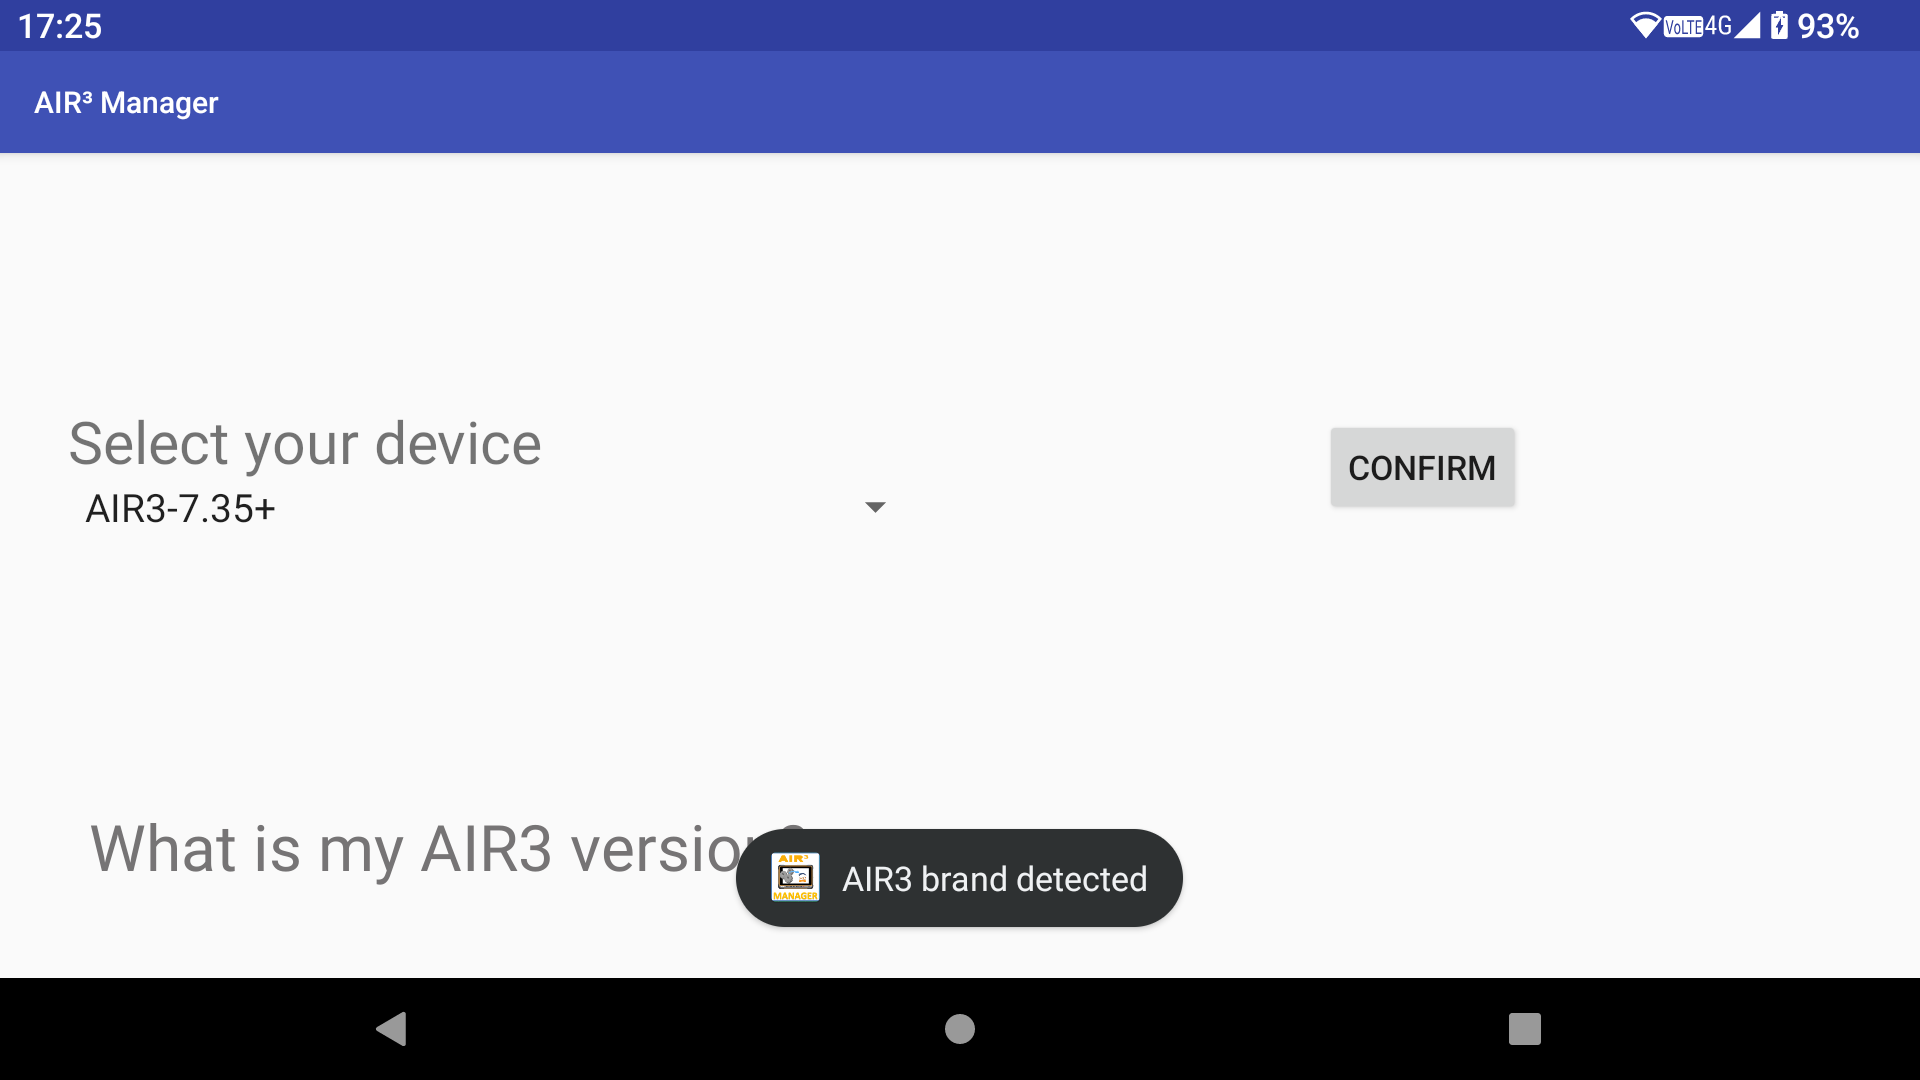
When entering this setup, the app checks that the device is an AIR³.
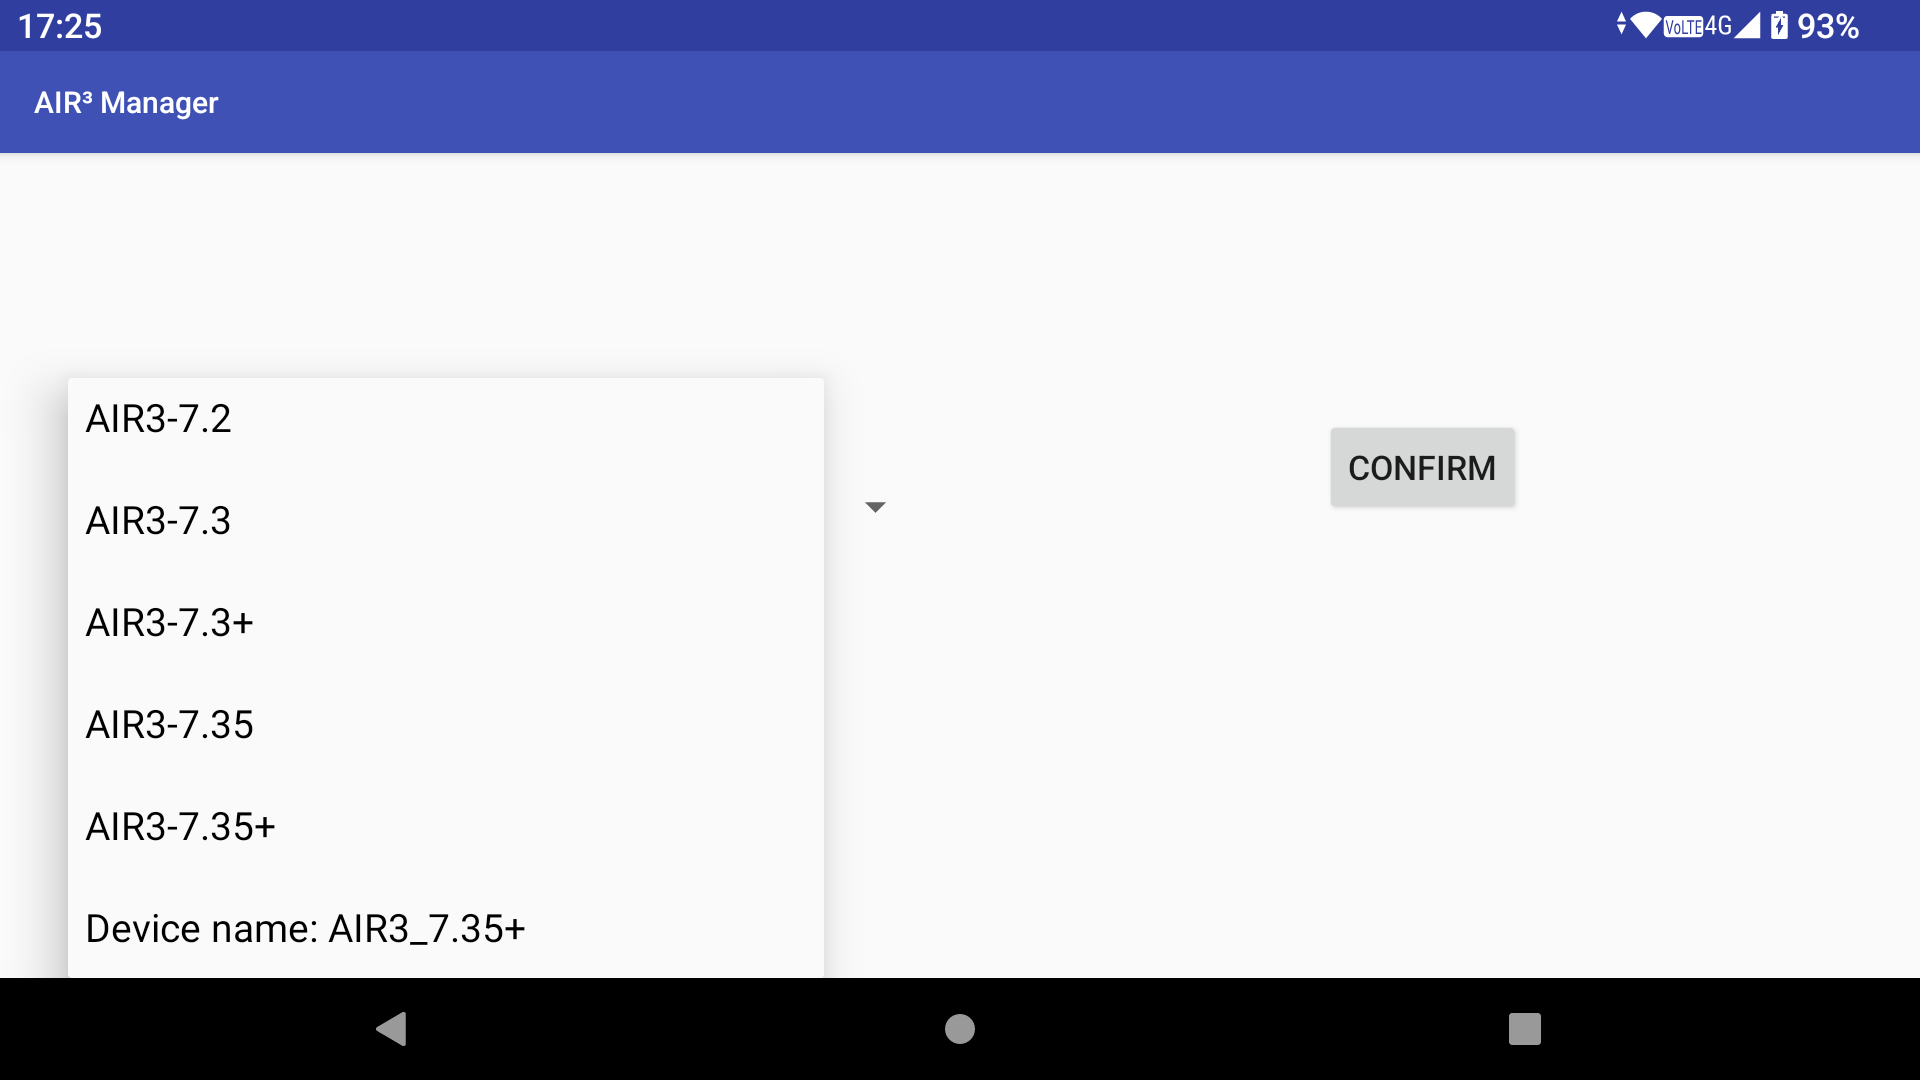
Select your model and confirm. This is important for selecting the correct device. If you are not sure, click on the link below for more details on how to recognise your device. You can also check this FAQ.
You can still change the selected device in the Settings.
Check App Upgrade
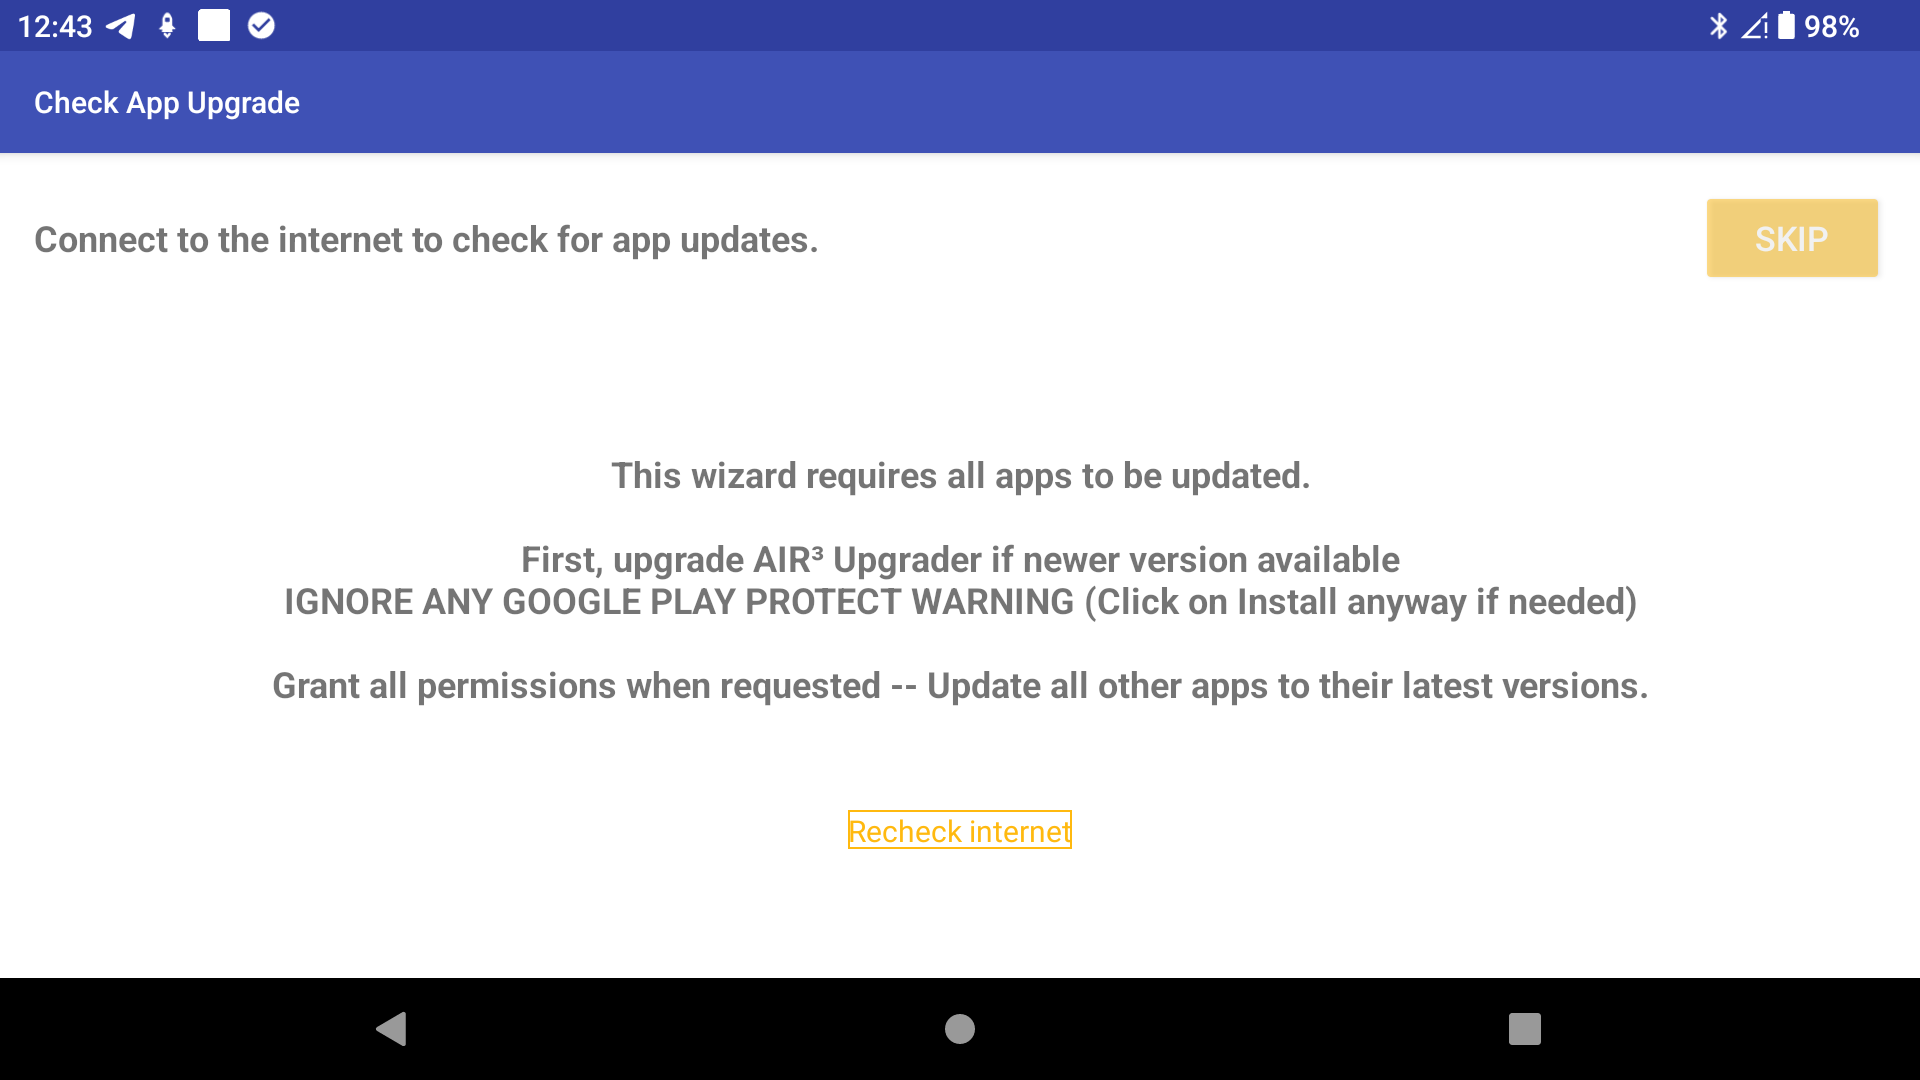
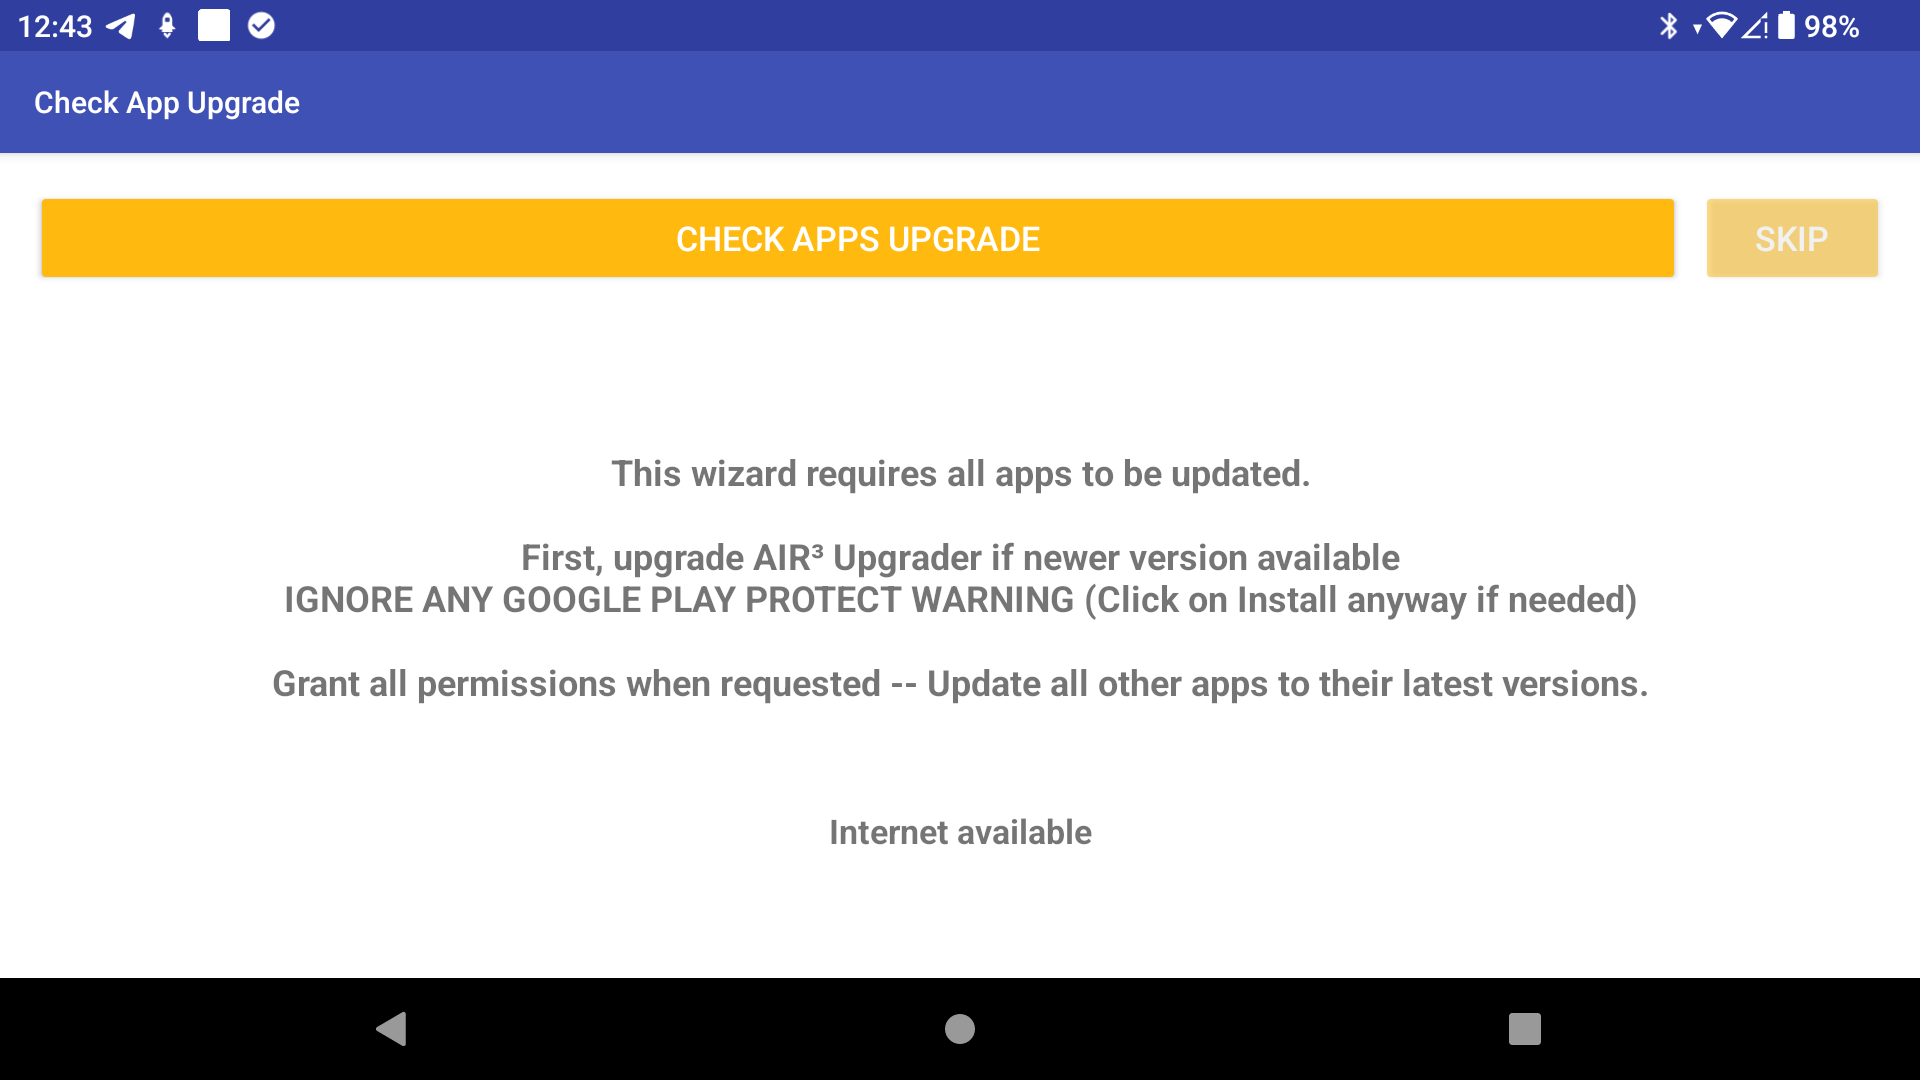
Firstly, it is important to ensure that all of your apps are up to date.
If your device is not connected to the internet, please connect it.
Clicking on the ‘Check Apps Upgrade’ button will launch the AIR³ Upgrader. If several apps need to be upgraded, including AIR³ Upgrader, please upgrade AIR³ Upgrader first by unticking the other apps.
As AIR³ Upgrader’s purpose is to download and install apps, Google Play Protect may consider this a threat. Disregard the Google Play Protect warning and click Install anyway.
During installation of any app, if any permissions are requested, please allow them to ensure the app works as expected. Not allowing a specific permission may cause issues with the app.
You can check for new app upgrades later by launching AIR³ Upgrader directly from the AIR³ Manager main interface.

Vario Sound Selection
The next page allows you to select the source of the vario sound. You can use either XCTrack or AIR³ XCT add-on, or you can choose not to play the vario sound (in which case you can use an external vario sound or no sound, e.g. for a paramotor or balloon).
If you select XCTrack, the acoustic vario will be enabled in XCTrack and the AIR³ XCT addon’s instant lift and vario sound will be disabled (this will be taken into account upon the next restart of XCTrack).
The opposite will occur if you select the AIR³ XCT addon.
As you would expect, both will be disabled if you select the last option.
XCTrack relies solely on pressure data to play the vario, whereas the AIR³ XCT addon uses a combination of pressure data, accelerometers, and gyroscopes. Read more about the AIR³ XCT addon to find out more about the Instant Lift and Weak Lift features.
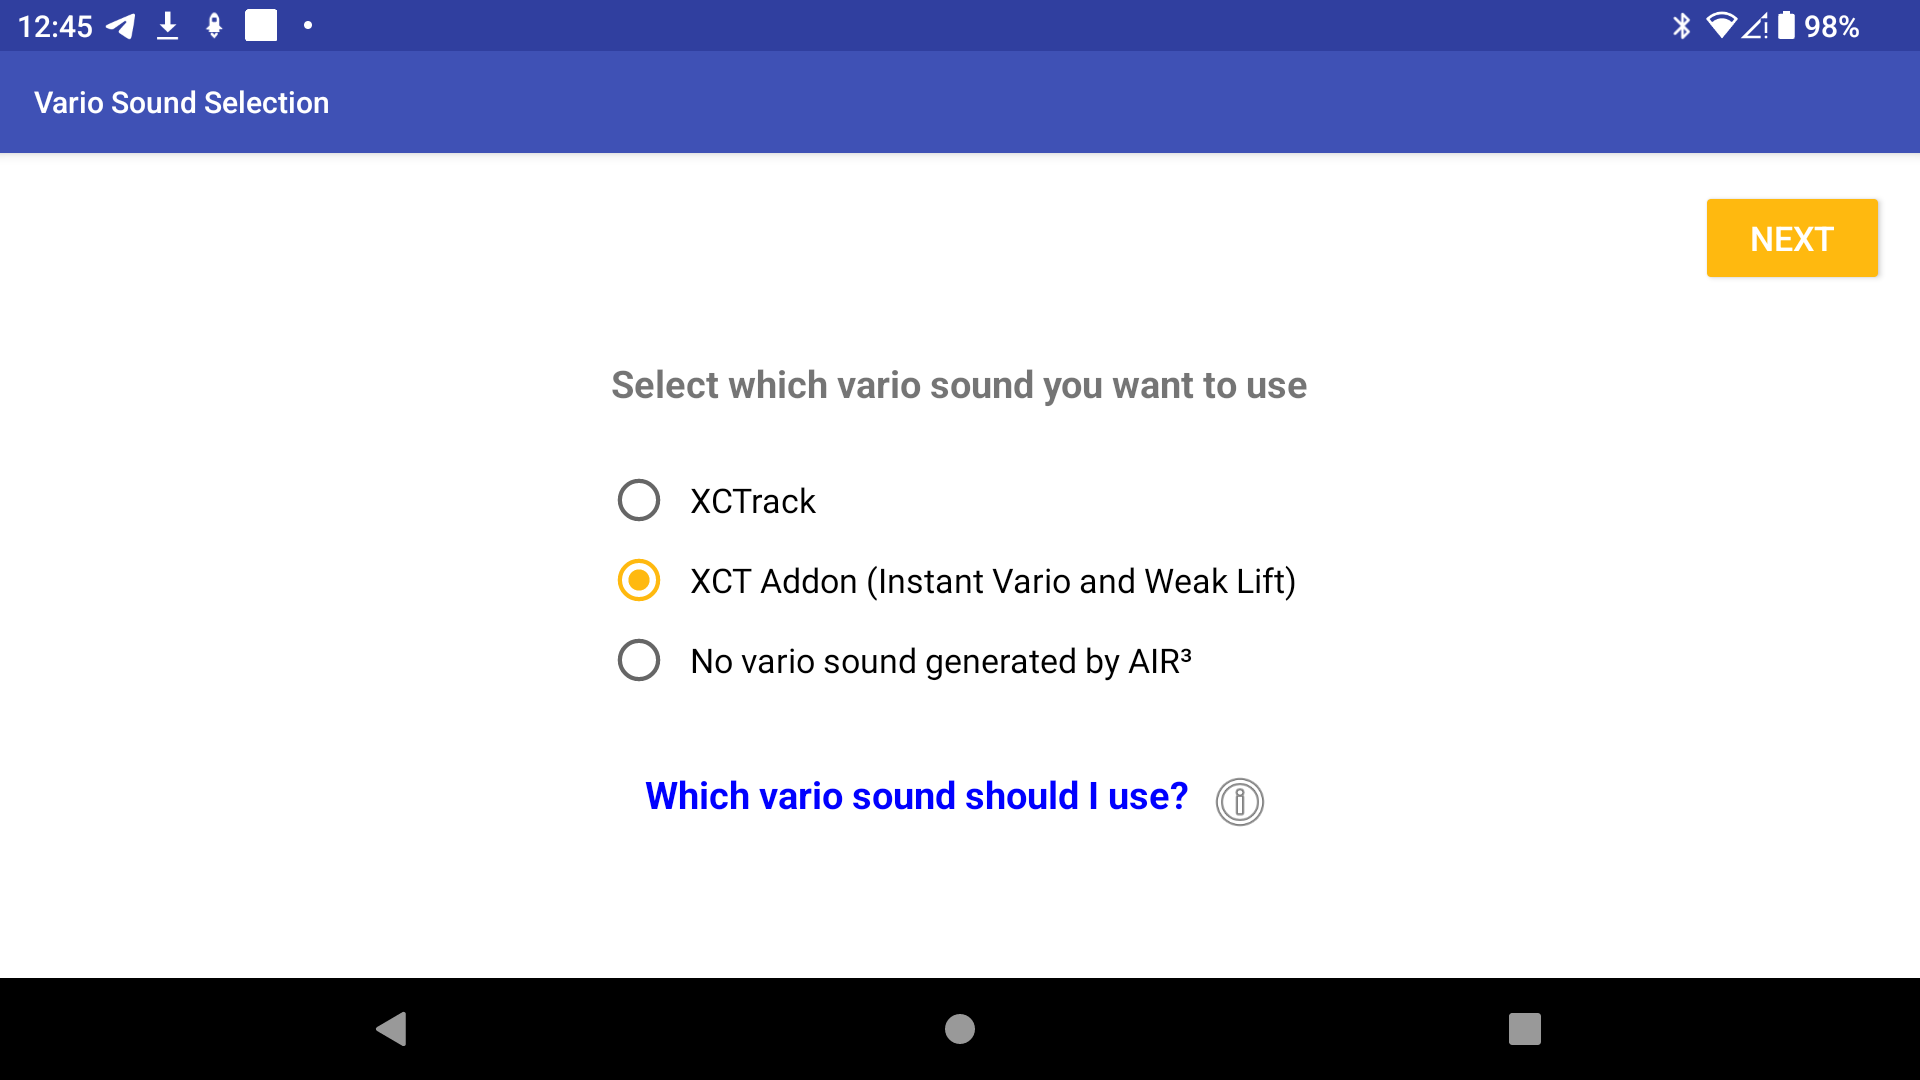
If you would like more information on the various sound options available, click on the link ‘Which vario sound should I use?’ for a detailed explanation.
If you want to change the vario sound source later, you can always use the Profile Change & Reset feature, which is available directly from the main AIR³ Manager interface.
Apps Automatic Launch
This menu lets you choose which apps will launch automatically by AIR³ Manager when you start up .
Read the settings section below for more details.

If you want to change the automatic launch settings for apps later, you can always access the settings via the three dots in the top right-hand corner of the AIR³ Manager menu.
XCTrack Roadmaps
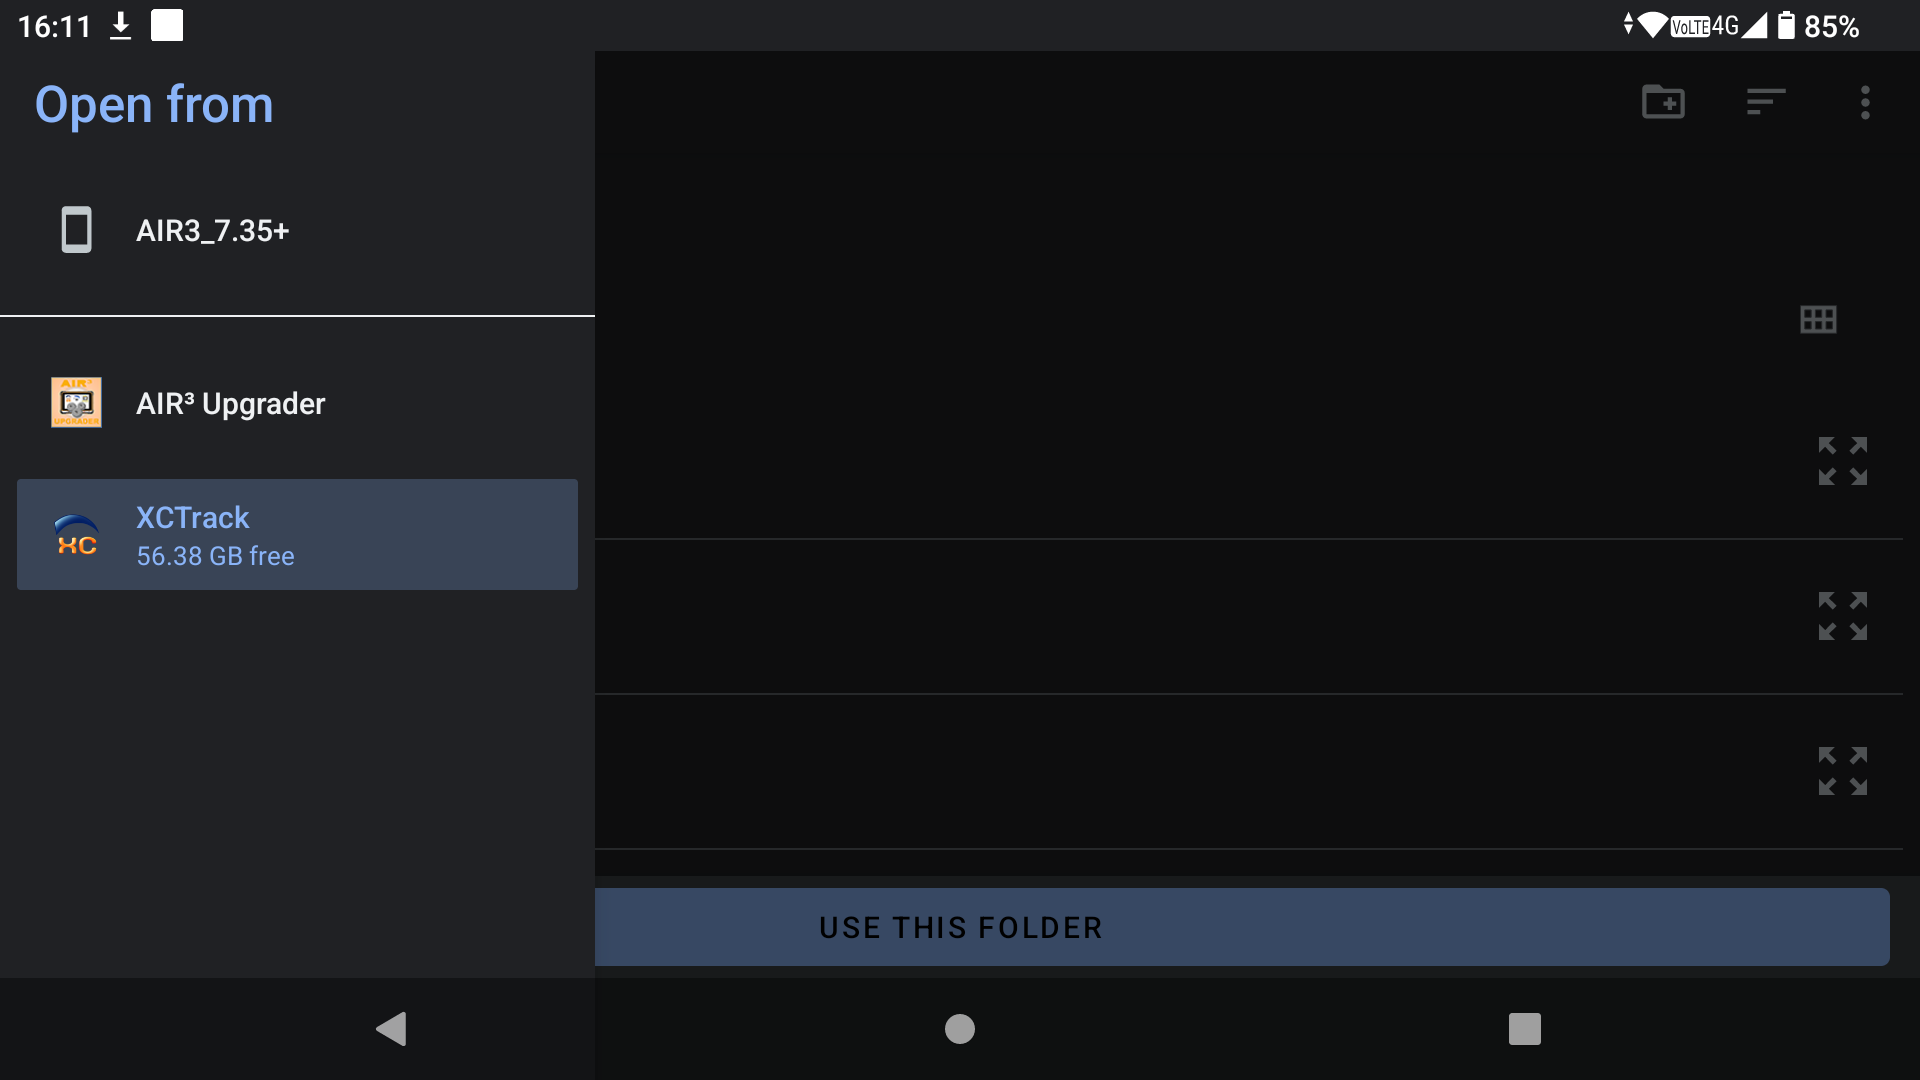
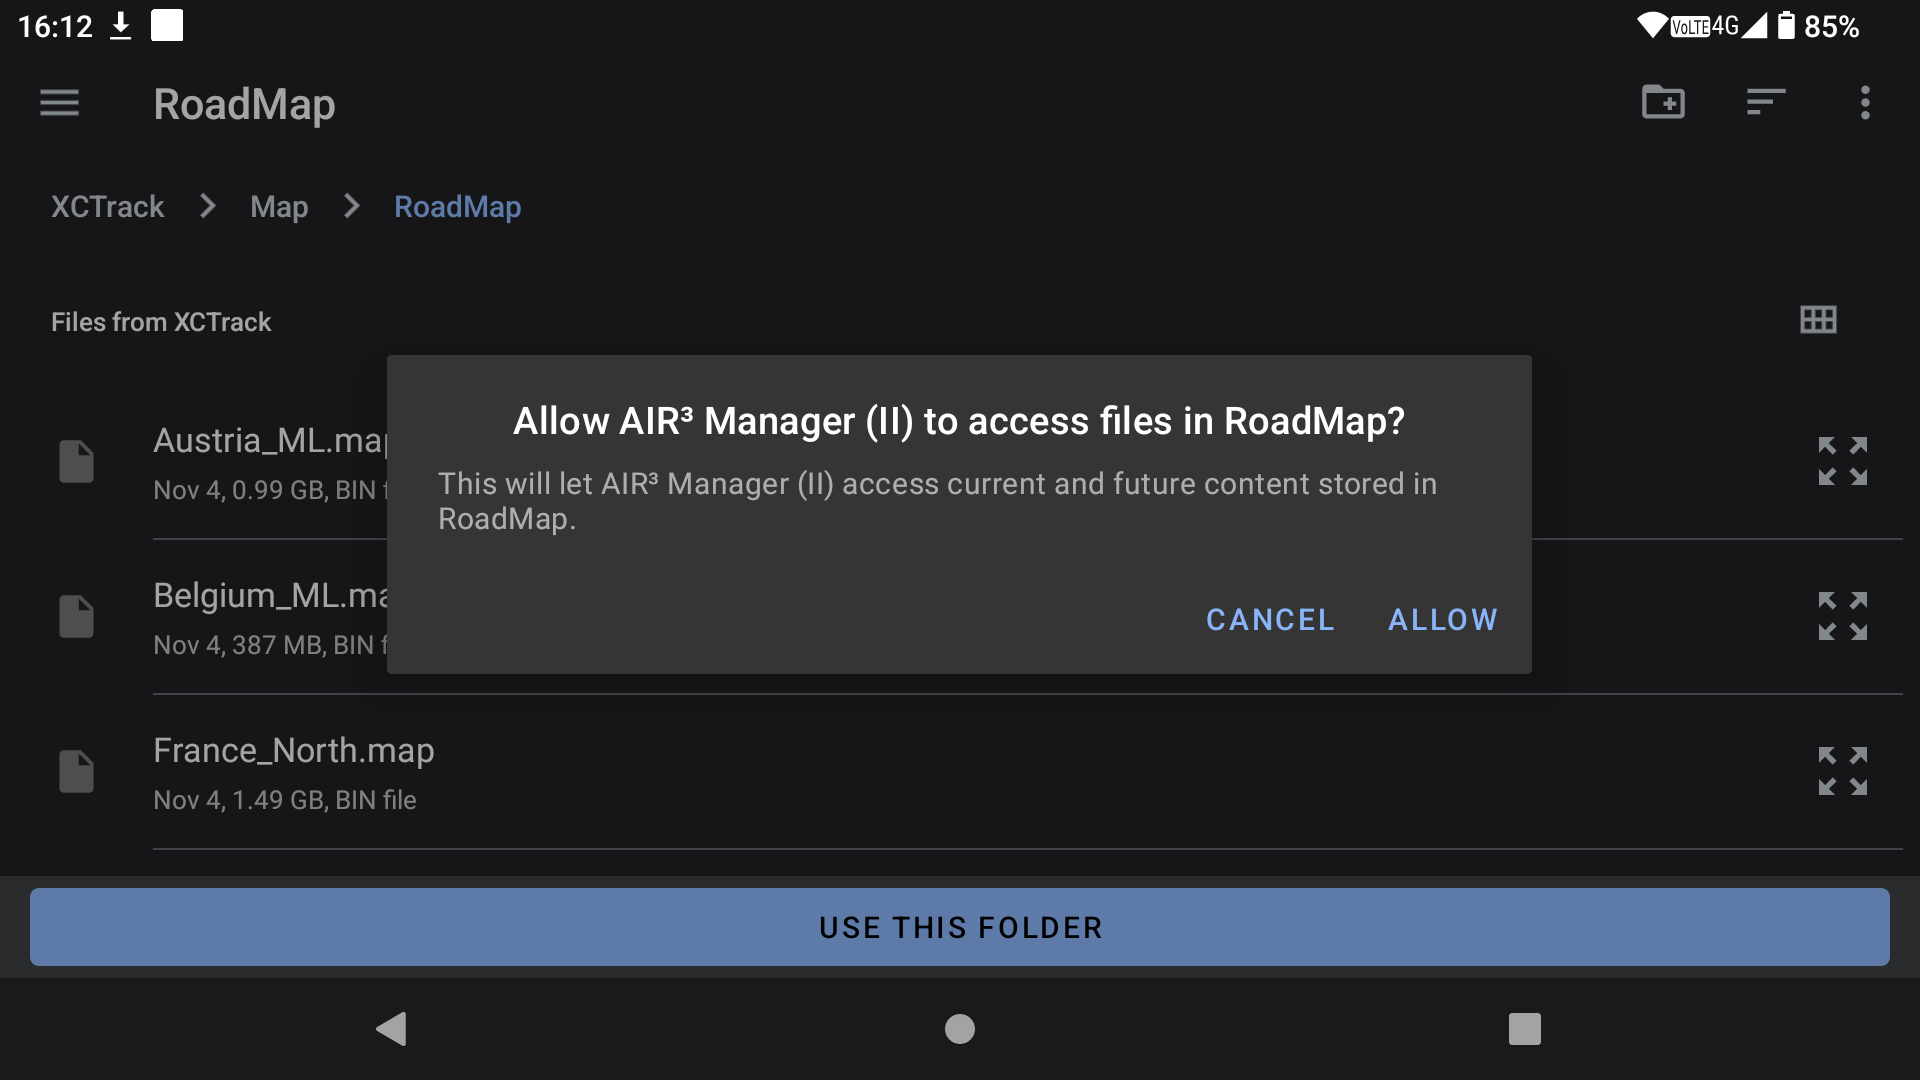
With XCTrack Roadmaps, you can view the Roadmaps available on your device for each country. To do this, follow the instructions to select the XCTrack Roadmaps folder.
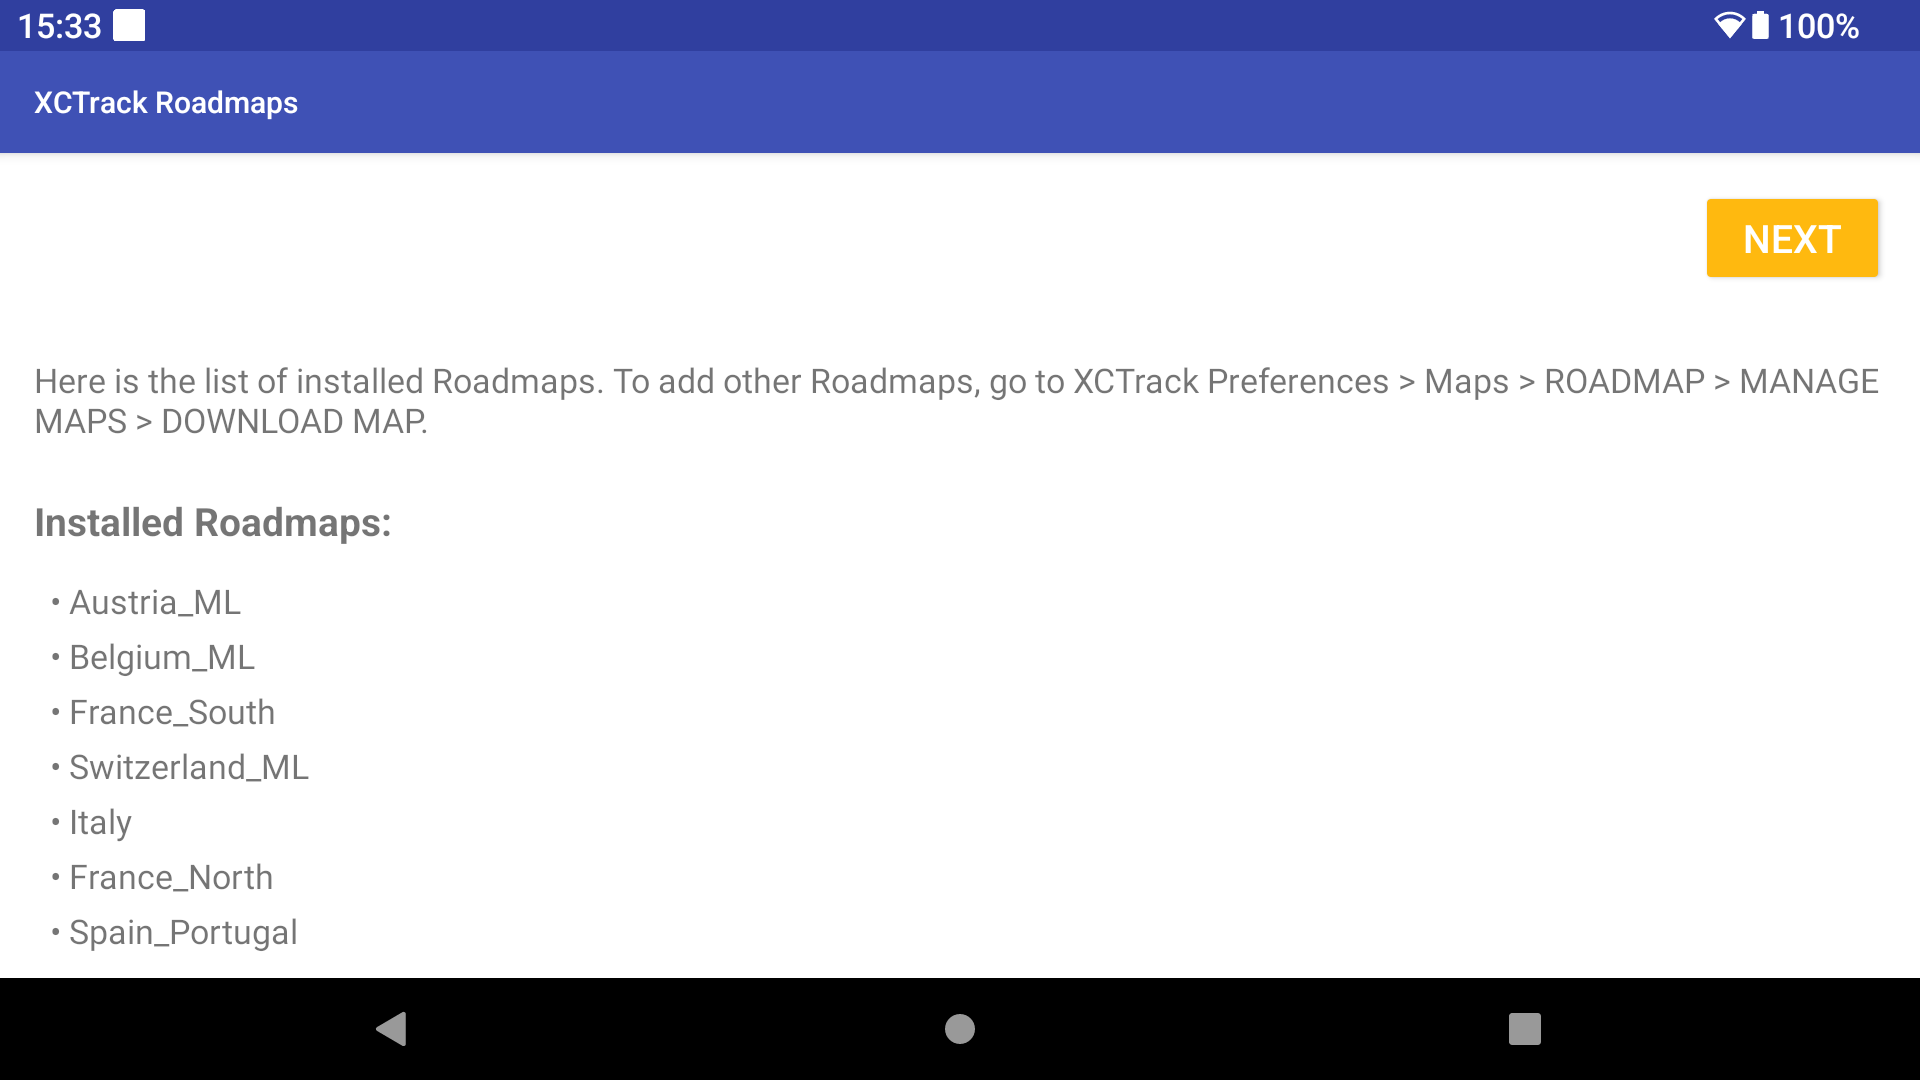
To add other Roadmaps, go to XCTrack Preferences > Maps > ROADMAP > MANAGE MAPS > DOWNLOAD MAP.


Once you have selected XCTrack Roadmaps folder, a list of the installed roadmaps will be displayed.
XCTrack Terrain
Terrain files show ground altitudes.
To check or add terrain files, go to XCTrack Preferences > Maps > Terrain. Green areas show installed files. To add more coverage, select the area on the left and click DOWNLOAD.

Choose Your Profile
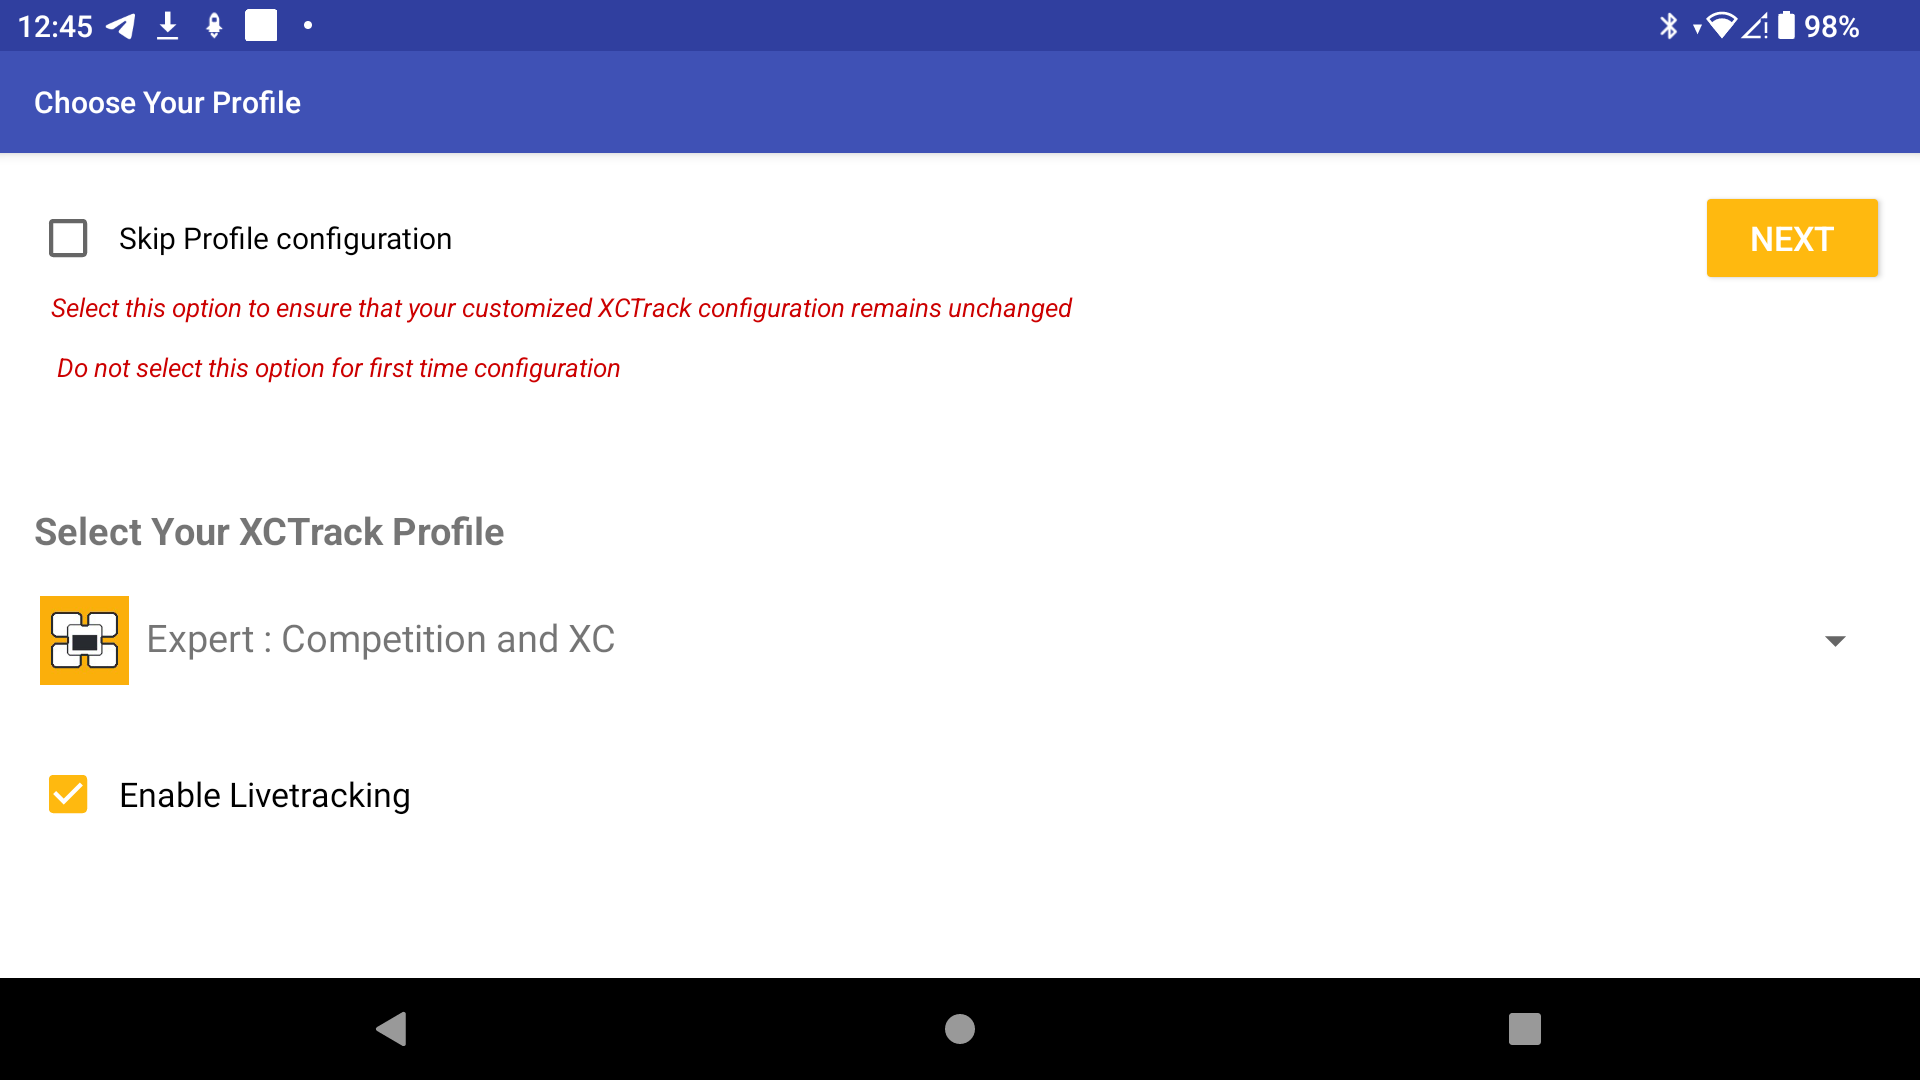
Thanks to the ‘Choose Your Profile’ setup page, you can configure the XCTrack layout according to your profile.
Read more about the different layouts available for each profile here.
You can also choose whether or not to enable Livetracking in XCTrack.

Clicking on Next will prompt a message informing you that the XCTrack interface will be set according to the chosen profile. This means that any previous customisations to XCTrack will be lost. This is not a problem when configuring the AIR³ for the first time. However, if you land on this page after making many customisations, we recommend saving your XCTrack layout pages first before proceeding further. We recommend using the optimised layout provided with AIR³, but if you are not satisfied, you can always revert to your previous layout by importing your saved configuration file.
XCTrack will take into account the new profile chosen. This will happen once started at the end of the configuration wizard.
If you want to not make any change to XCTrack layout and keep your current layout, click on “Skip Profile configuration” tickbox.

If you want to change the profile later, you can always use the Profile Change & Reset feature, which is available directly from the main AIR³ Manager interface.
Registration
When you enter the registration page, you will be prompted to grant AIR³ Manager permission to access your phone. This is necessary in order to display the IMEI number required for registering the AIR³ on the AIR³ website.
Registering your device is strongly recommended so that we can share important information with you.
Click on the ‘Register on AIR³’ button first.


Once you have registered, click on ‘Done’.
If you have not yet registered with the XContest website, please do so now. Make a note of your login details, as you will need them to configure XCTrack later.
XContest is the platform and XCTrack is the main flight app. Once you have linked XCTrack with your XContest account, all flights you upload will be located in your account.


Once you have registered with Xcontest, click ‘Done’.
Click ‘FINISH’ to finish the wizard.
If you have set everything up properly with the wizard, you will see a ‘Wizard Setup Completed’ message. Click OK to start the XCTrack wizard.
Follow the XCTrack setup process, including entering your login details for your XContest account.


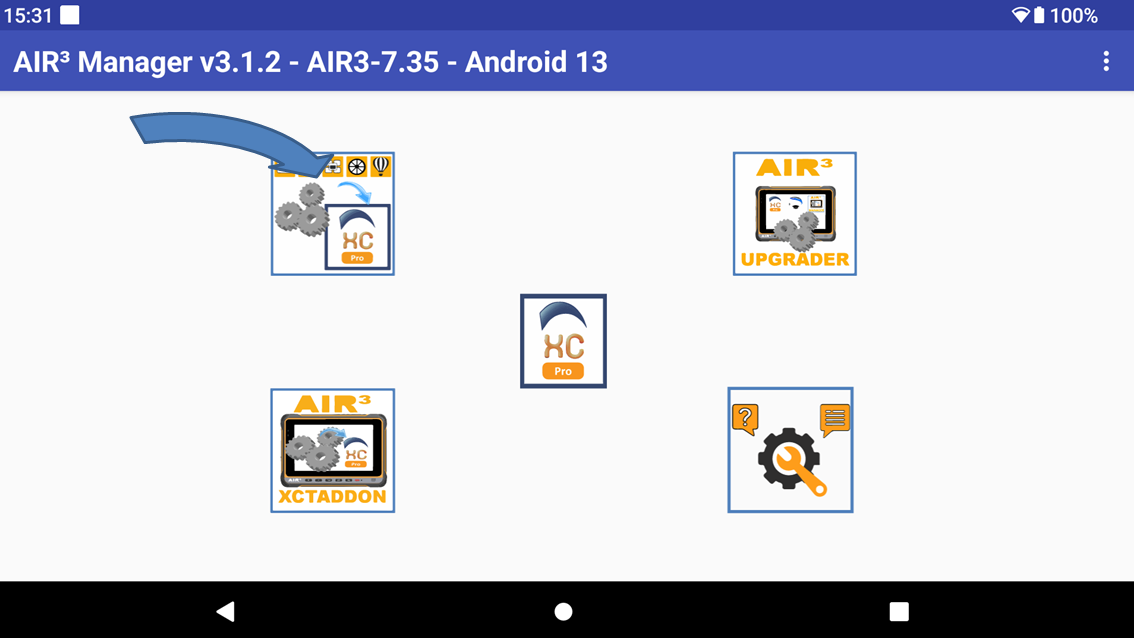
Large widget on the desktop to launch XCTrack
If you have lost your large XCTrack widget on the desktop. Keep your finger on the desktop for more than 1 second.
Select Widgets in the contextual menu.
Select AIR³ Manager widget by keeping your finger on it and swipe/drop it on the desktop.
You can resize it by keeping your finger on it for 1 second and make a small move to swipe/drop it at the same place. Then, you can use your finger to change the size of the sides.

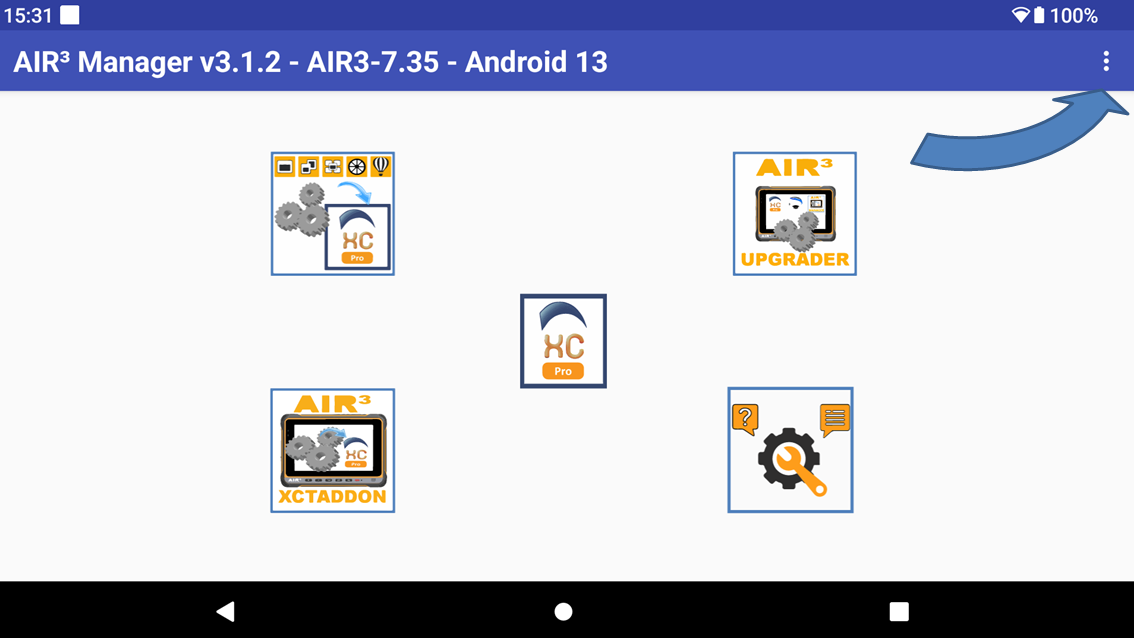
Automatically launch XCTrack on boot
By clicking on the menu (3 dots in the top right corner), you can select “Settings”.
Make sure “Launch XCTrack on boot” is enable if you want XCTrack to start automatically when you start the device.
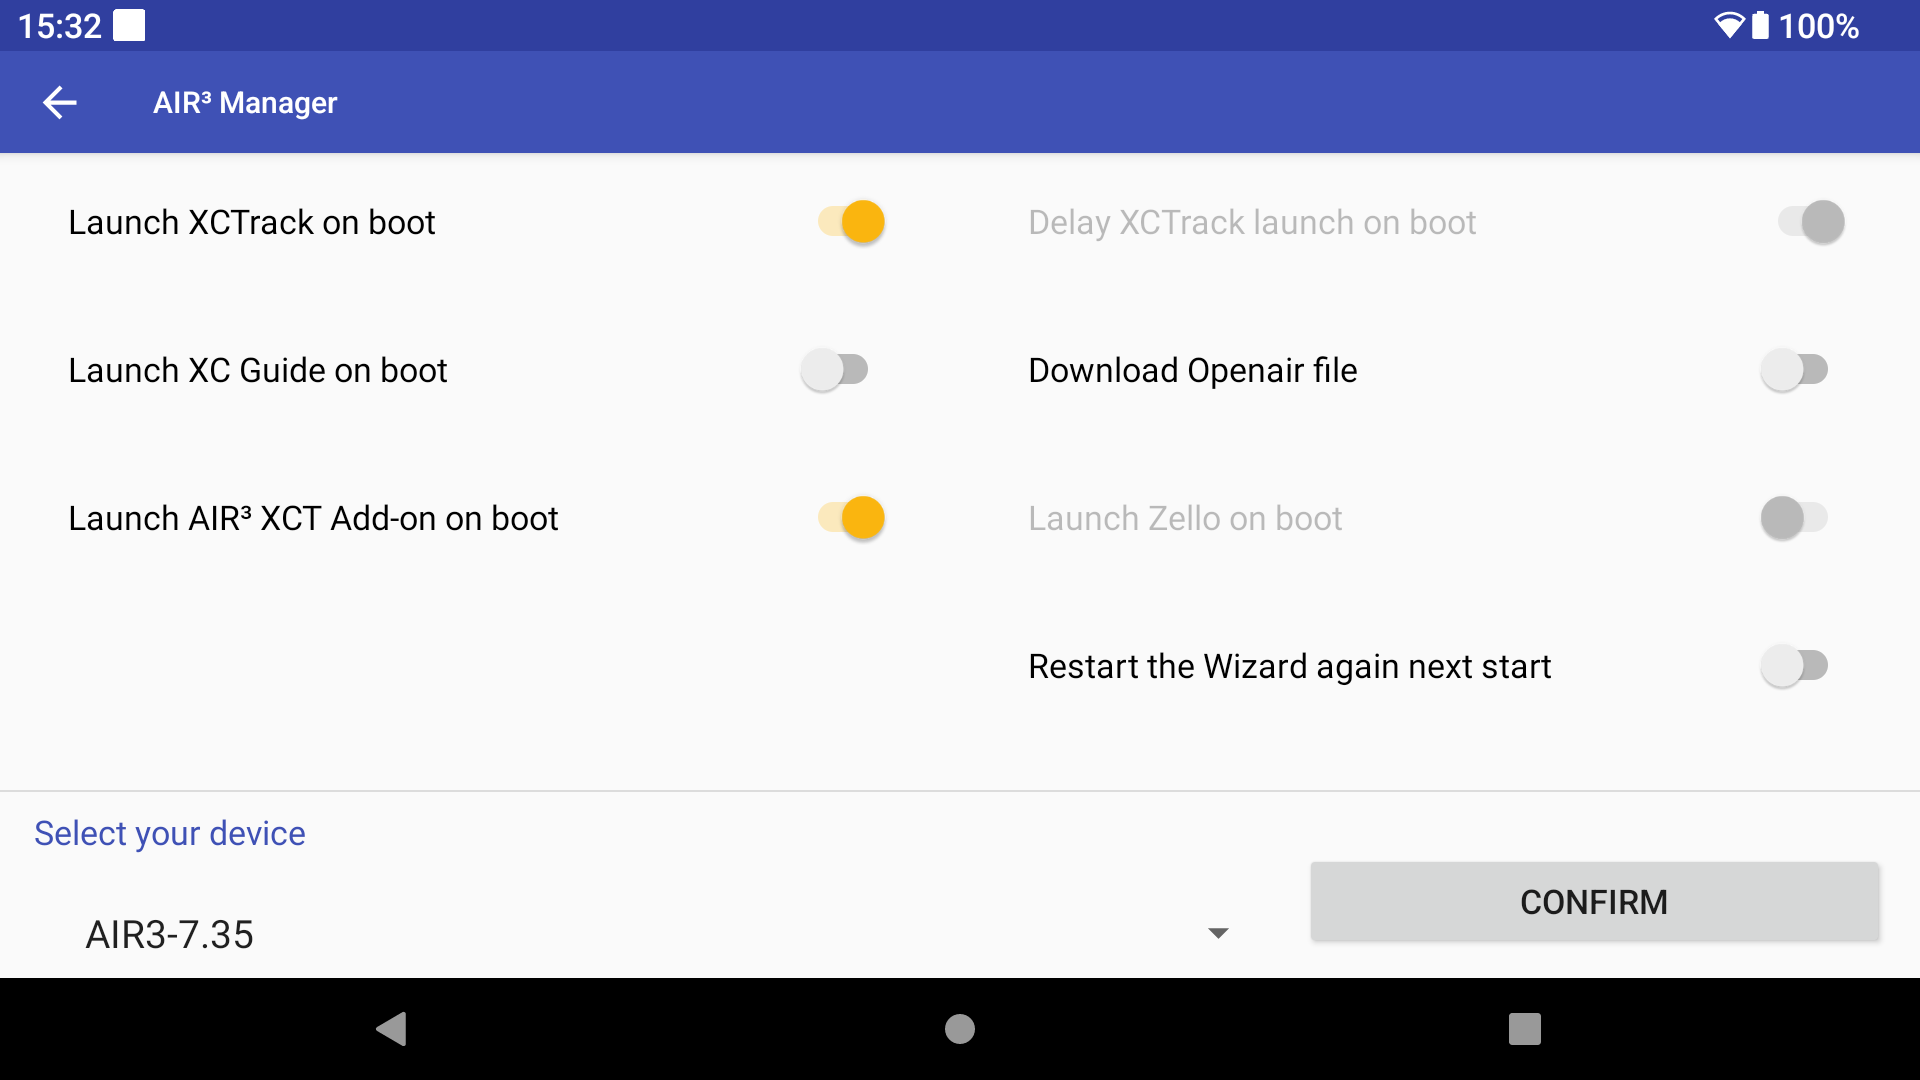
Automatically launch XC Guide, AIR³ XCT Addon and/or Zello on boot
By clicking on the menu (3 dots in the top right corner), you can select “Settings”.
Make sure “Launch XC Guide on boot” is enable if you want XC Guide to start automatically when you start the device.
You can also launch automatically AIR³ XCT Addon and/or Zello on boot to make sure these apps will run each time to start the device. Check more details about Zello configuration in AIR³ XCT Addon manual
If you have selected the AIR³ XCT add-on for the acoustic variometer, Launch AIR³ XCT add-on is enabled and greyed out. You will not be able to disable it, as this is necessary to start the AIR³ XCT add-on for the vario. To disable it, first select XCTrack or No Vario in the Profile Change & Reset menu.
If ‘Launch AIR³ XCT Addon on boot’ is greyed out and disabled, this means that the AIR³ XCT Addon is not installed. Install it to be able to launch it on boot.
To take advantage of all the powerful features of XC Guide that can be shared with XCTrack as described here, you can choose to automatically launch both.
If you check both “Launch XCTrack on boot” and “Launch XC Guide on boot”, the “Delay XCTrack launch on boot” option will be set automatically. XC Guide needs time to initialise and work properly before XCTrack is launched.
Change the profile used by XCTrack Pro
By clicking on the ‘Profile Change & Reset’ button, you can change various XCTrack features.
As mentioned above, you can select the vario sound source and choose whether you want XCTrack to play the vario sound, the AIR³ XCT Add-On, or no vario sound.
Next, you can select the XCTrack profile.
Clicking on the profile will give you a list of available profiles. Click on the desired profile.
If you don’t want to change the XCTrack layout, select the ‘Don’t change profile’ option.
Next, you can choose whether to reset the XCTrack preferences according to your model and enable or disable Livetracking.
Ticking the “Launch XCTrack Wizard” box will start the XCTrack configuration wizard when XCTrack is launched.
Once you are happy with the settings, click the APPLY button. A reminder dialogue will appear to remind you that XCTrack interface will be set according to the chosen profile if you have selected one to apply. Previous XCTrack layout customisations will be lost.
Once you have finished making changes, you will need to restart XCTrack to allow it to take the changes into account. If XCTrack is still running, quit it and start it again.
IMPORTANT NOTICE: By changing the profile, you will lose any layout customisations you have applied. If you want to revert to your previous configuration, remember to export it first.
Read more details here.


Select your profile
KISS
EASY
EXPERT
EXPERT-Zello

PARAMOTOR

BALLOON
Select Vario Sound
You can either change the vario sound source manually (by enabling or disabling acoustic vario in XCTrack and enabling or disabling Instant Lift and Vario Sound in the AIR³ XCT Add-On), or you can use AIR³ Manager to do it properly.
Click on the ‘Profile Change & Reset’ button to change the vario sound source.
You can choose whether XCTrack, the AIR³ XCT Add-On or no vario sound should play.
To avoid changing anything else, select the ‘Don’t change profile’ option. Untick “Reset other preferences” to avoid making any other changes to XCTrack. Keep the ‘Livetracking’ option ticked if you want to use Livetracking.
Then click the APPLY button.
Once you have finished making changes, you will need to restart XCTrack to apply them. If XCTrack is still running, quit and restart it.

Reset all settings of XCTrack PRO to default
First of all, make sure to use the latest version of XTrack and AIR³ Manager. Read more details here to upgrade your apps.
By clicking on the “Profile Change & Reset” button.
Keep the default settings, you will get the opportunity to reset all settings of XCTrack to its default settings.
Once done, you need to start XCTrack. If XCTrack was still running, quit XCTrack and start it again.
IMPORTANT NOTICE: by resetting, you will loose any customisation you could have applied. If you want to return to your previous configuration, don’t forget to first export your configuration. Read more details here.
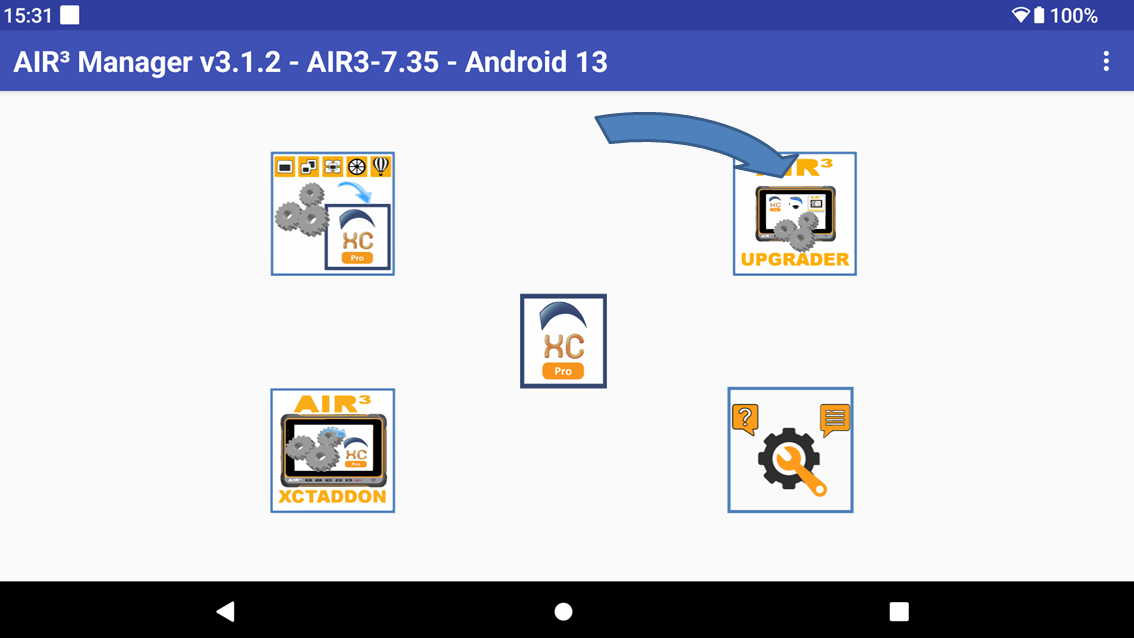
Check for upgrades
By clicking on the “AIR³ Upgrader” button, you will launch AIR³ Upgrader app.
AIR³ Upgrader allows you to check if you have the latest version of the main apps installed on AIR³.
Check more details about AIR³ Upgrader here.

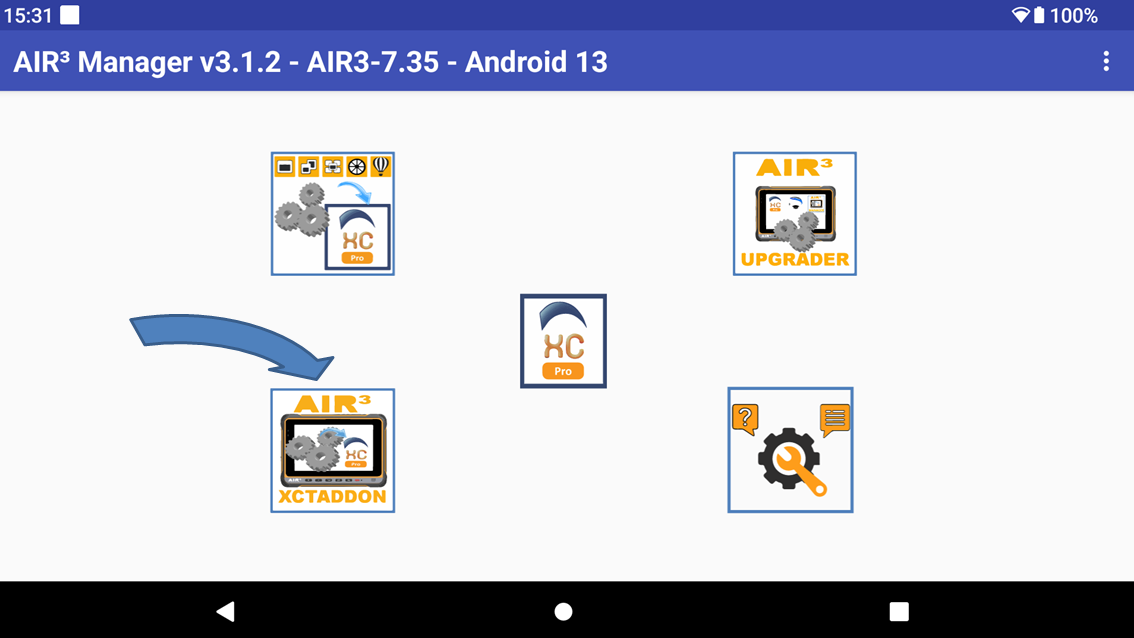
Launch AIR³ XCT Addon
By clicking on the “AIR³ XCT Addon” button, you will launch AIR³ XCT Addon.
AIR³ XCT Addon has multiple features that enhance XCTrack.
Check more details about AIR³ XCT Addon here.

Need support?
Clicking on the ‘Need support?’ button will open the support page.
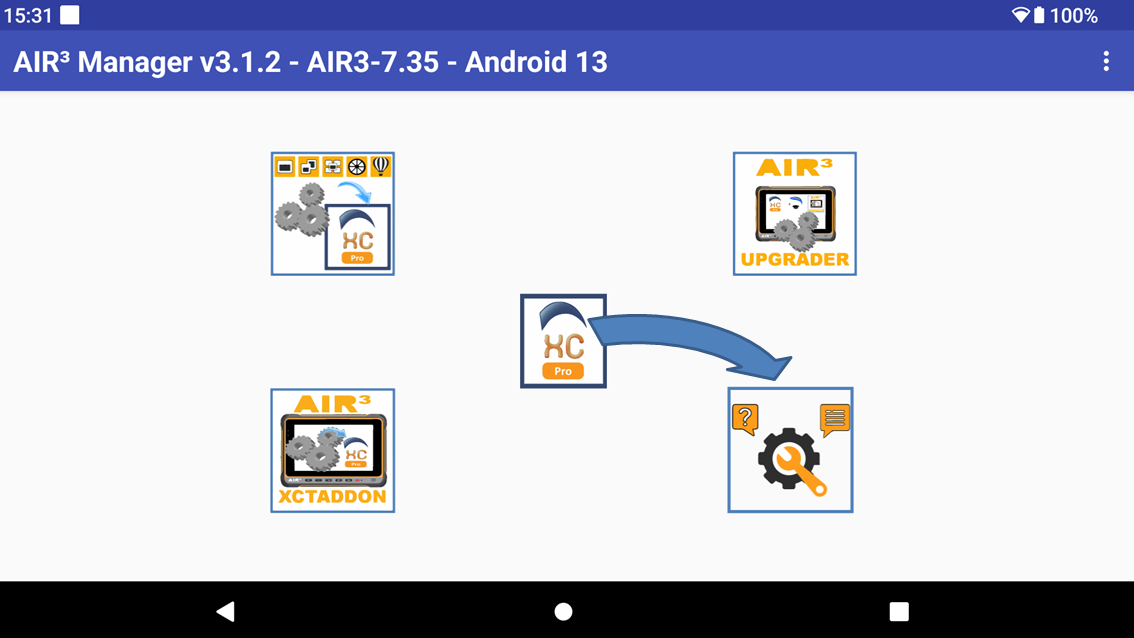
Click on the ‘Need support instructions’ link to access the webpage that provides instructions on what to do before contacting us and how to contact us for efficient support (including all the information provided by this support page).

You can click on the blue IMEI button to copy all the necessary information to the clipboard, allowing you to easily share it through your favourite communication app.
Contact us on WhatsApp or Telegram with this information, as well as photos and videos describing the problem you are facing, to ensure we can quickly address it.
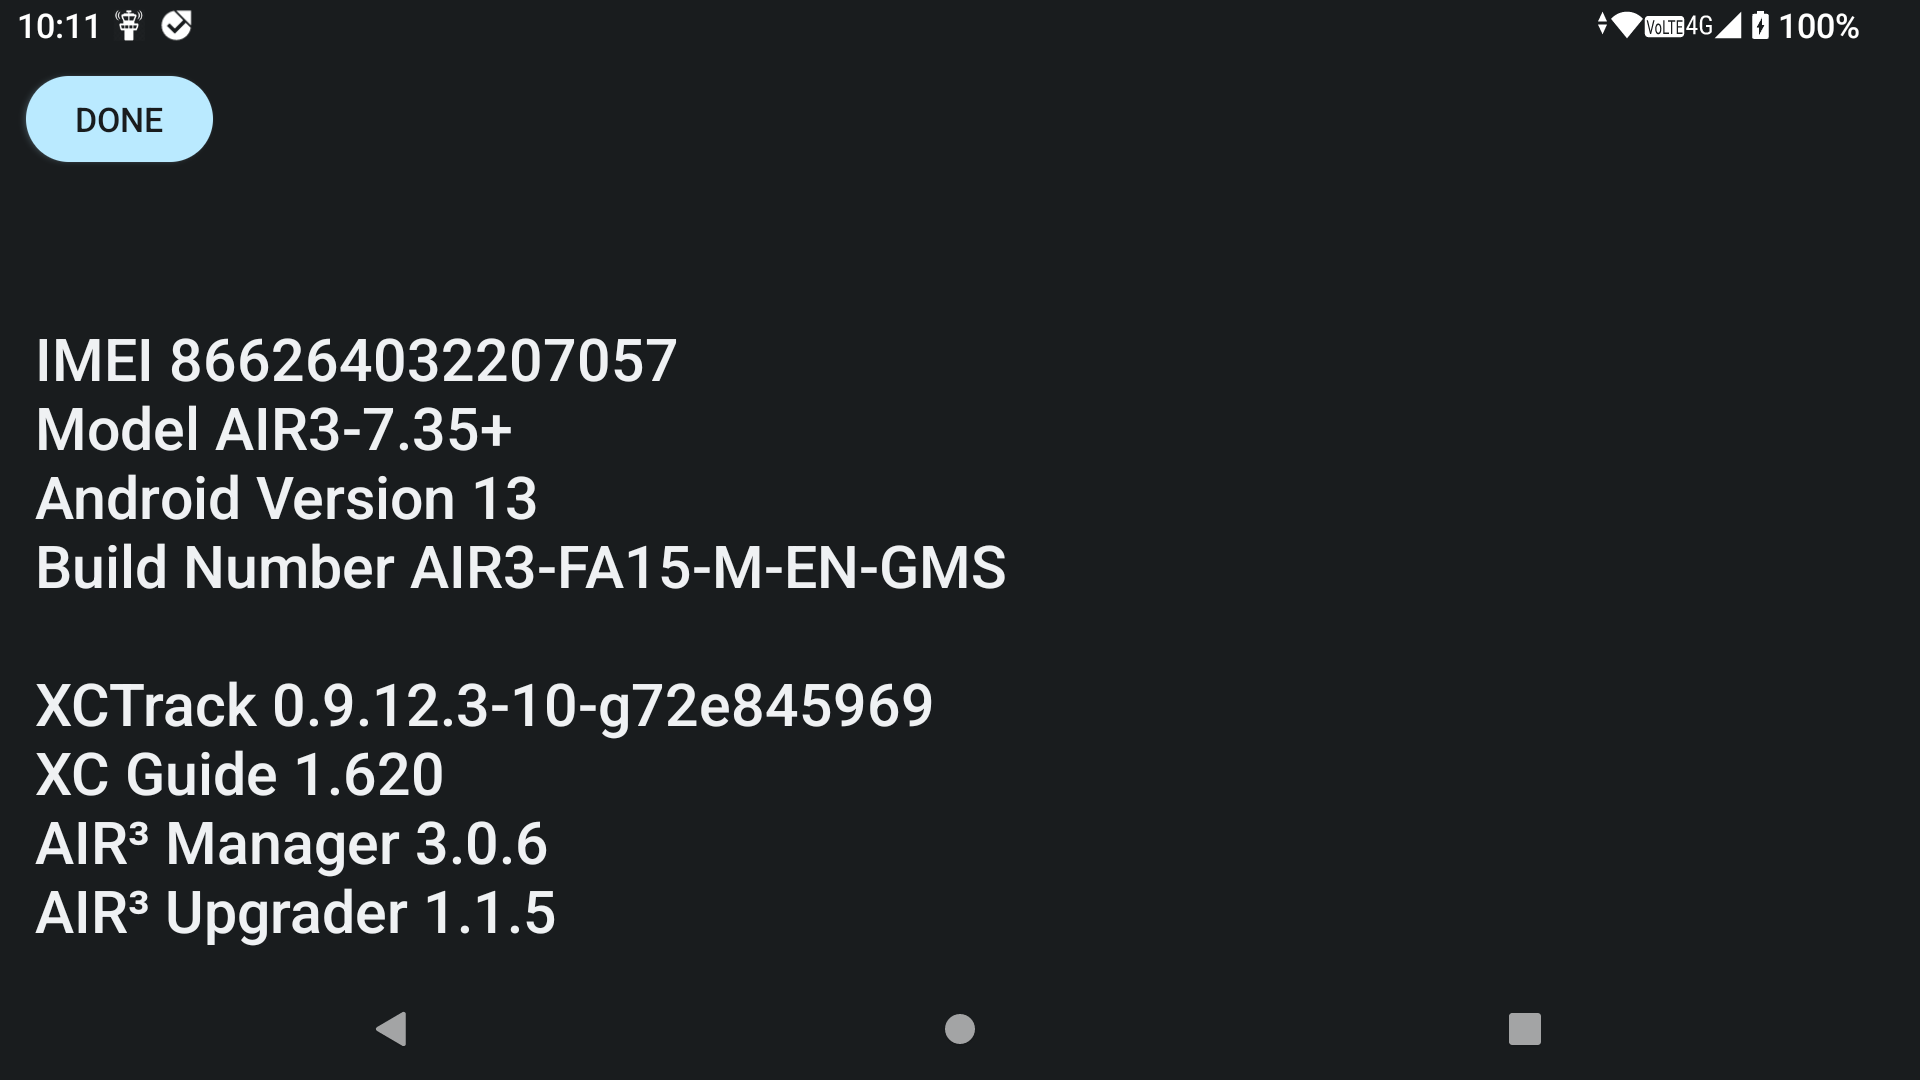
You can also tap on the phone number to open WhatsApp or Telegram with this information.

