This page describes the Livetracking menu of XCTrack. Check the other sections to lean more about the different features of XCTrack.
Videos have been produced to explain the different features of XCTrack Pro. Check the videos tuto page to learn quickly how to use XCTrack Pro.
The livetracking menu is only available in the menu after enabling livetracking in Menu/Preferences/Livetracking.

If Livetracking is enabled, next time you will start XCTrack, a new window will appear, asking if you agree to share your position. Sharing your position is obviously required for the Livetracking to work. If you disable sharing (until next start of XCTrack), you won’t be able to be livetracked. However, the Livetracking menu will still be available, in order to select pilots to see on the map, or to send a message. It could be useful when you’re in a car and want to see your buddies.
Note that livetracking will be enabled even when you select to temporarily disable it during startup when a significant flight is detected (150m AGL, duration > 2 minutes). If you don’t want to enable Livetracking, you can disable it in Menu/Preferences/Livetracking.

Check how to set Livetracking and messages in Menu/Preferences/Livetracking, how to check your Live status in the details of the Status line in the system subsection of the XCTrack Pro widgets manual and the details of the Livetracking widget in the Livetracking subsection of the XCTrack Pro widgets manual.
If you face problems getting Livetracking working, check this FAQ related to Livetracking
Livetracking sends your positions every 60 seconds to a server and obtains the positions of other pilots 20 km away. Very little data consumption, around 100 KB / hour.
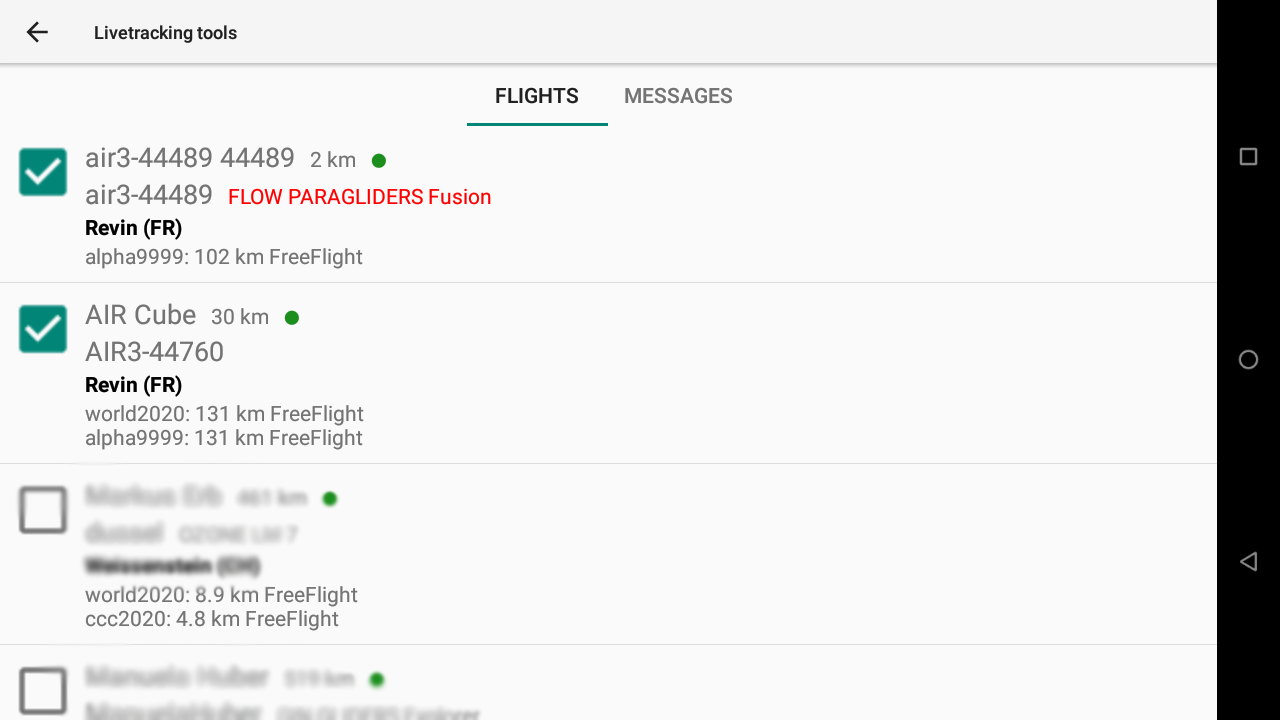
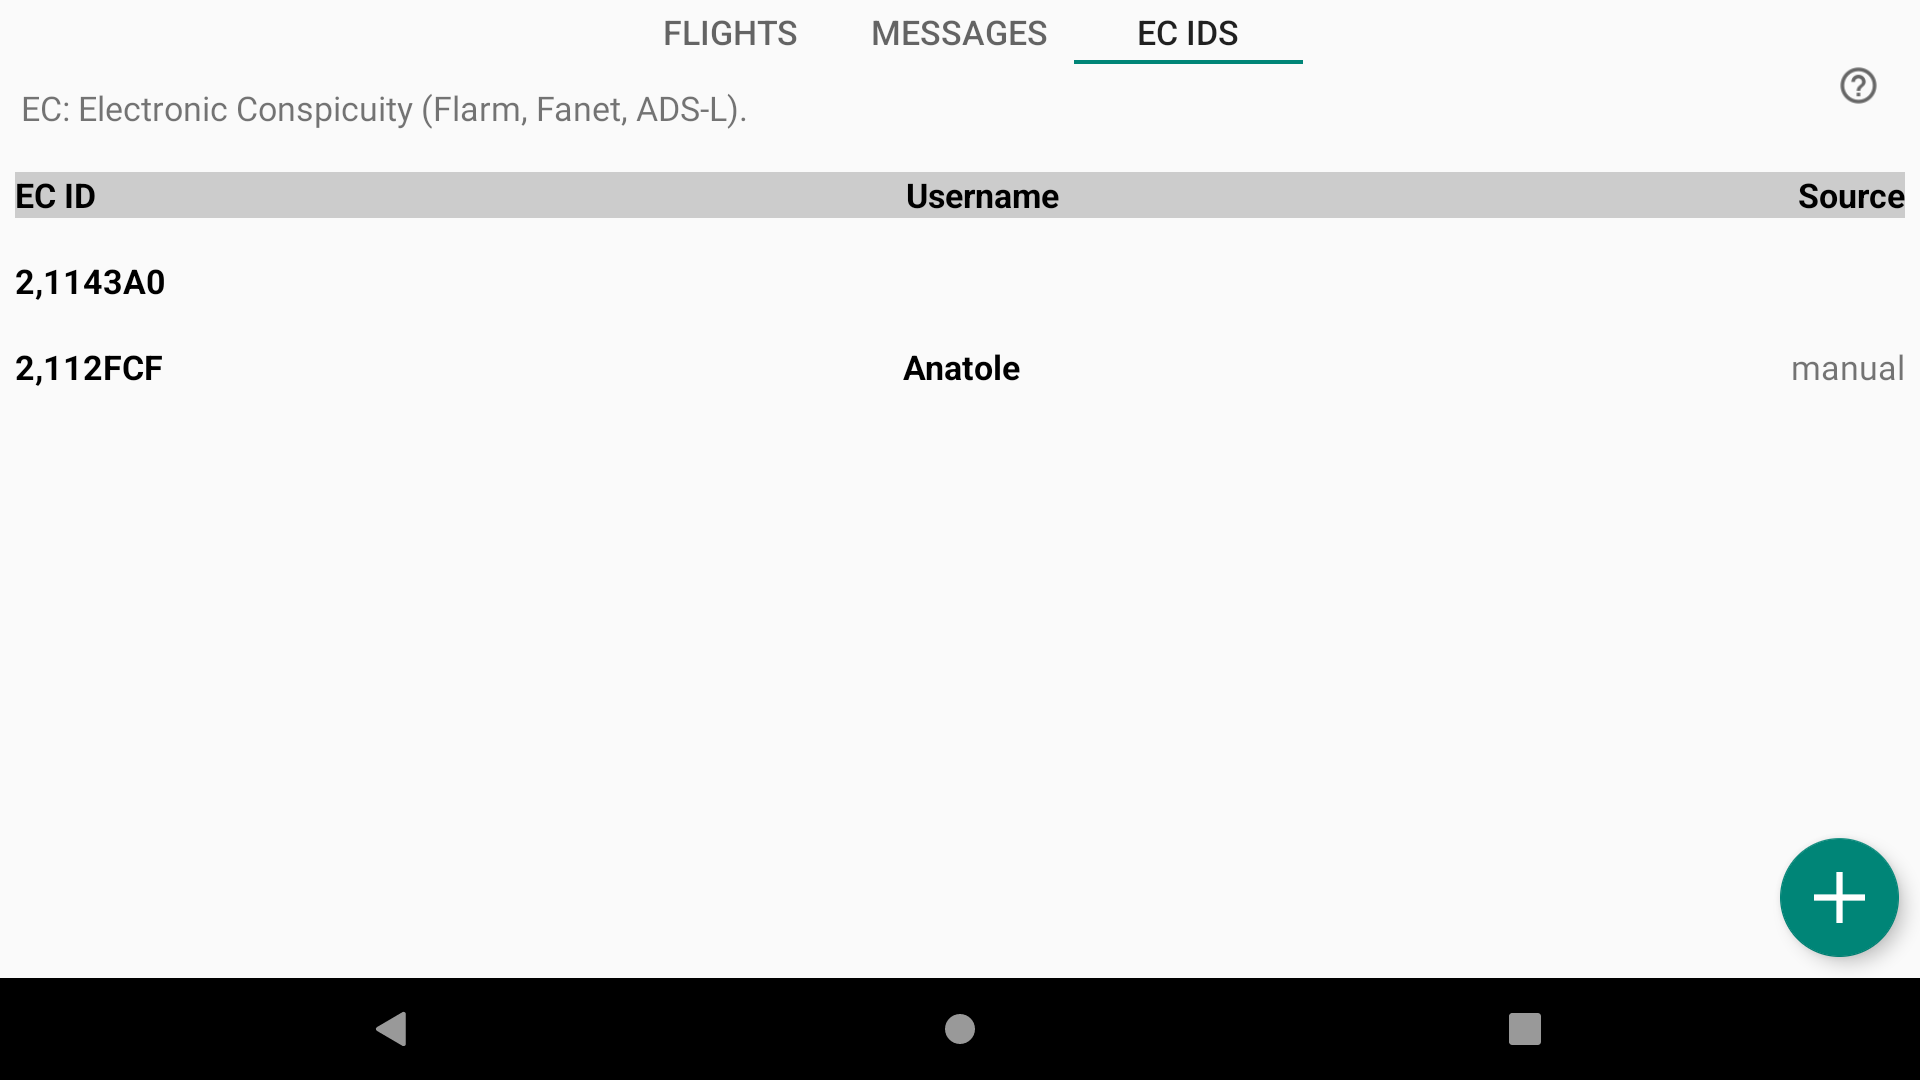
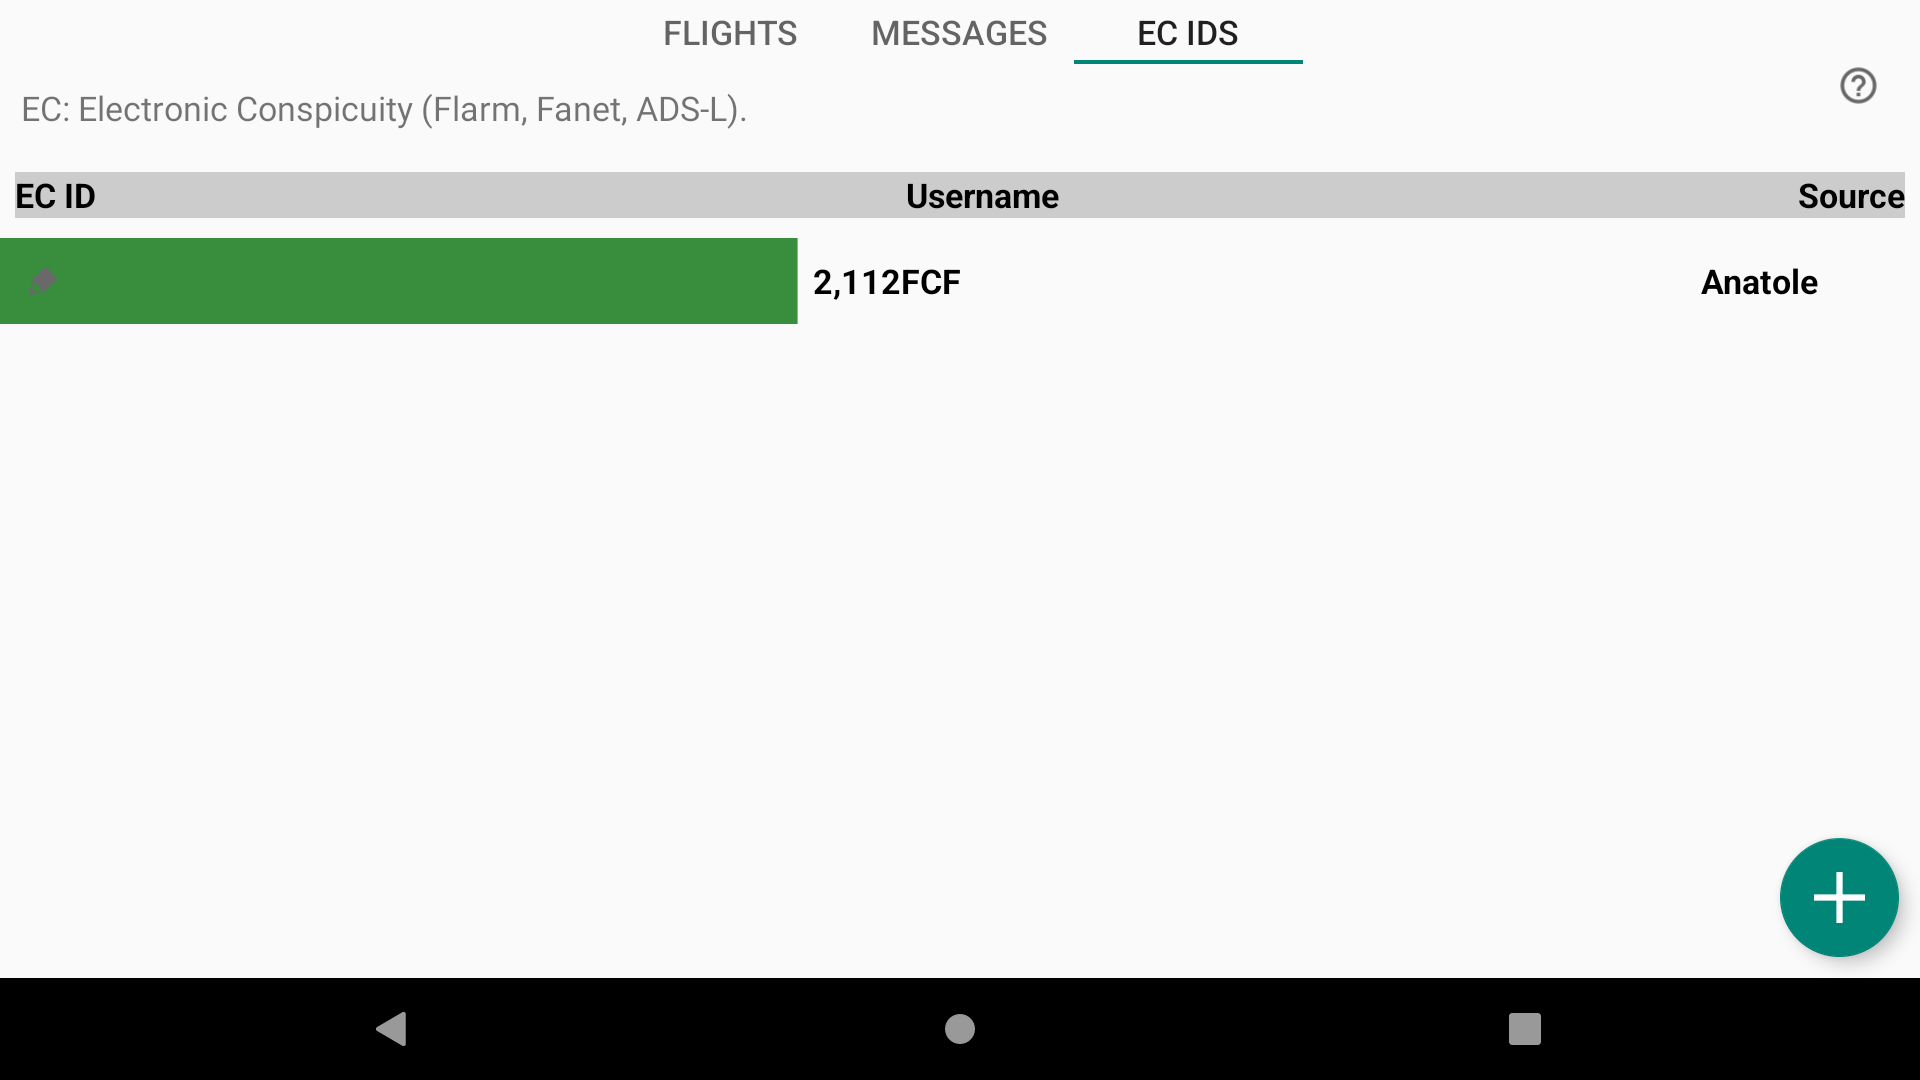
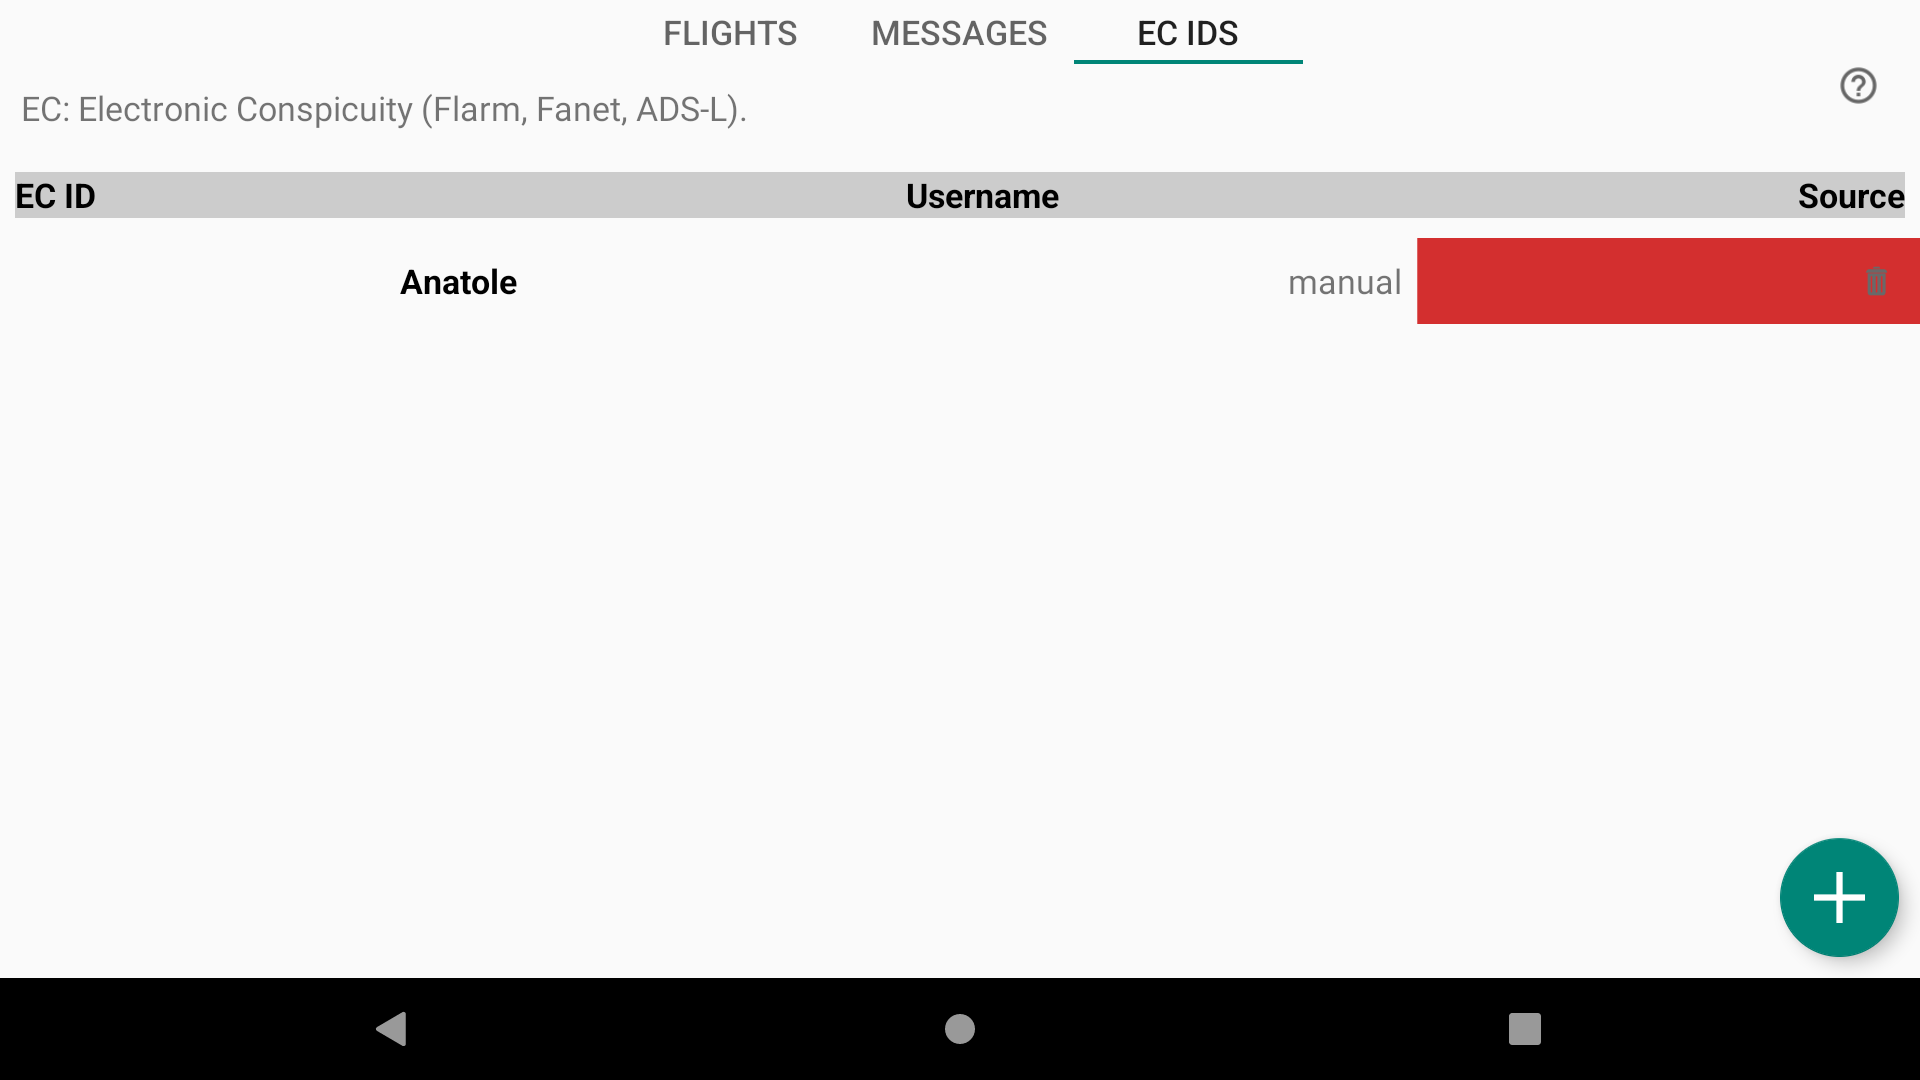
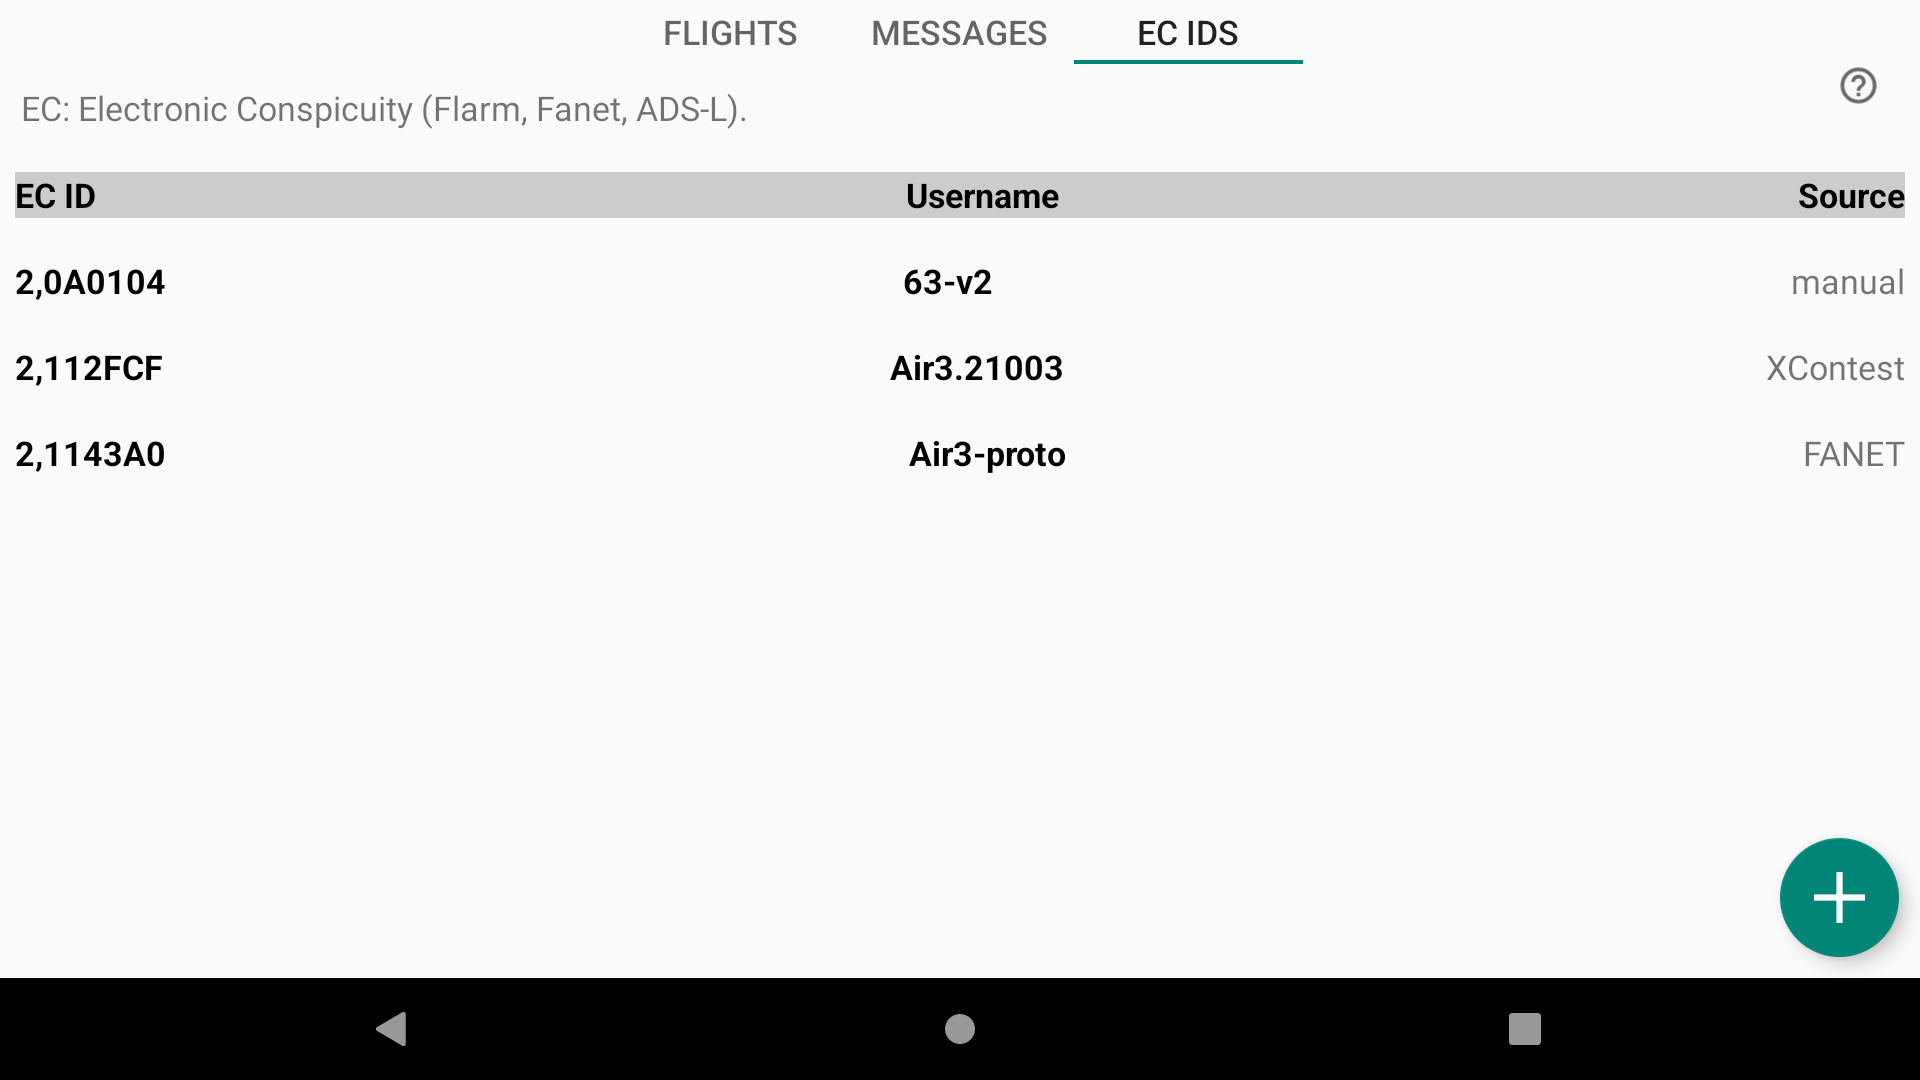
If you want to see a track from another pilot on the map using Livetracking, you can select the pilot in the Livetracking menu. You will get the track from that pilot and its position when the server obtains his data.
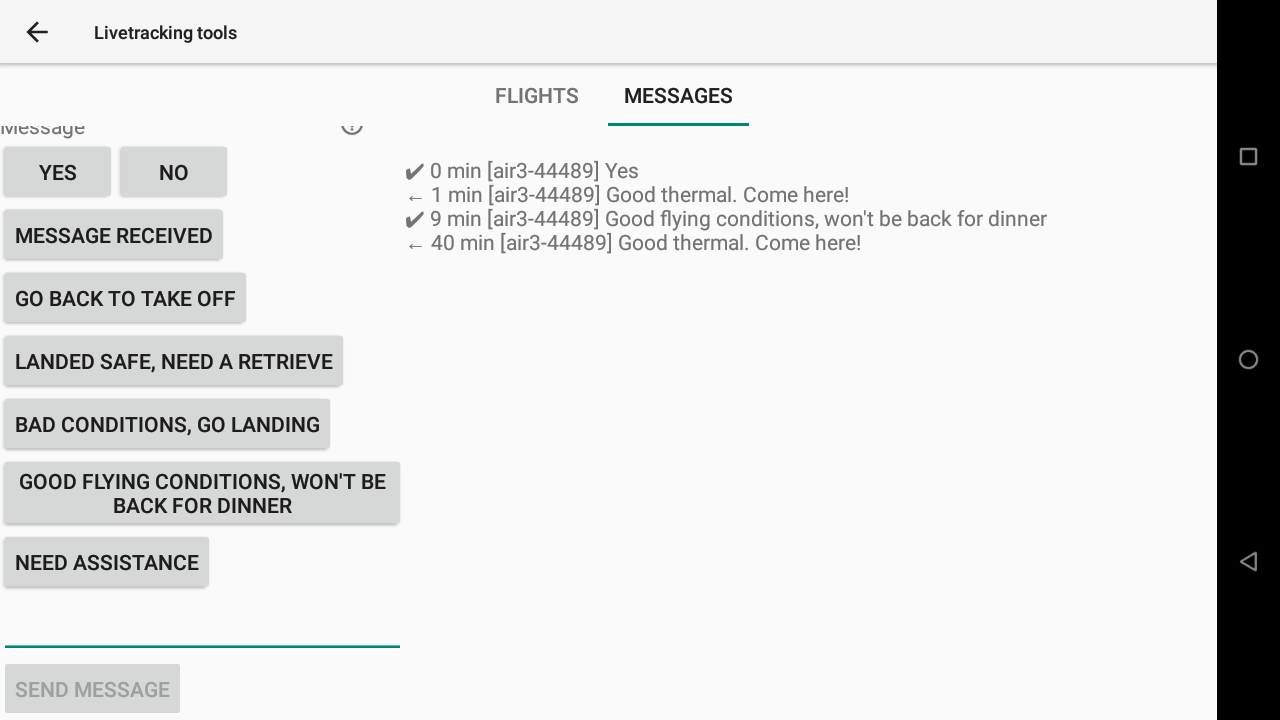
You can send messages to other pilots also through the Livetracking menu.
Click on the + sign to read details below.

On the Live webpage of Xcontest, you can view all the pilots using livetracking.
Select which pilot you want to track by checking the small square on the right of the pilot either in the filter window or directly by selecting the pilot on the map.
By clicking on the pilot’s name, this will zoom on the pilot you want to track.
To see all pilots currently flying with Livetracking, just click on the main link: https://live.xcontest.org/
To see only pilots of a particular contest, the livetracking feature was fully integrated to the website (LIVE option in the left menu).
For example https://www.xcontest.org/bpc/en/flights/live/ will show pilots that hav registered for the Belgian Paragliding Cup.
Advanced filters
Click on the top left button to open the menu and access the filter options.
You can filter by nationality, take off site, Live or landed,…
Full details, get Google Maps direction
Right click on the pilot’s name (long click with a smartphone) or click again on the pilot’s name after clicking once to select him, to get full details.
Full details includes a new button to get Google maps direction.
Once selected with simple or full details, you can follow the pilot by checking the square on the right.
The full track since takeoff will appear on the map, as well as a new window in the bottom with altitude history.
To display the vario and speed history as well, open the menu on the right of that new window in the bottom and select what additional info you want to review.
By clicking anywhere on that history window, you can replay the flight at a specific time. Increase or decrease the replay speed by clicking on the “Play” icon (just above the history window) to get the Play menu and change the play speed.
By opening the settings in the top right, you can adjust the font size, as well as choose what info to display by using the Play mode.
The flights tab lists the different pilots that are currently “live”, starting with the closest pilot.
Check the square on the left to decide which pilot you want to track. Once checked, you will be able to see the track of such pilot directly on your map.
Don’t forget to enable the “display nearby pilots” and the “display tracklogs of selected pilots” in the configuration of the XC map widget or Task map widget.
Read details how to access the configuration of widgets in the customize section, and check the configuration details in these widgets in the XContest subsection and Competition subsection of the XCTrack Pro Widgets Manual.
Click on the pilot to send a prepared message.
Once you have clicked on the pilot, you will just need to choose one of the prepared message to send the desired message. Check how to set messages in Menu/Preferences/Livetracking and the details of the Livetracking widget in the Livetracking subsection of the XCTrack Pro Widgets manual to keep the history of the received messages.


After clicking on the pilot you want to send a message, you will land on the second tab of the Livetracking menu. Just click on the prepared message you want to send and click on “send message” button to send the message. On the right side of the window, you can read the history of the messages that you sent and that you received from the pilot.
Check how to set Livetracking messages in the Menu/Preferences/Livetracking and how to read Livetracking messages with the Livetracking widget detailed in the Livetracking subsection of the XCTrack Pro widgets manual.


EC stands for Electronic Conspicuity
Each EC device is identified by a unique ID. EC IDs can be paired with usernames to show them on a map instead of IDs.


First of all, go to the Livetracking menu. This menu is only available if Menu/Preferences/Livetracking/Livetracking enabled is active. If this is not the case check here how to enable it.
You will see 3 tabs: Flights, Messages and EC IDS. Click on the EC IDS tab.

If there is no EC ID, you can click on the “+” sign to add a new record manually.
The first digit is the type of the id.
For Fanet it’s always 2.
For flarm it could be:
0 = random ID, configured or if stealth mode is activated either on the target or own aircraft
1 = official ICAO 24-bit aircraft address
2 = fixed FLARM ID (chosen by FLARM)
When the field is empty, it means no identification is known (e.g. transponder Mode-C).


If an EC ID is detected without clear paring, it will be displayed with no username.
A pairing between EC ID and username can be created automatically or manually.
Manually: if you know the EC ID of a specific pilot, you can add it here. If the EC ID is available in the list you can modify it to manually enter the username.

To edit, put your finger on the record and swipe gently your finger towards right in order to EDIT it.
To delete a record, put your finger on the record and swipe gently your finger towards left in order to DELETE it.


Automatic pairing: Pairing can be done automatically by Fanet or XContest. XContest takes precedence over manual entry. Manual entry has priority over Fanet.
If an EC-emitting device such as FANET provides a user name, the user name will be filled in automatically (source will be Fanet). You can manually enter a username for a specific device, the username will override the Fanet pairing (source will be Manual).
If such a device is referenced in the Livetracking XContest server, the XContest username will be filled in automatically (source will be XContest). If you have manually entered a username for a specific device, or if such pairing has been done automatically thanks to Fanet, the username will be overridden with the XContest pairing.

In other words, let’s imagine a scenario like this. You are flying with your AIR³ with a Flarm and Fanet module, running XCTrack, close to your friend, flying with an AIR³, no internet, but also with the Flarm and Fanet module. Your friend has decided to use XC Guide and not XCTrack. You will see your friend on the map, first with his Flarm and Fanet ID, then with his Fanet ID as soon as the Fanet ID is received by XCTrack. In the EC IDS tab of Livetracking you will see his EC ID, his Fanet username and the source will be Fanet.
Now you decide to modify the entry to better identify your friend on the map. You will now see the manually entered username on the map. So far no internet was needed. The source is now Manual in the EC IDs table. You can see your friend on the map as long as he is in a Fanet range.
The next day, your friend decides to stop using XC-Guide, connects to the Internet, uses XCTrack with the Flarm and Fanet module, and activates XContest Livetracking. You will now see the EC ID with the XContest username and the manually entered username will be overwritten with the received XContest username. The source is now XContest.
Your other friend has another transmitting device with a Flarm only module (no Fanet) that is used together with XCTrack that uses Livetracking. While connected to the Internet, the EC ID and his XContest username are automatically paired. Even if you are not connected to the Internet during the flight, you will still see your second friend on the map with his username thanks to the existing pairing and the received FLARM signal.

Next section