For AIR³ 7.3, please go to this page:
This page describes the main features of XCTrack with AIR³ 7.2. Check the other sections to lean more about the different features of XCTrack.
Videos have been produced to explain the different features of XCTrack Pro. Check the videos tuto page to learn quickly how to use XCTrack Pro.
Click on the + sign to read the details.
XCTrack launch
XCTrack pro is launched at startup of AIR³. If you quit XCTrack, you can easily restart it by clicking on the main widget on the desktop.
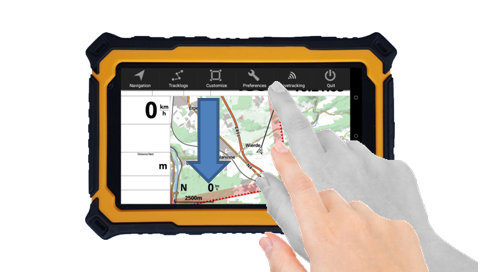
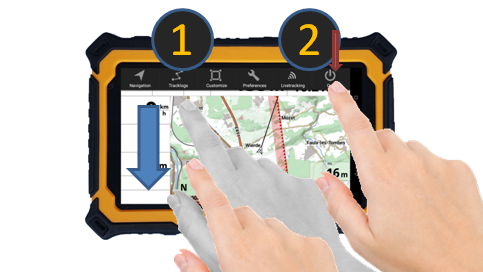
Open menu
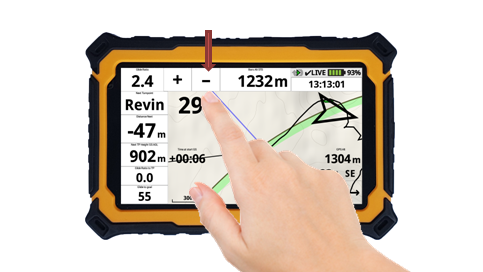
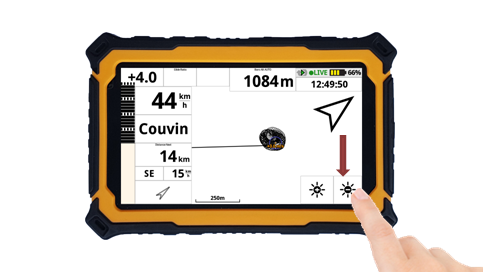
Zoom in/Zoom out
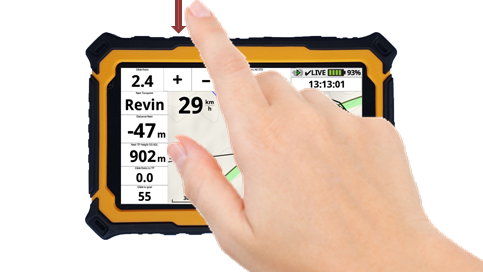
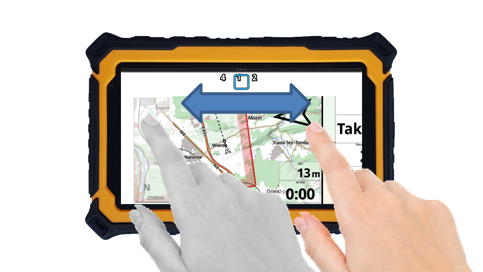
Switch pages
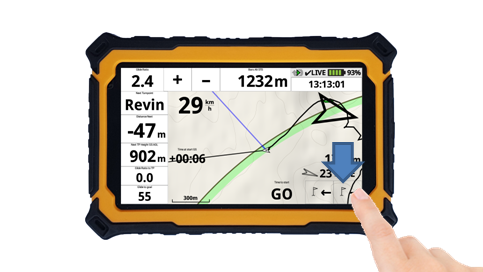
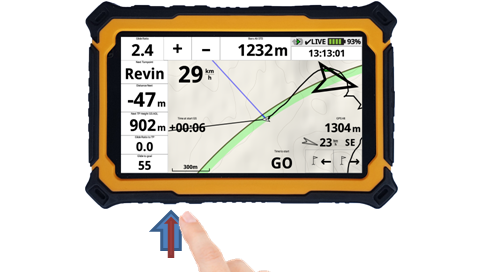
Previous/Next waypoint
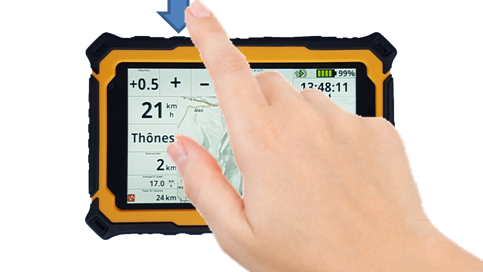
Increase/decrease brightness
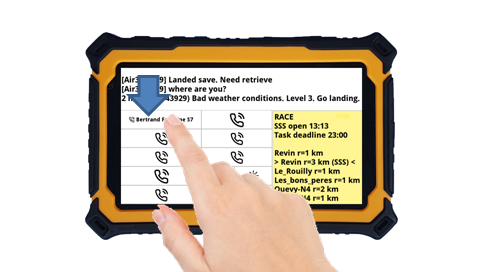
Make a call
Turn on/off vario sound


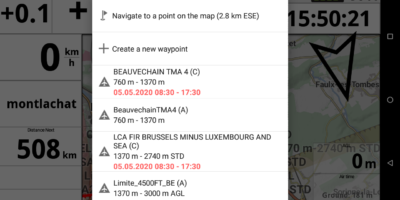
Contextual menu for navigation or airspace

Quit XCTrack
Next section